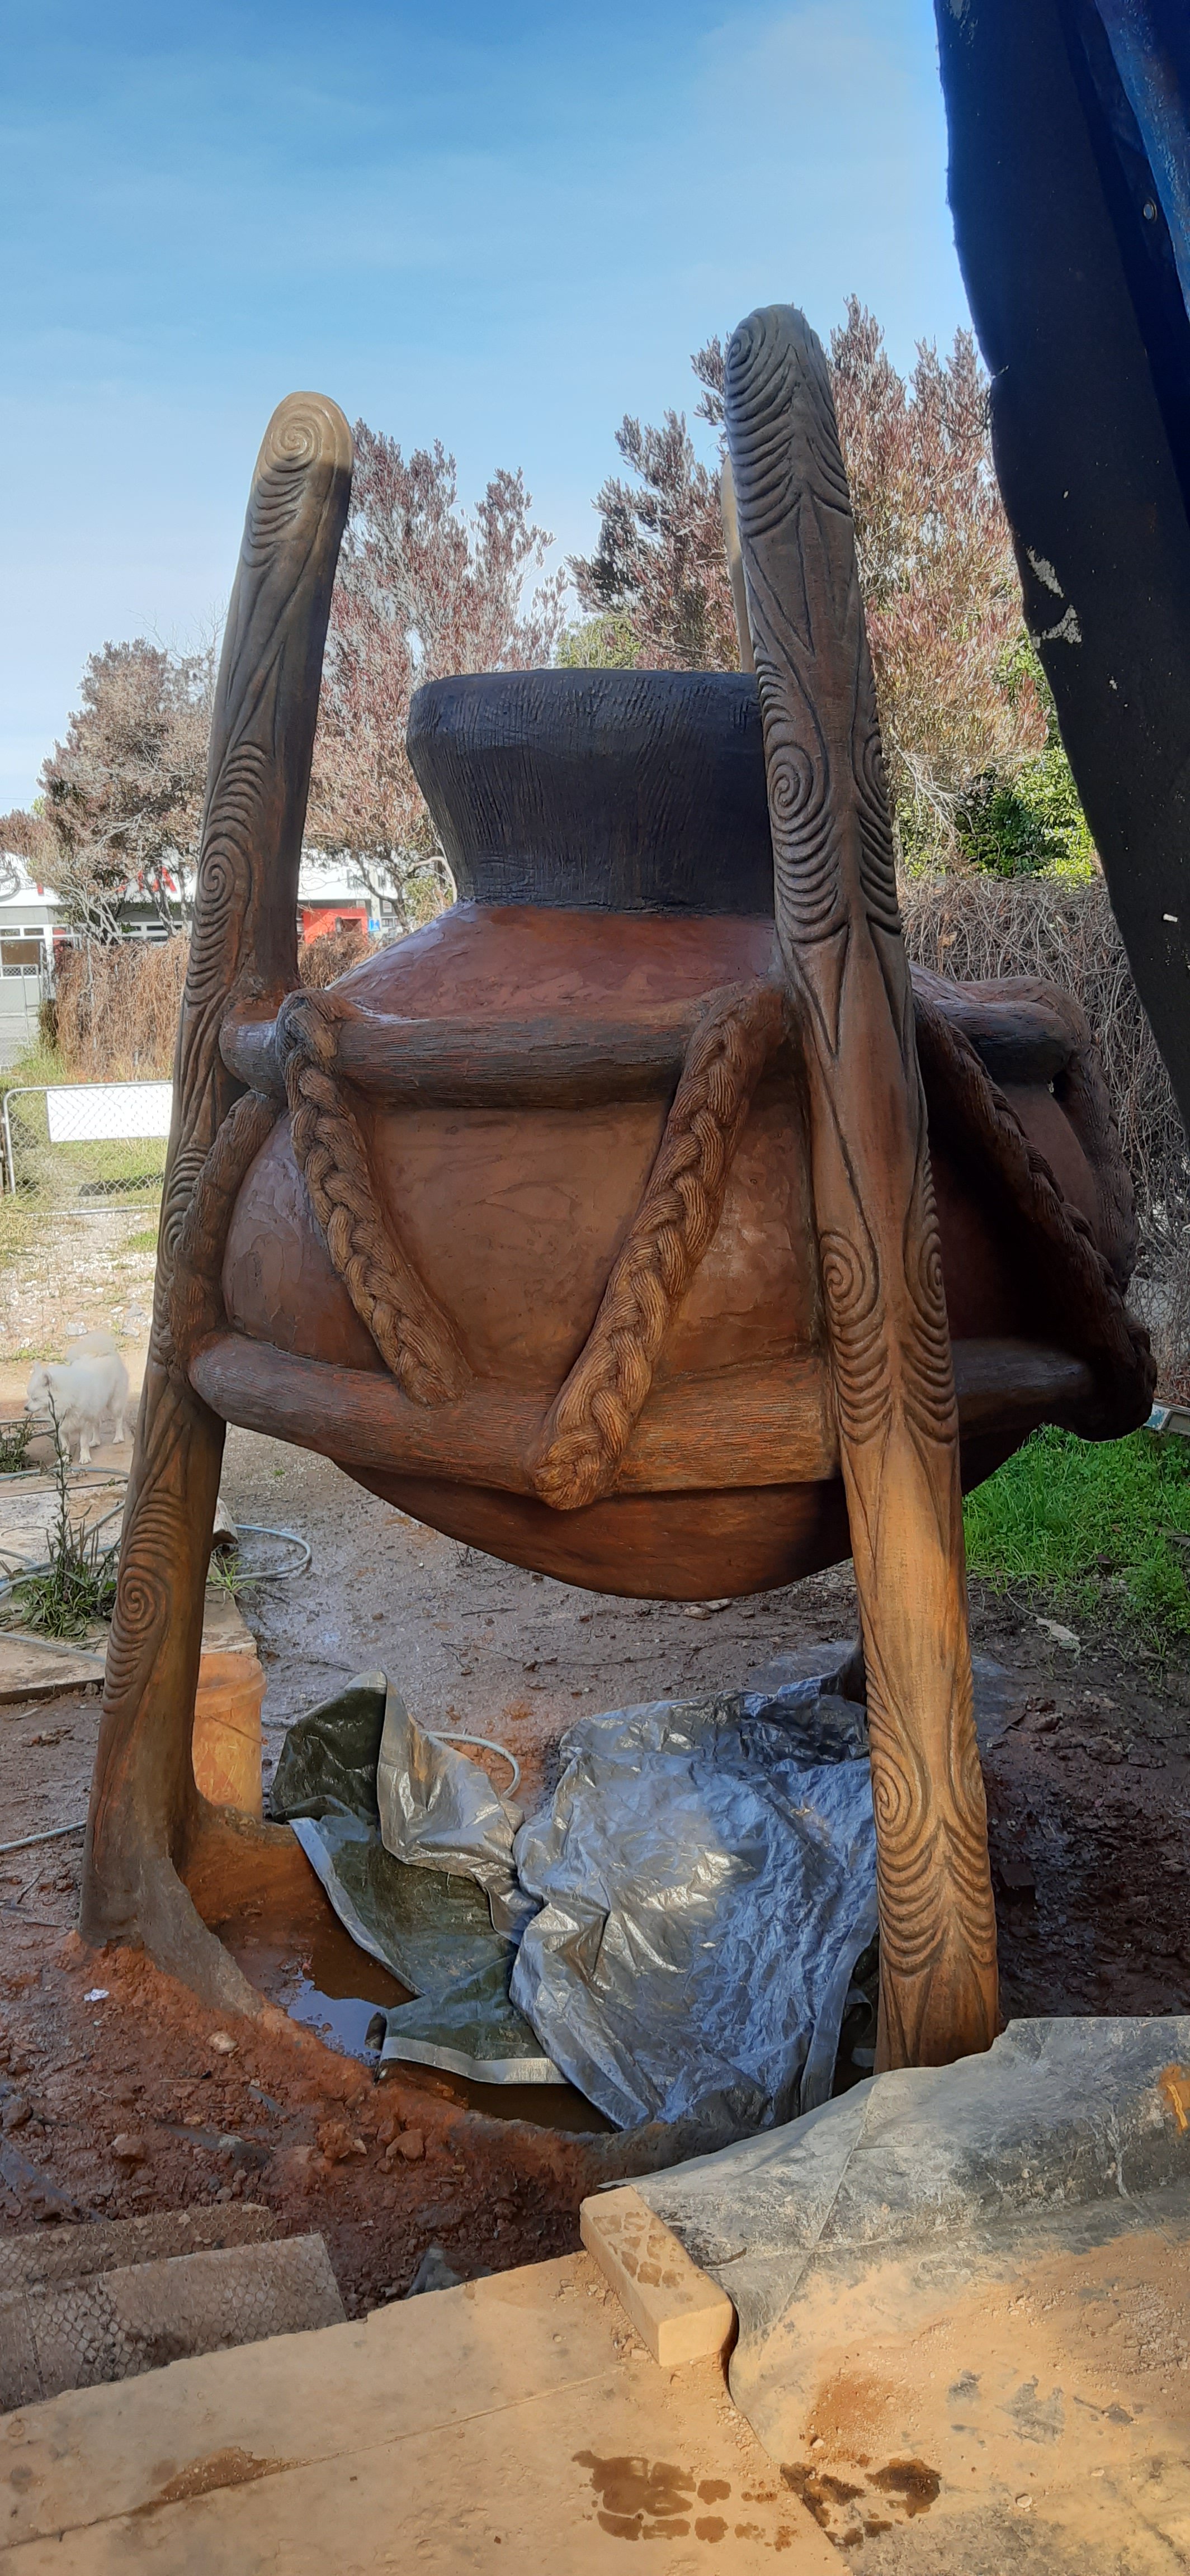
The last one being on tripod of strong ferrocement pillars filled with plaster, and carved, took a lot longer, but we’re happy… I used a thin shading grout to highlight the shapes. See my increasingly frequent howto uploads on my YouTube channel Renaissance Workshops
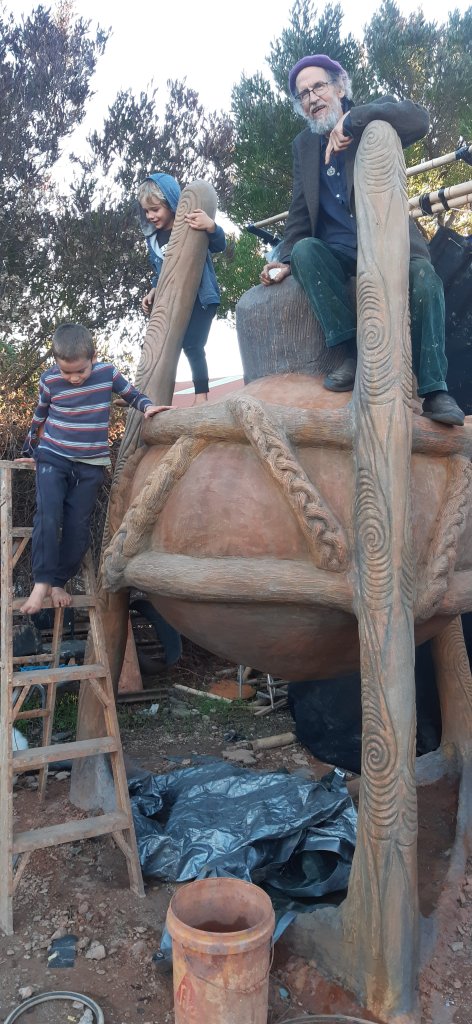
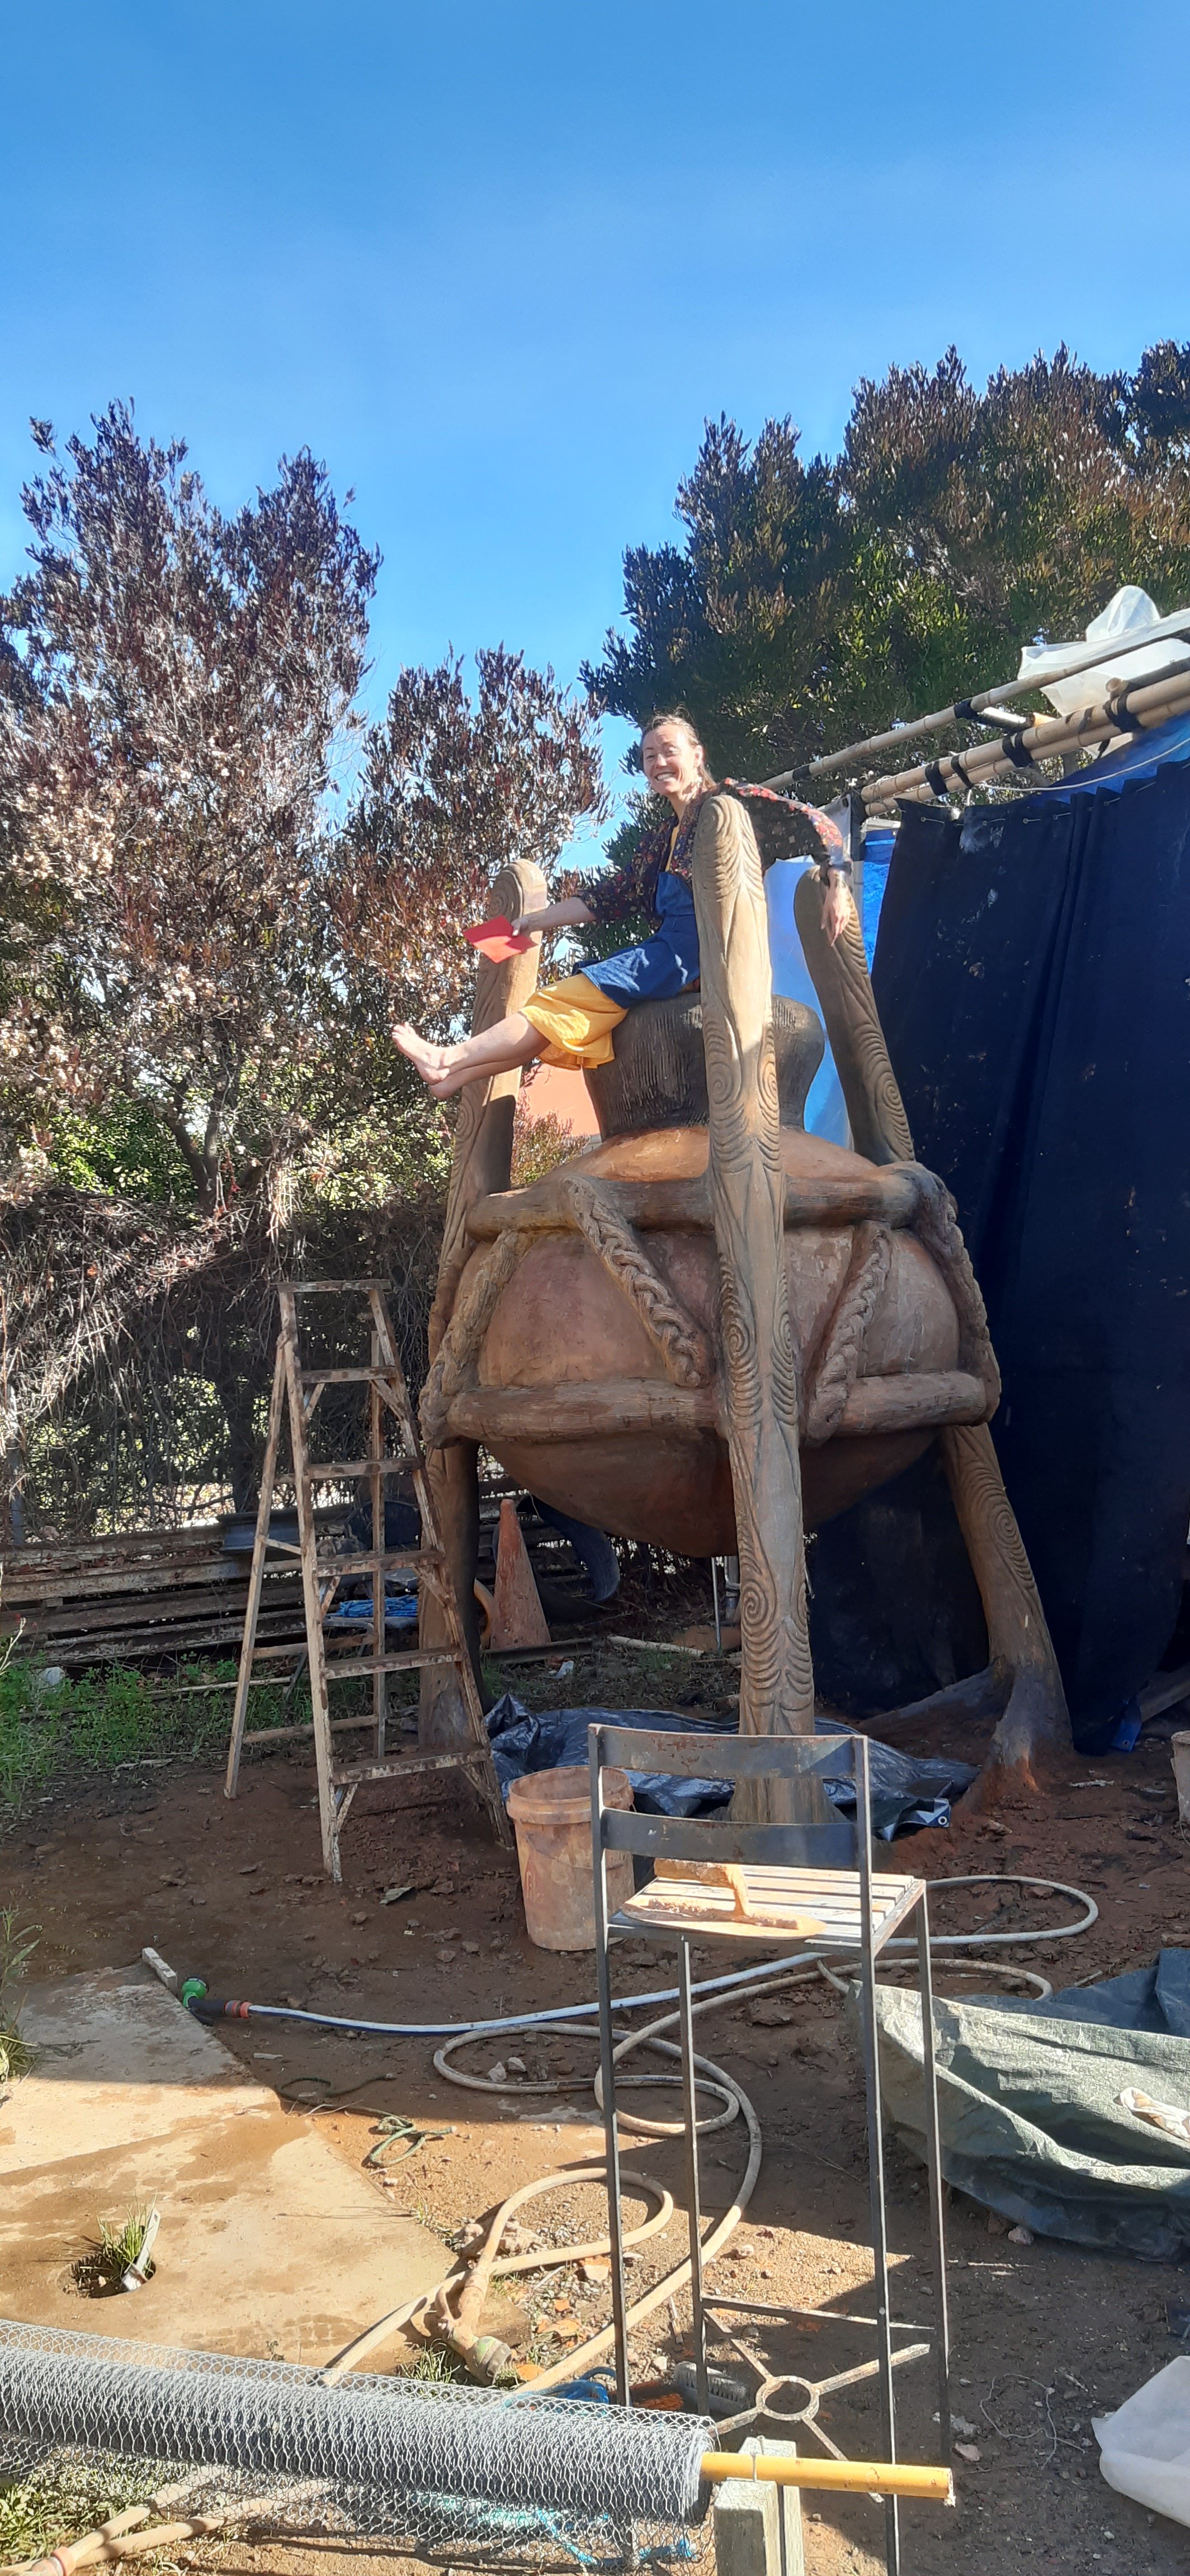
We have an order for public sculptures of 6 gourds brought by the first Maori to Gisborne.. Two are done and placed in the Captain cook memorial park, and now we are doing the last 4. The shape is suitable for water containers too…
The way I built the frames for these two was pretty quick- I drew the profile on recycled particle board, screwed screws along the profile for bending the vertical ribs to, measured the length, cut nine d10 (10mm deformed ie indented) rebars for the large gourd, 6 for the 900mm one, then bent them to the line of screws. I pre-bent the right angle bends at the base using a bender tool.
Then D10 horizontal ribs, circles (bent around a barrel and a concrete cone cast from a road cone) were tied to the vertical ribs on the inside. Then I wound fencing wire (medium tensile, heavier gauge ‘no.8’ wire) around the outside of the ribs. The ribs of the big gourd were supported by a drum shape bent from 150mm square mesh.
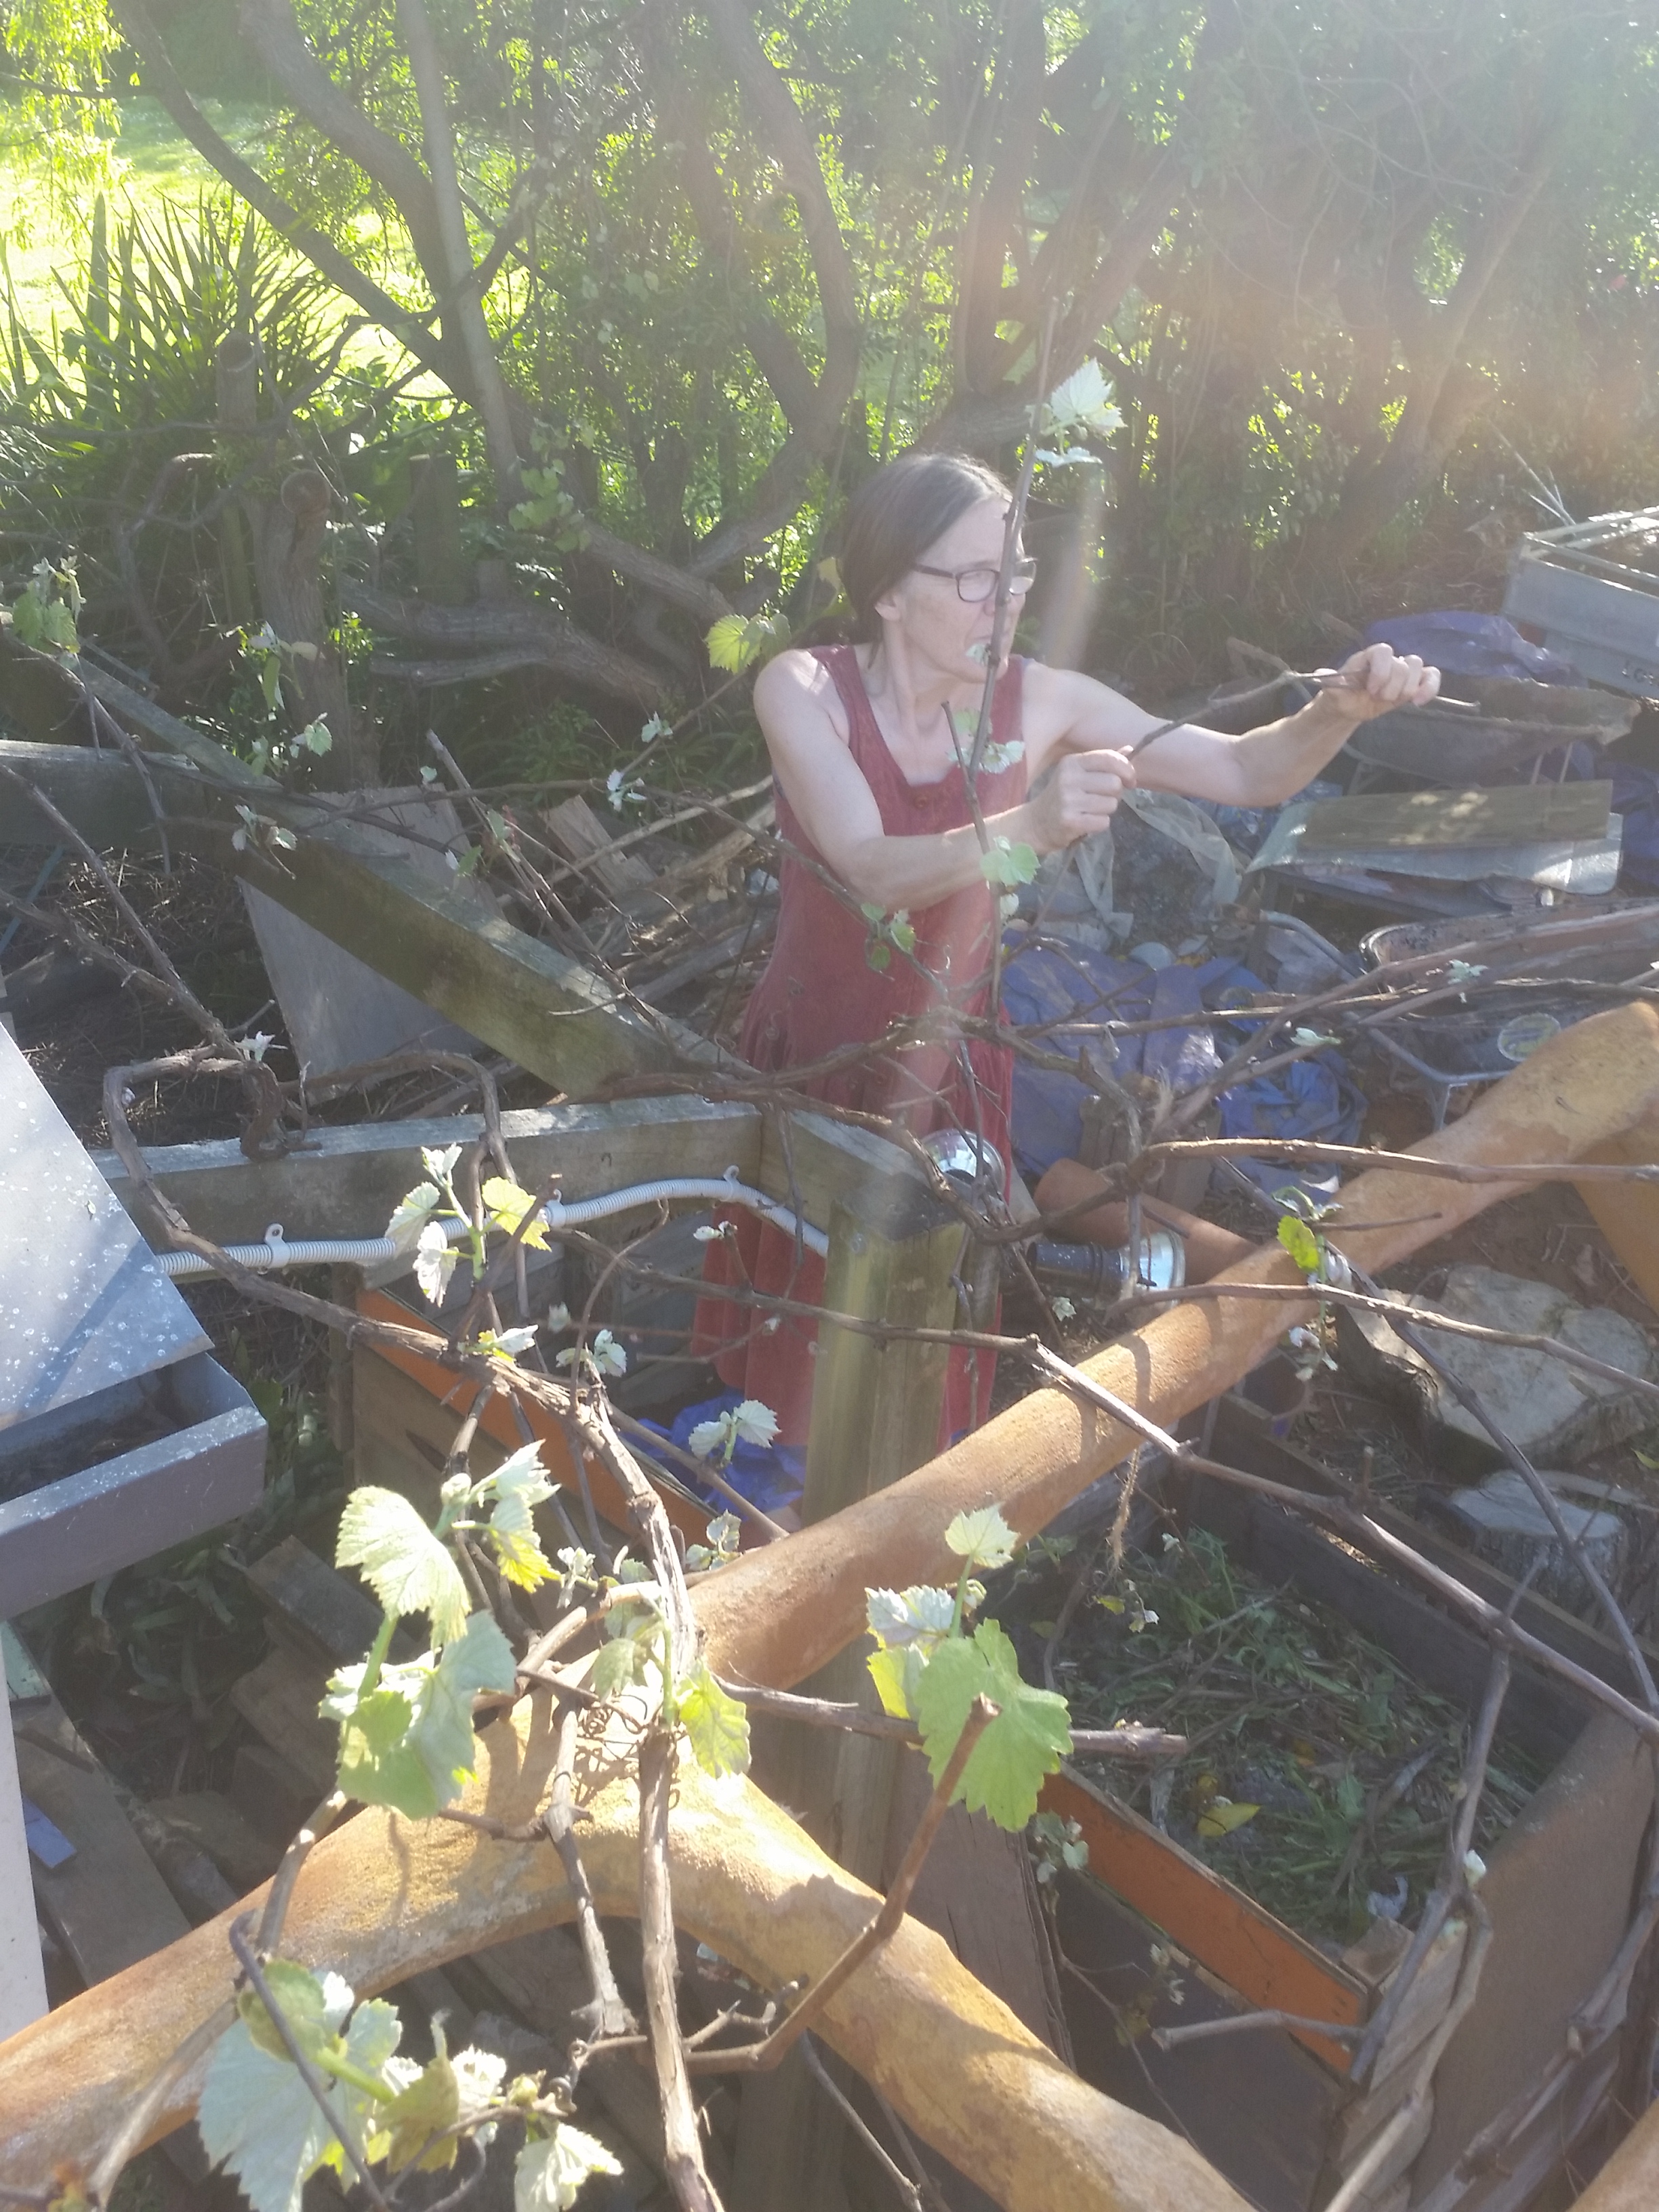
Hayley after stitching the chickenwire all day…Right angles bent, now bending curve…
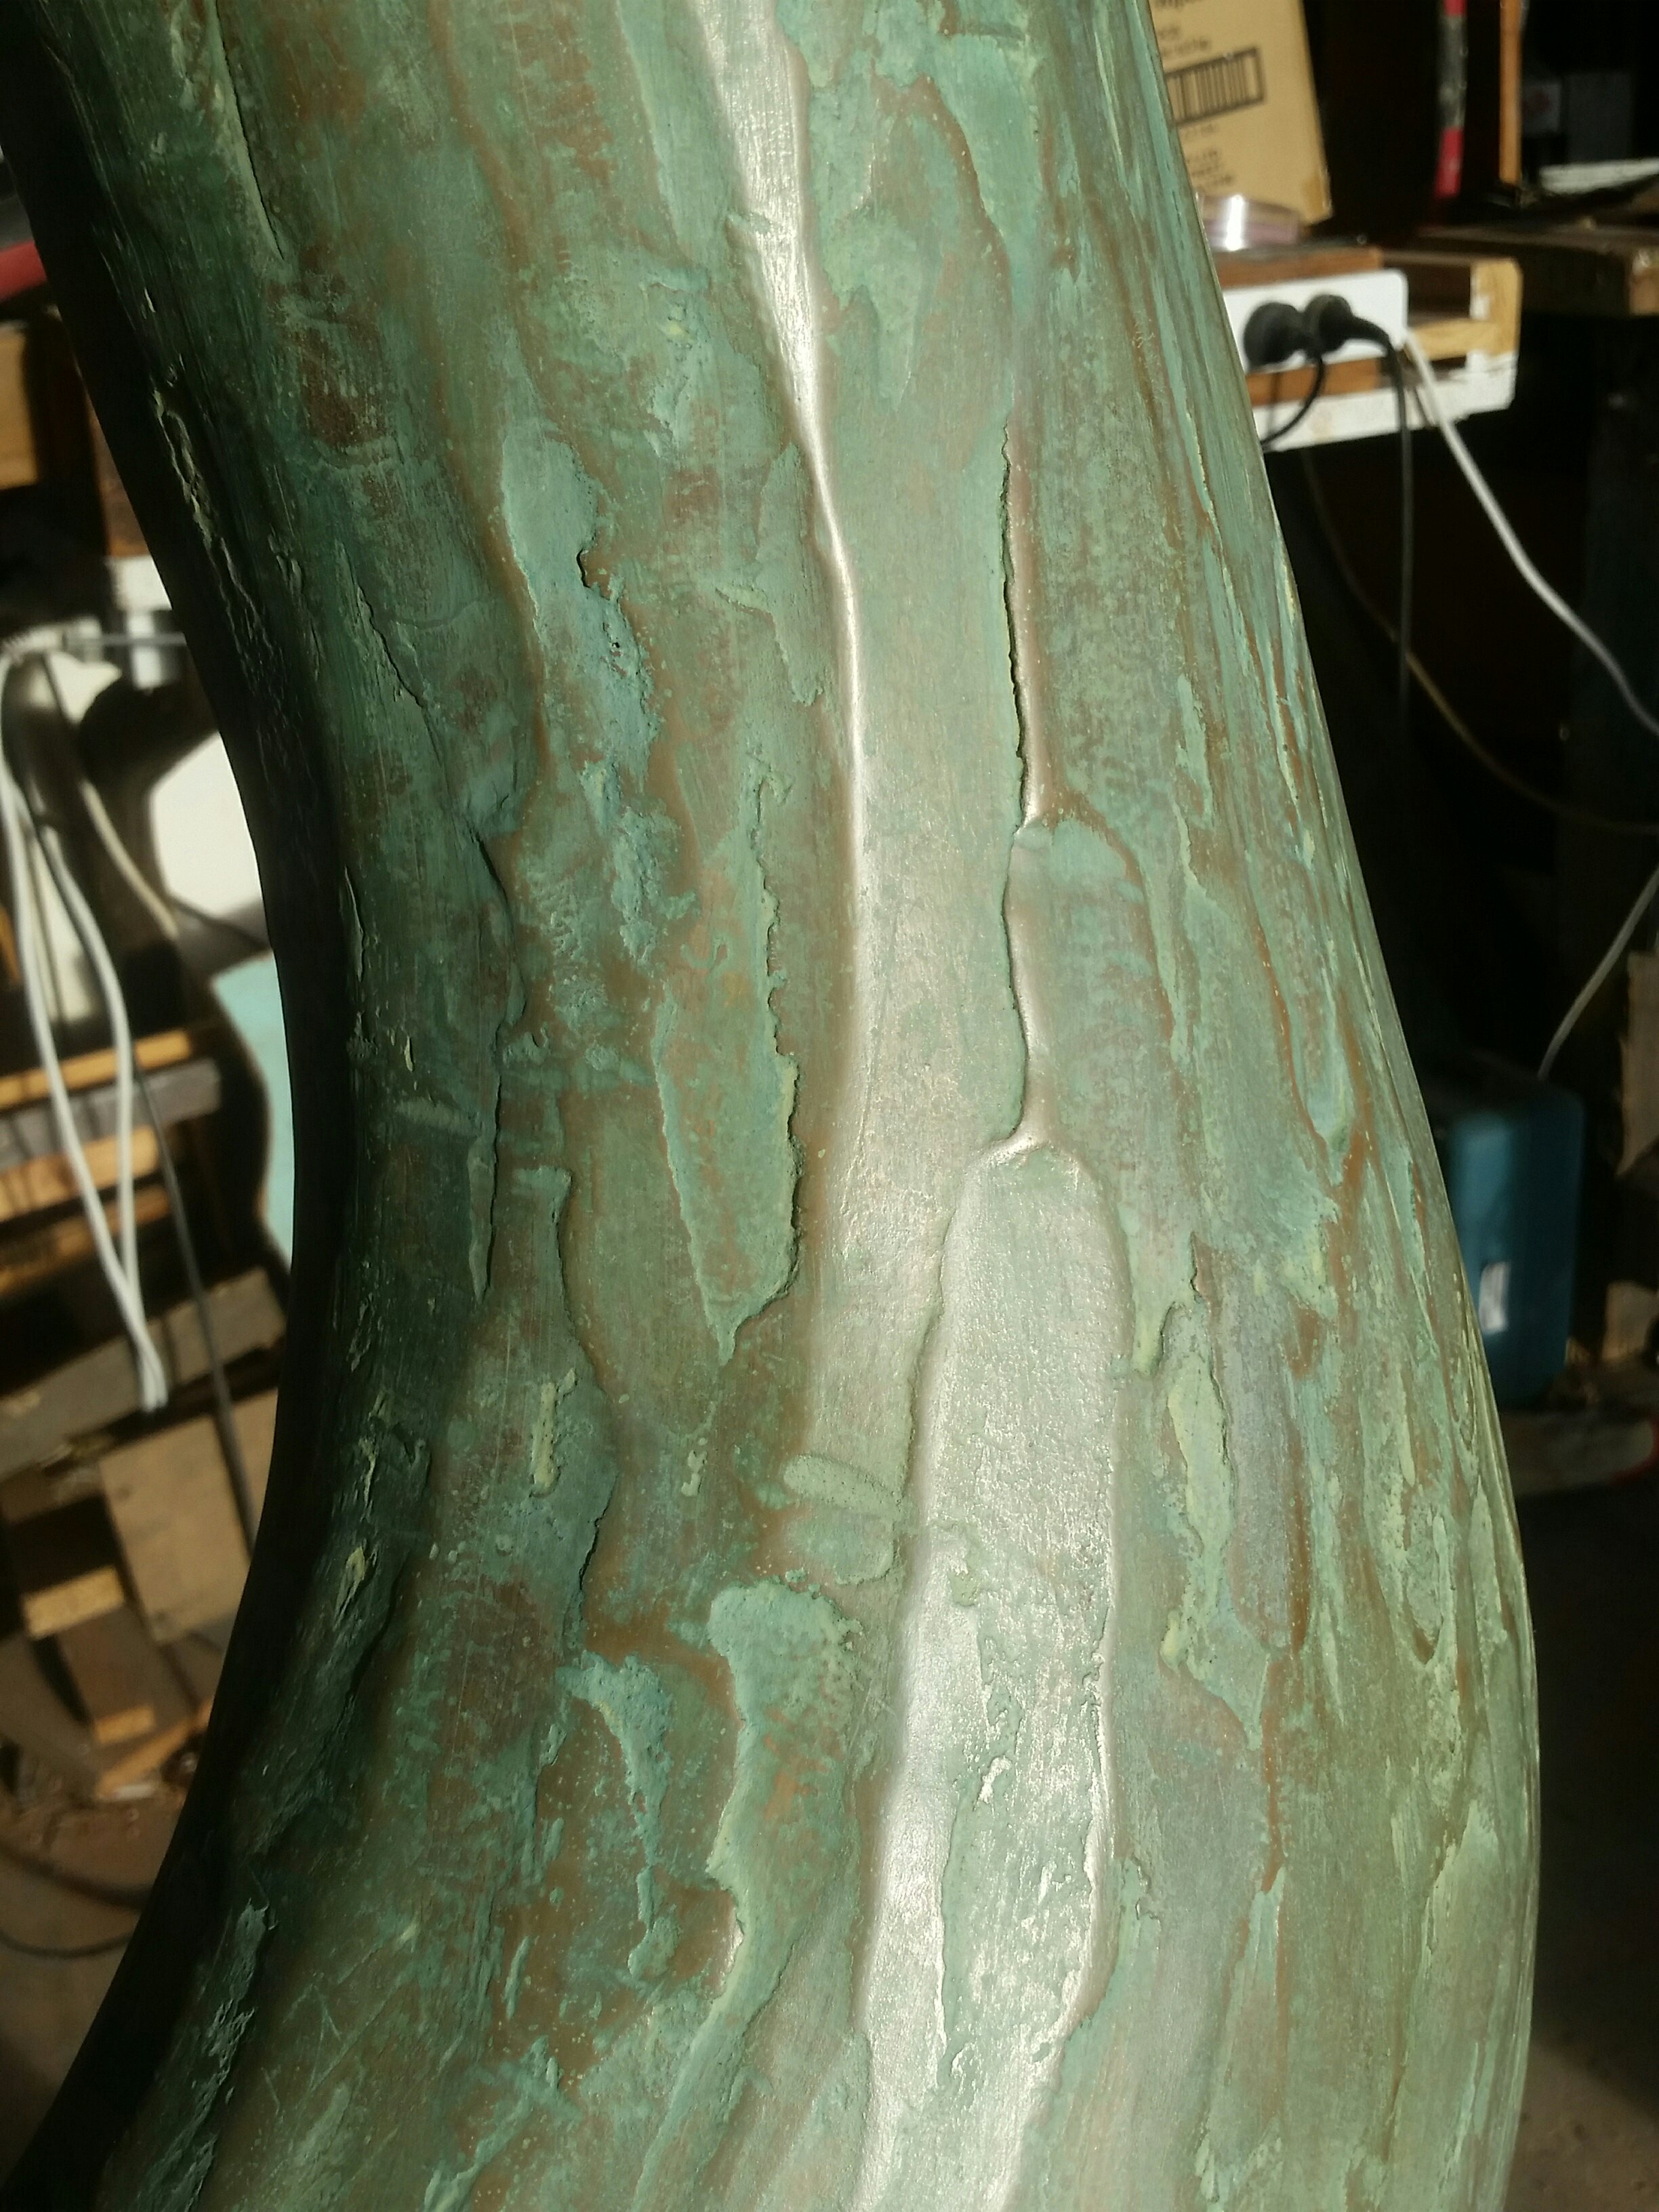
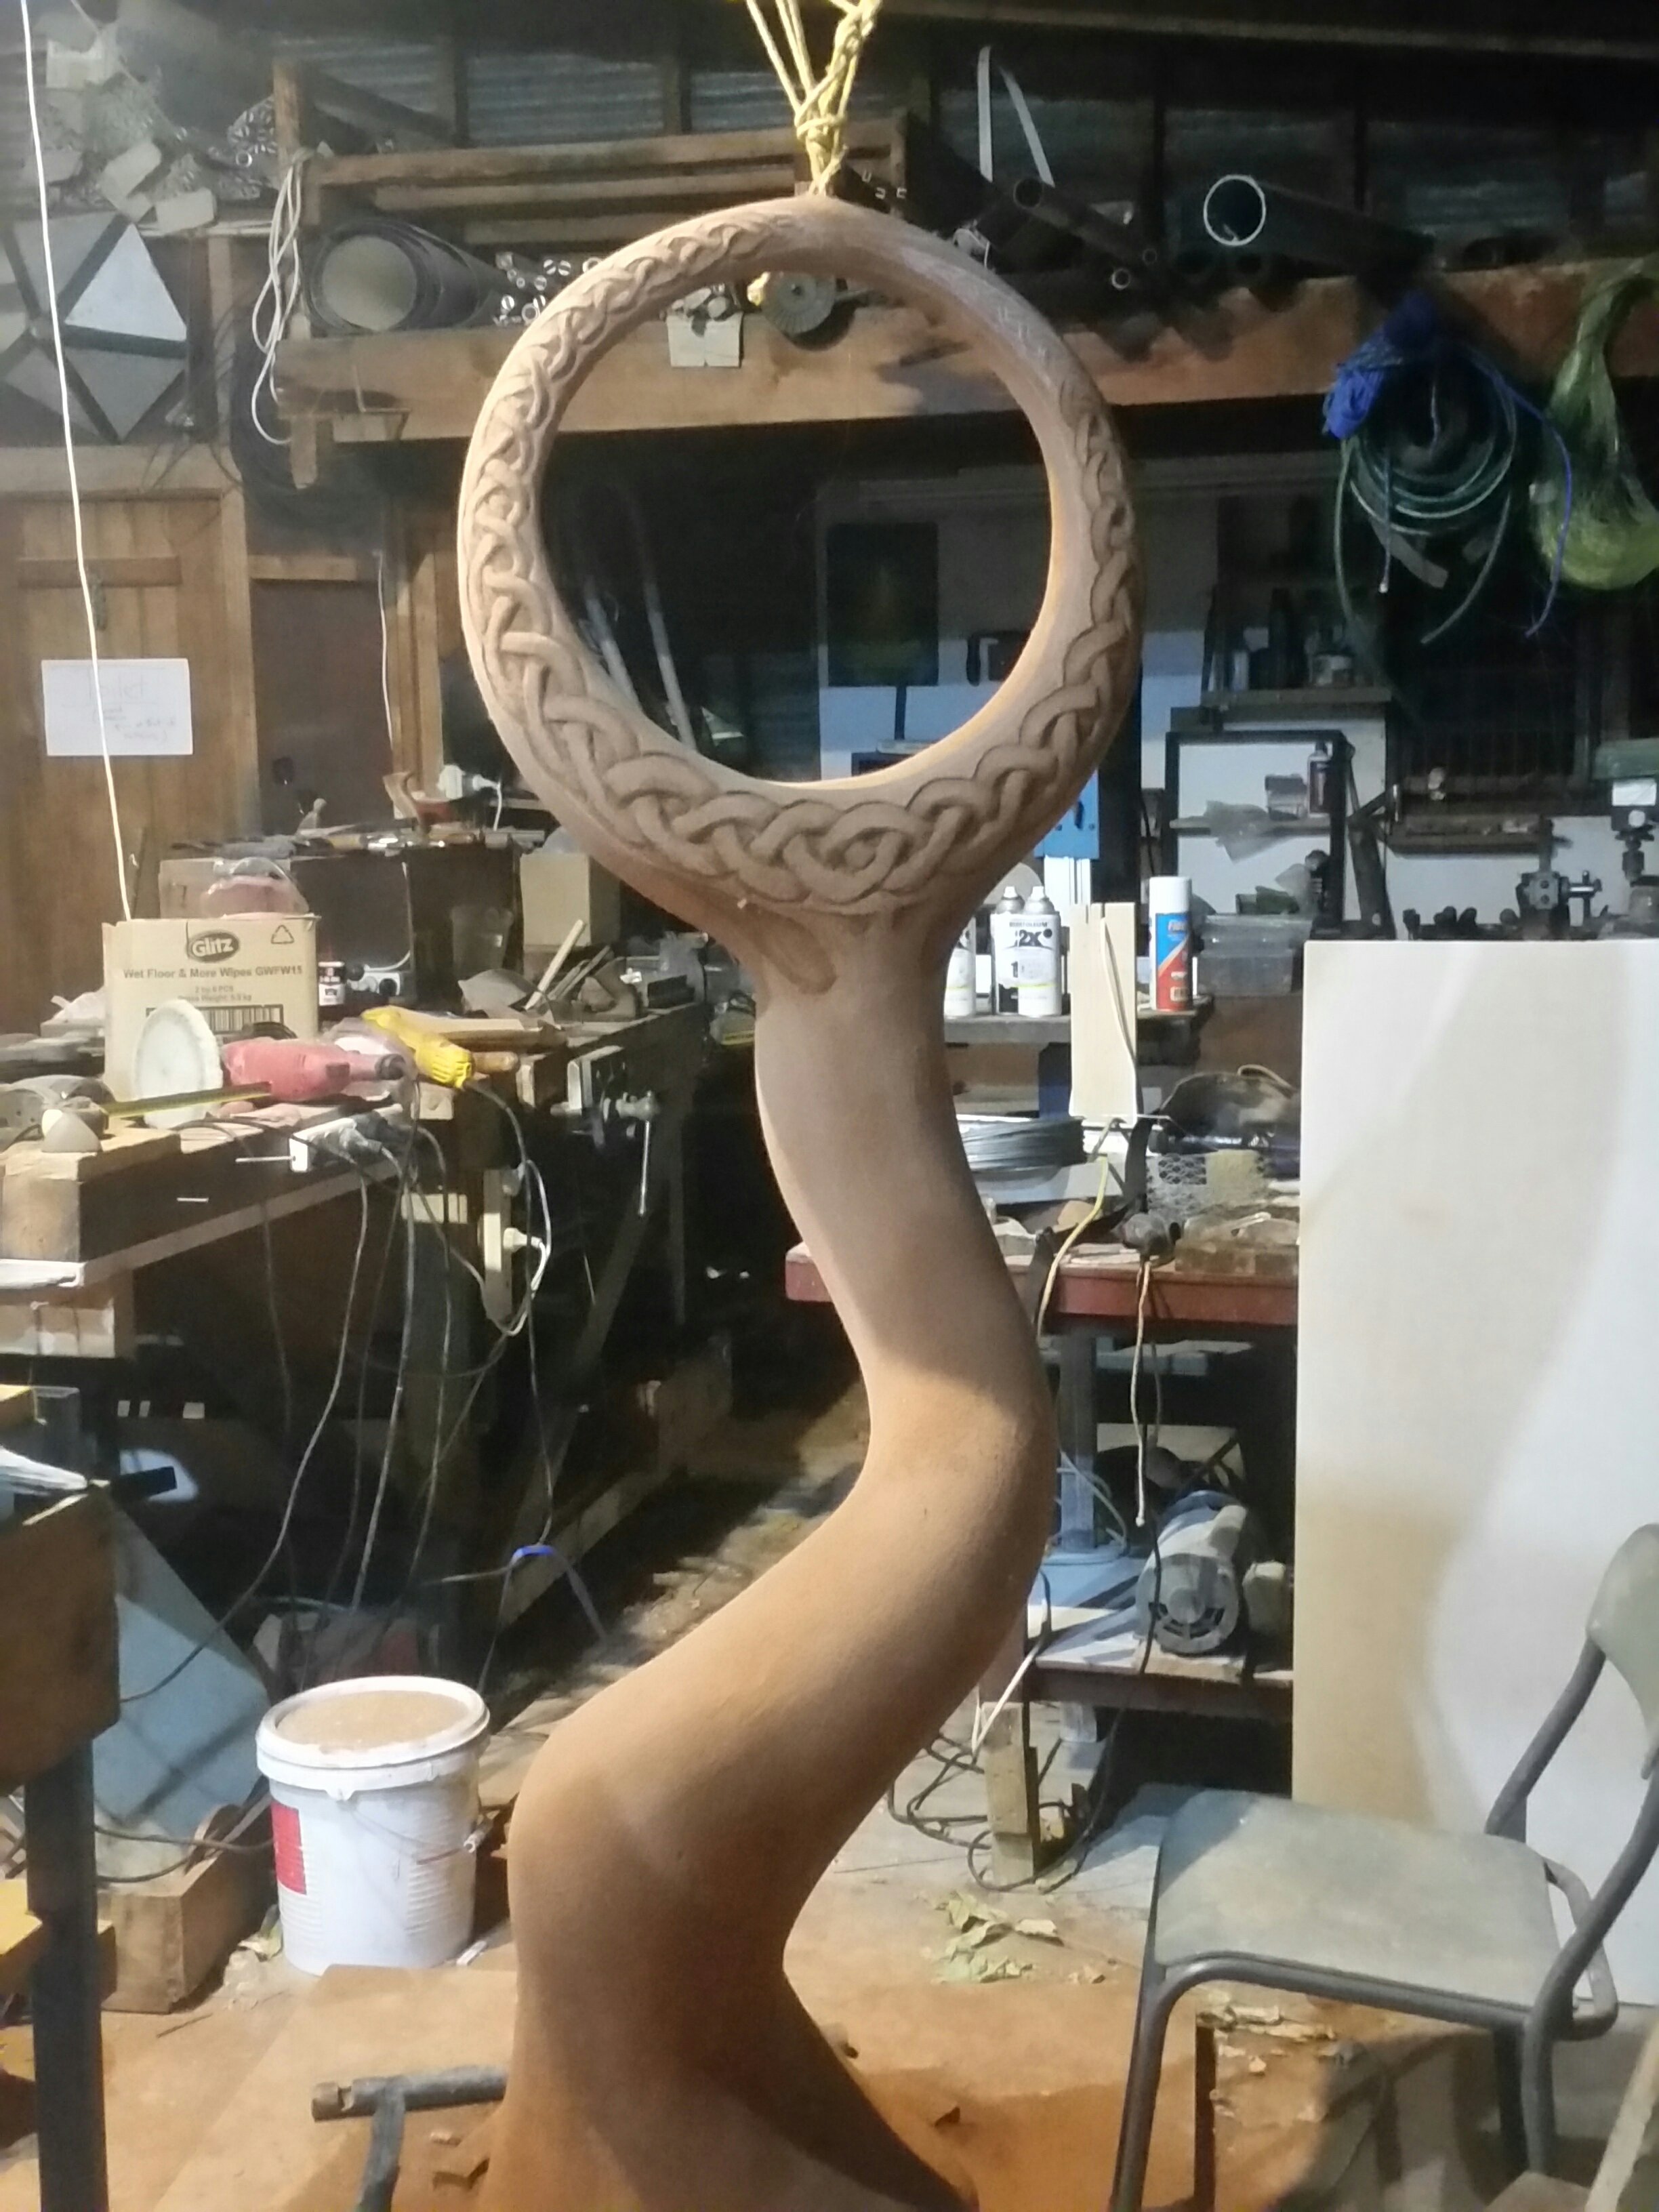
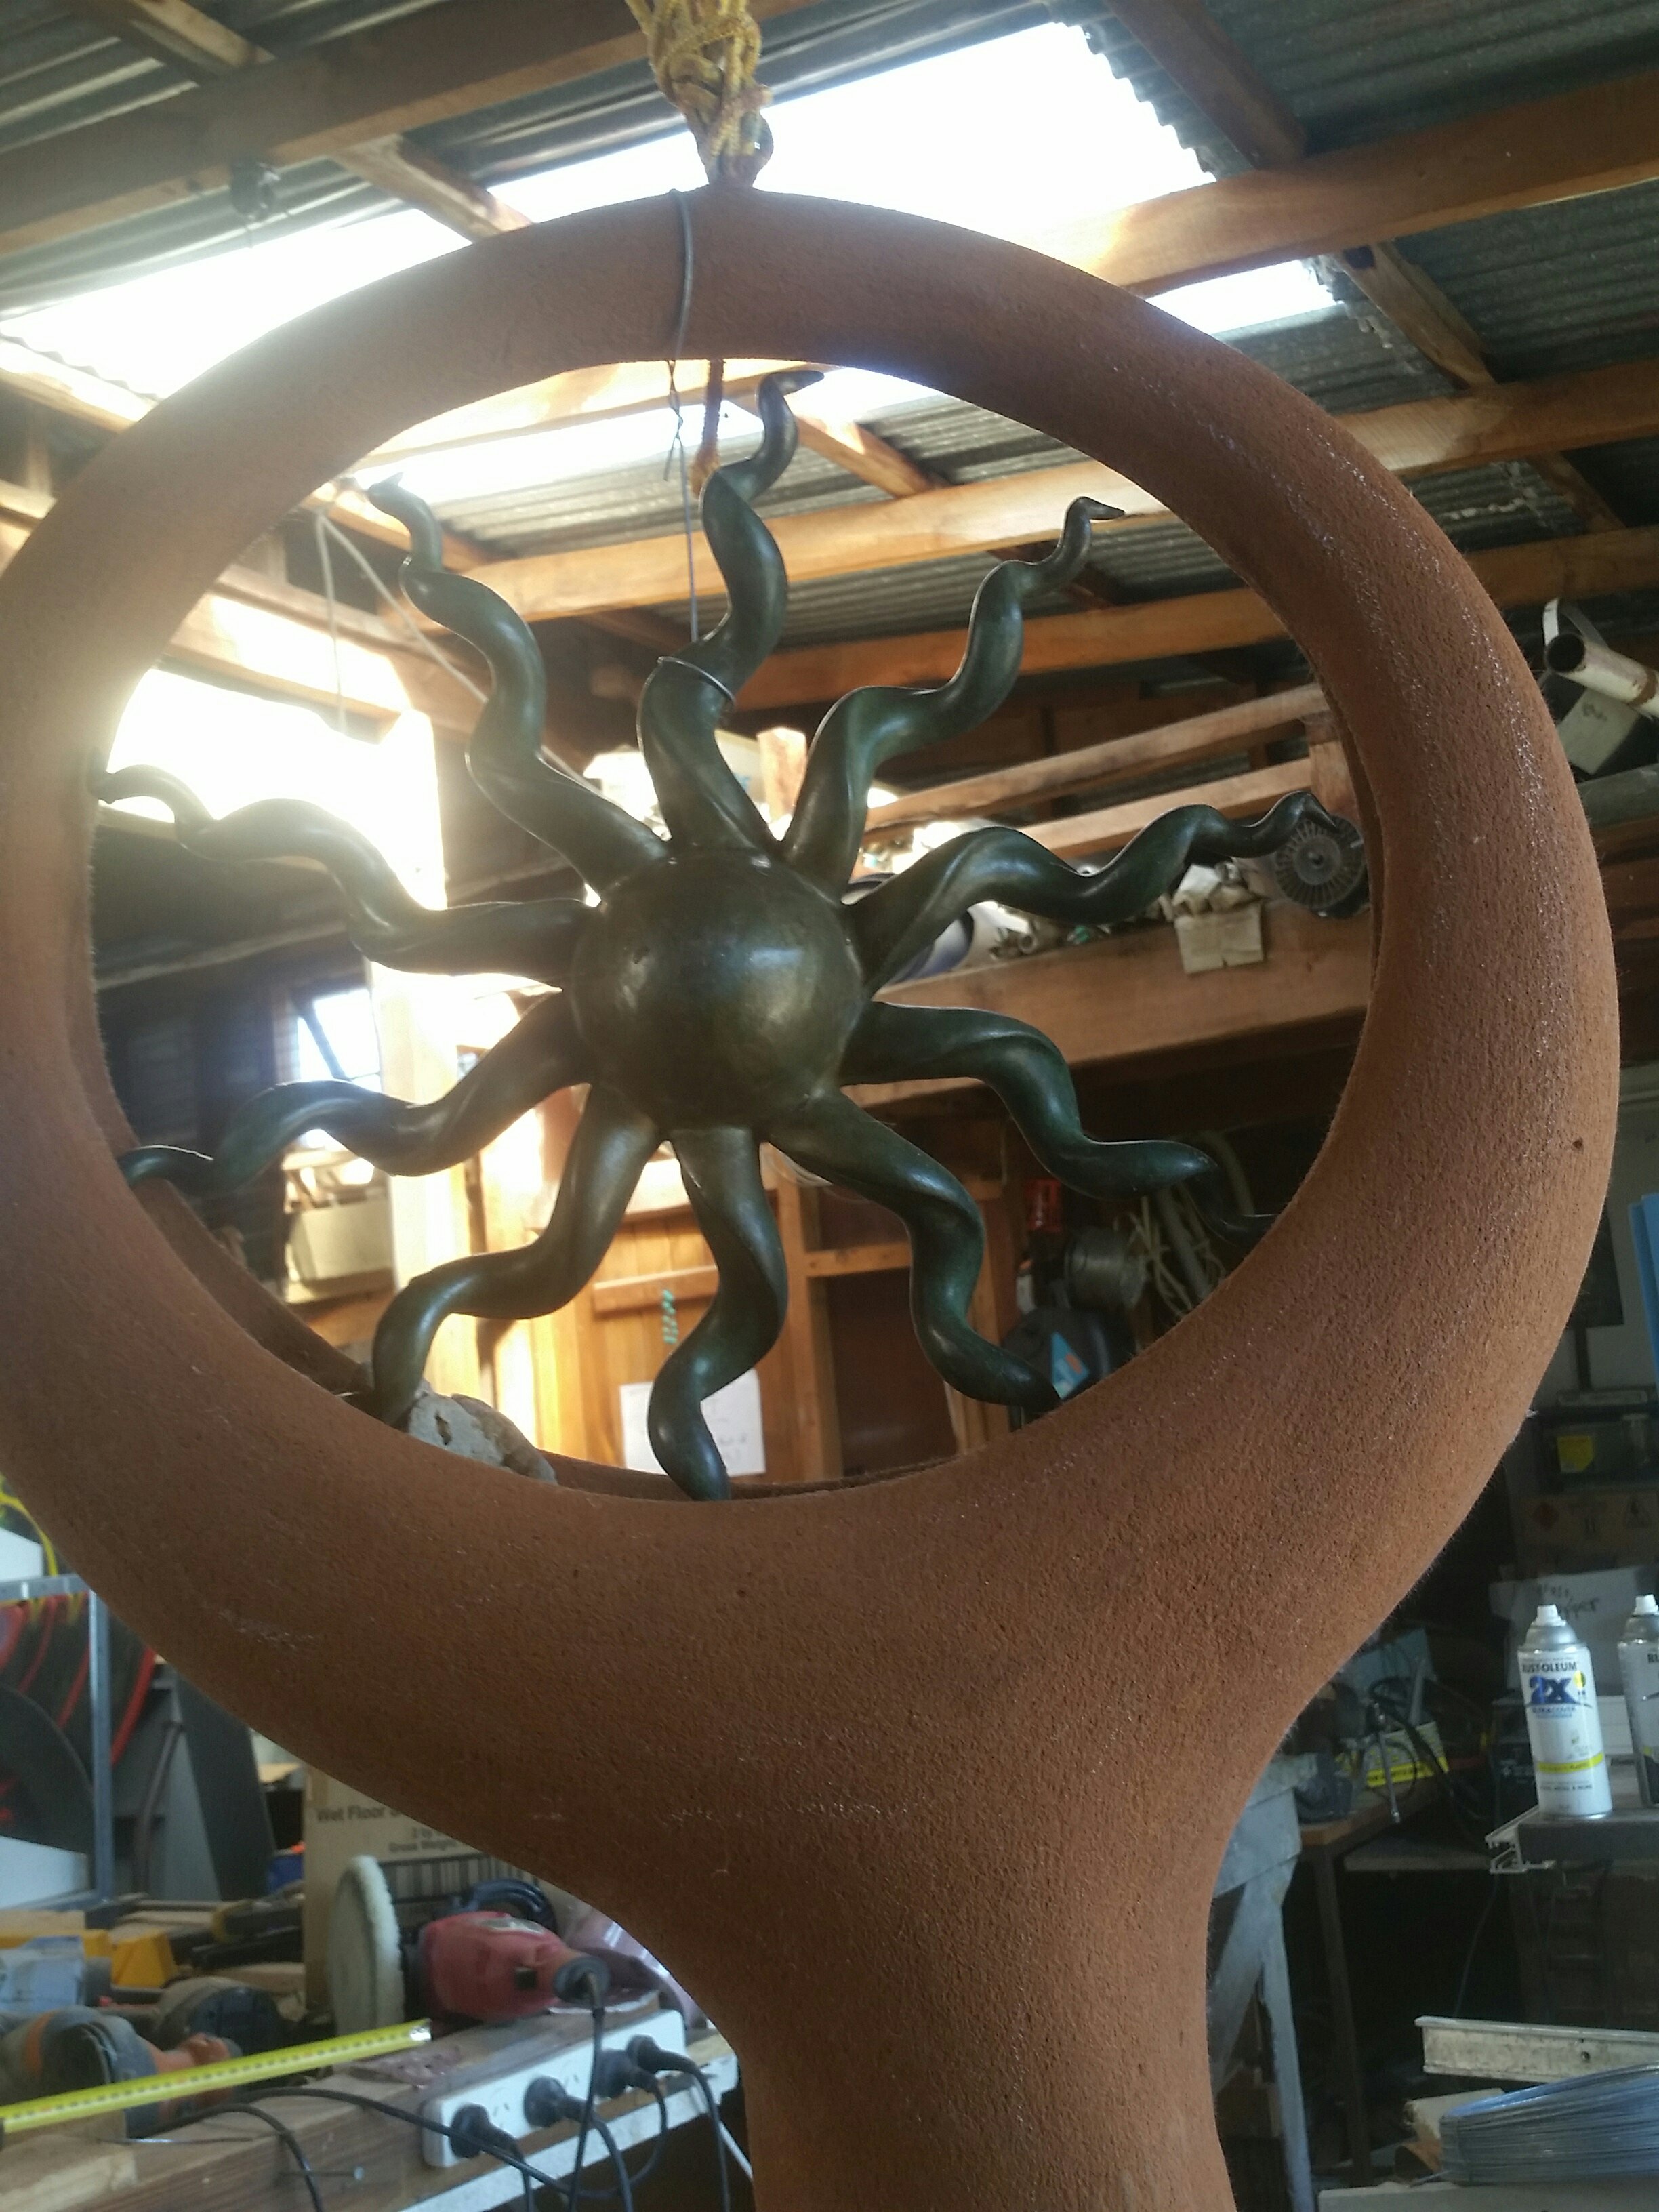
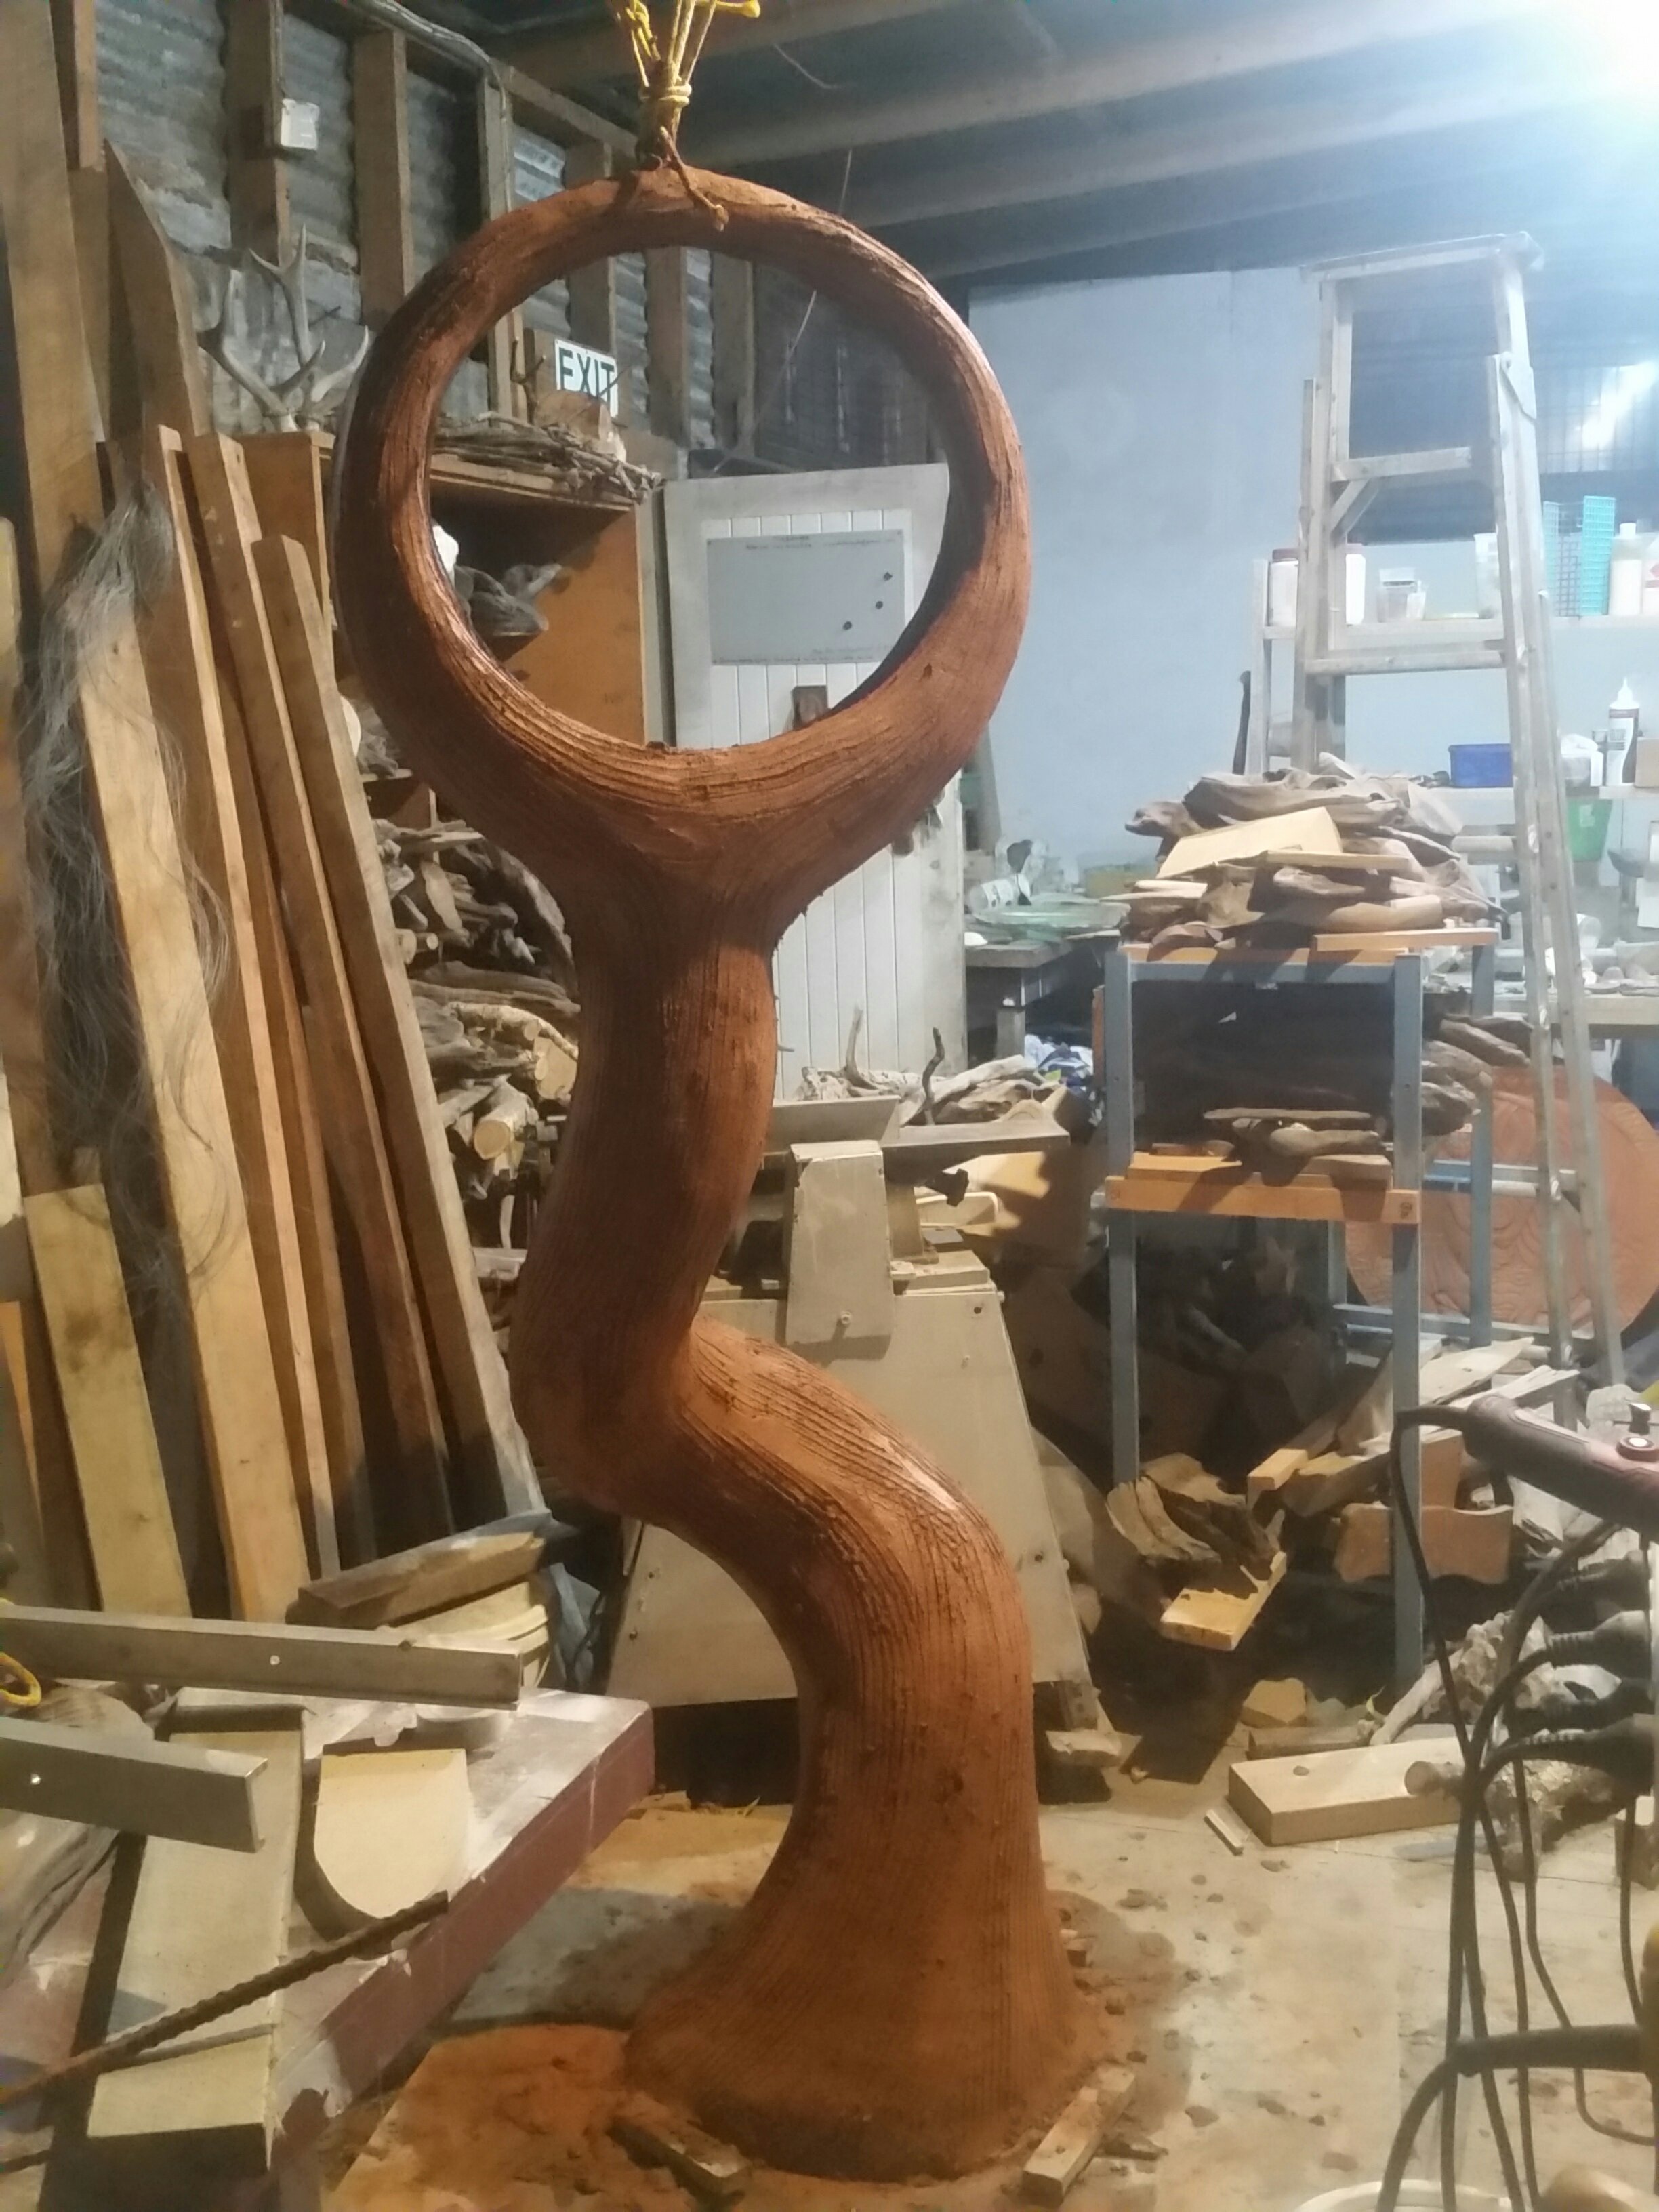
he spiral I’ve been chipping away at between other exciting works here at Dreamspace gallery and workshops www.dreamspace.nz is now pretty much like shiny aged bronze…a product I’ve tested from Peter Fell Ltd in Auckland, called C2 hardener and sealer for concrete, seems great…not a paint but a penetrating lithium silicate product which apparently replaces the calcium silicate in the concrete or plaster, making it denser harder and more polishable. ..
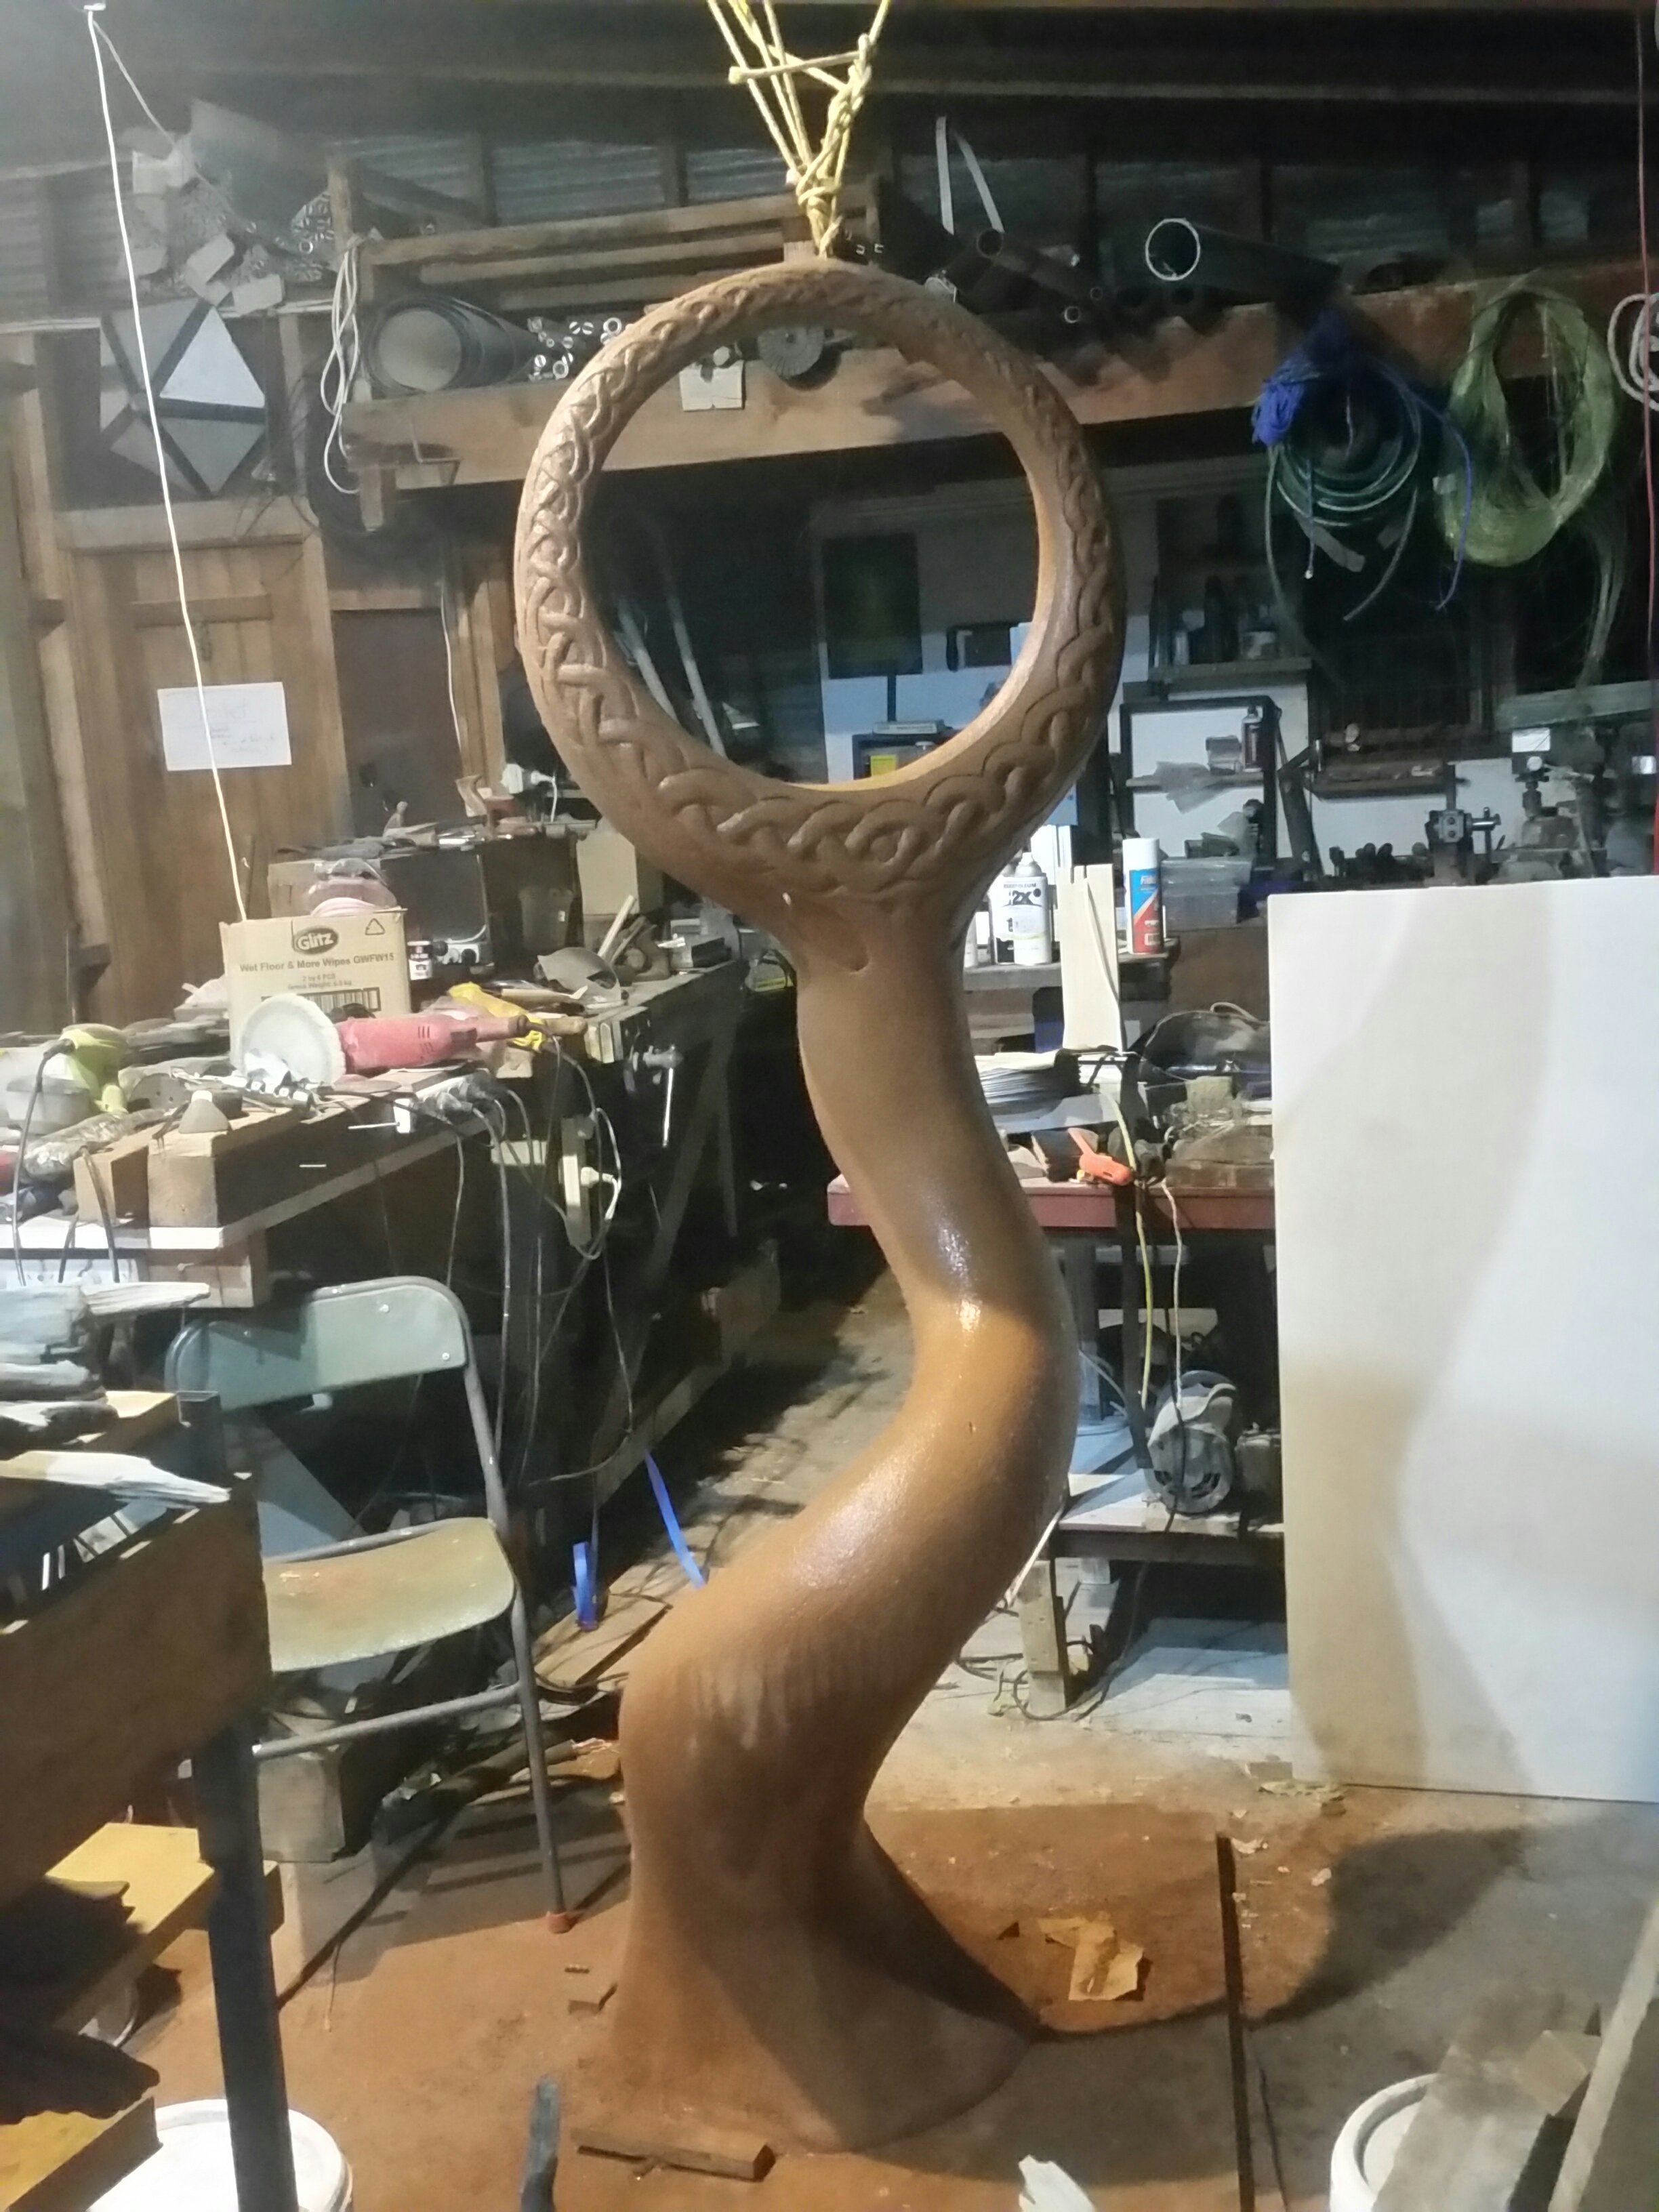
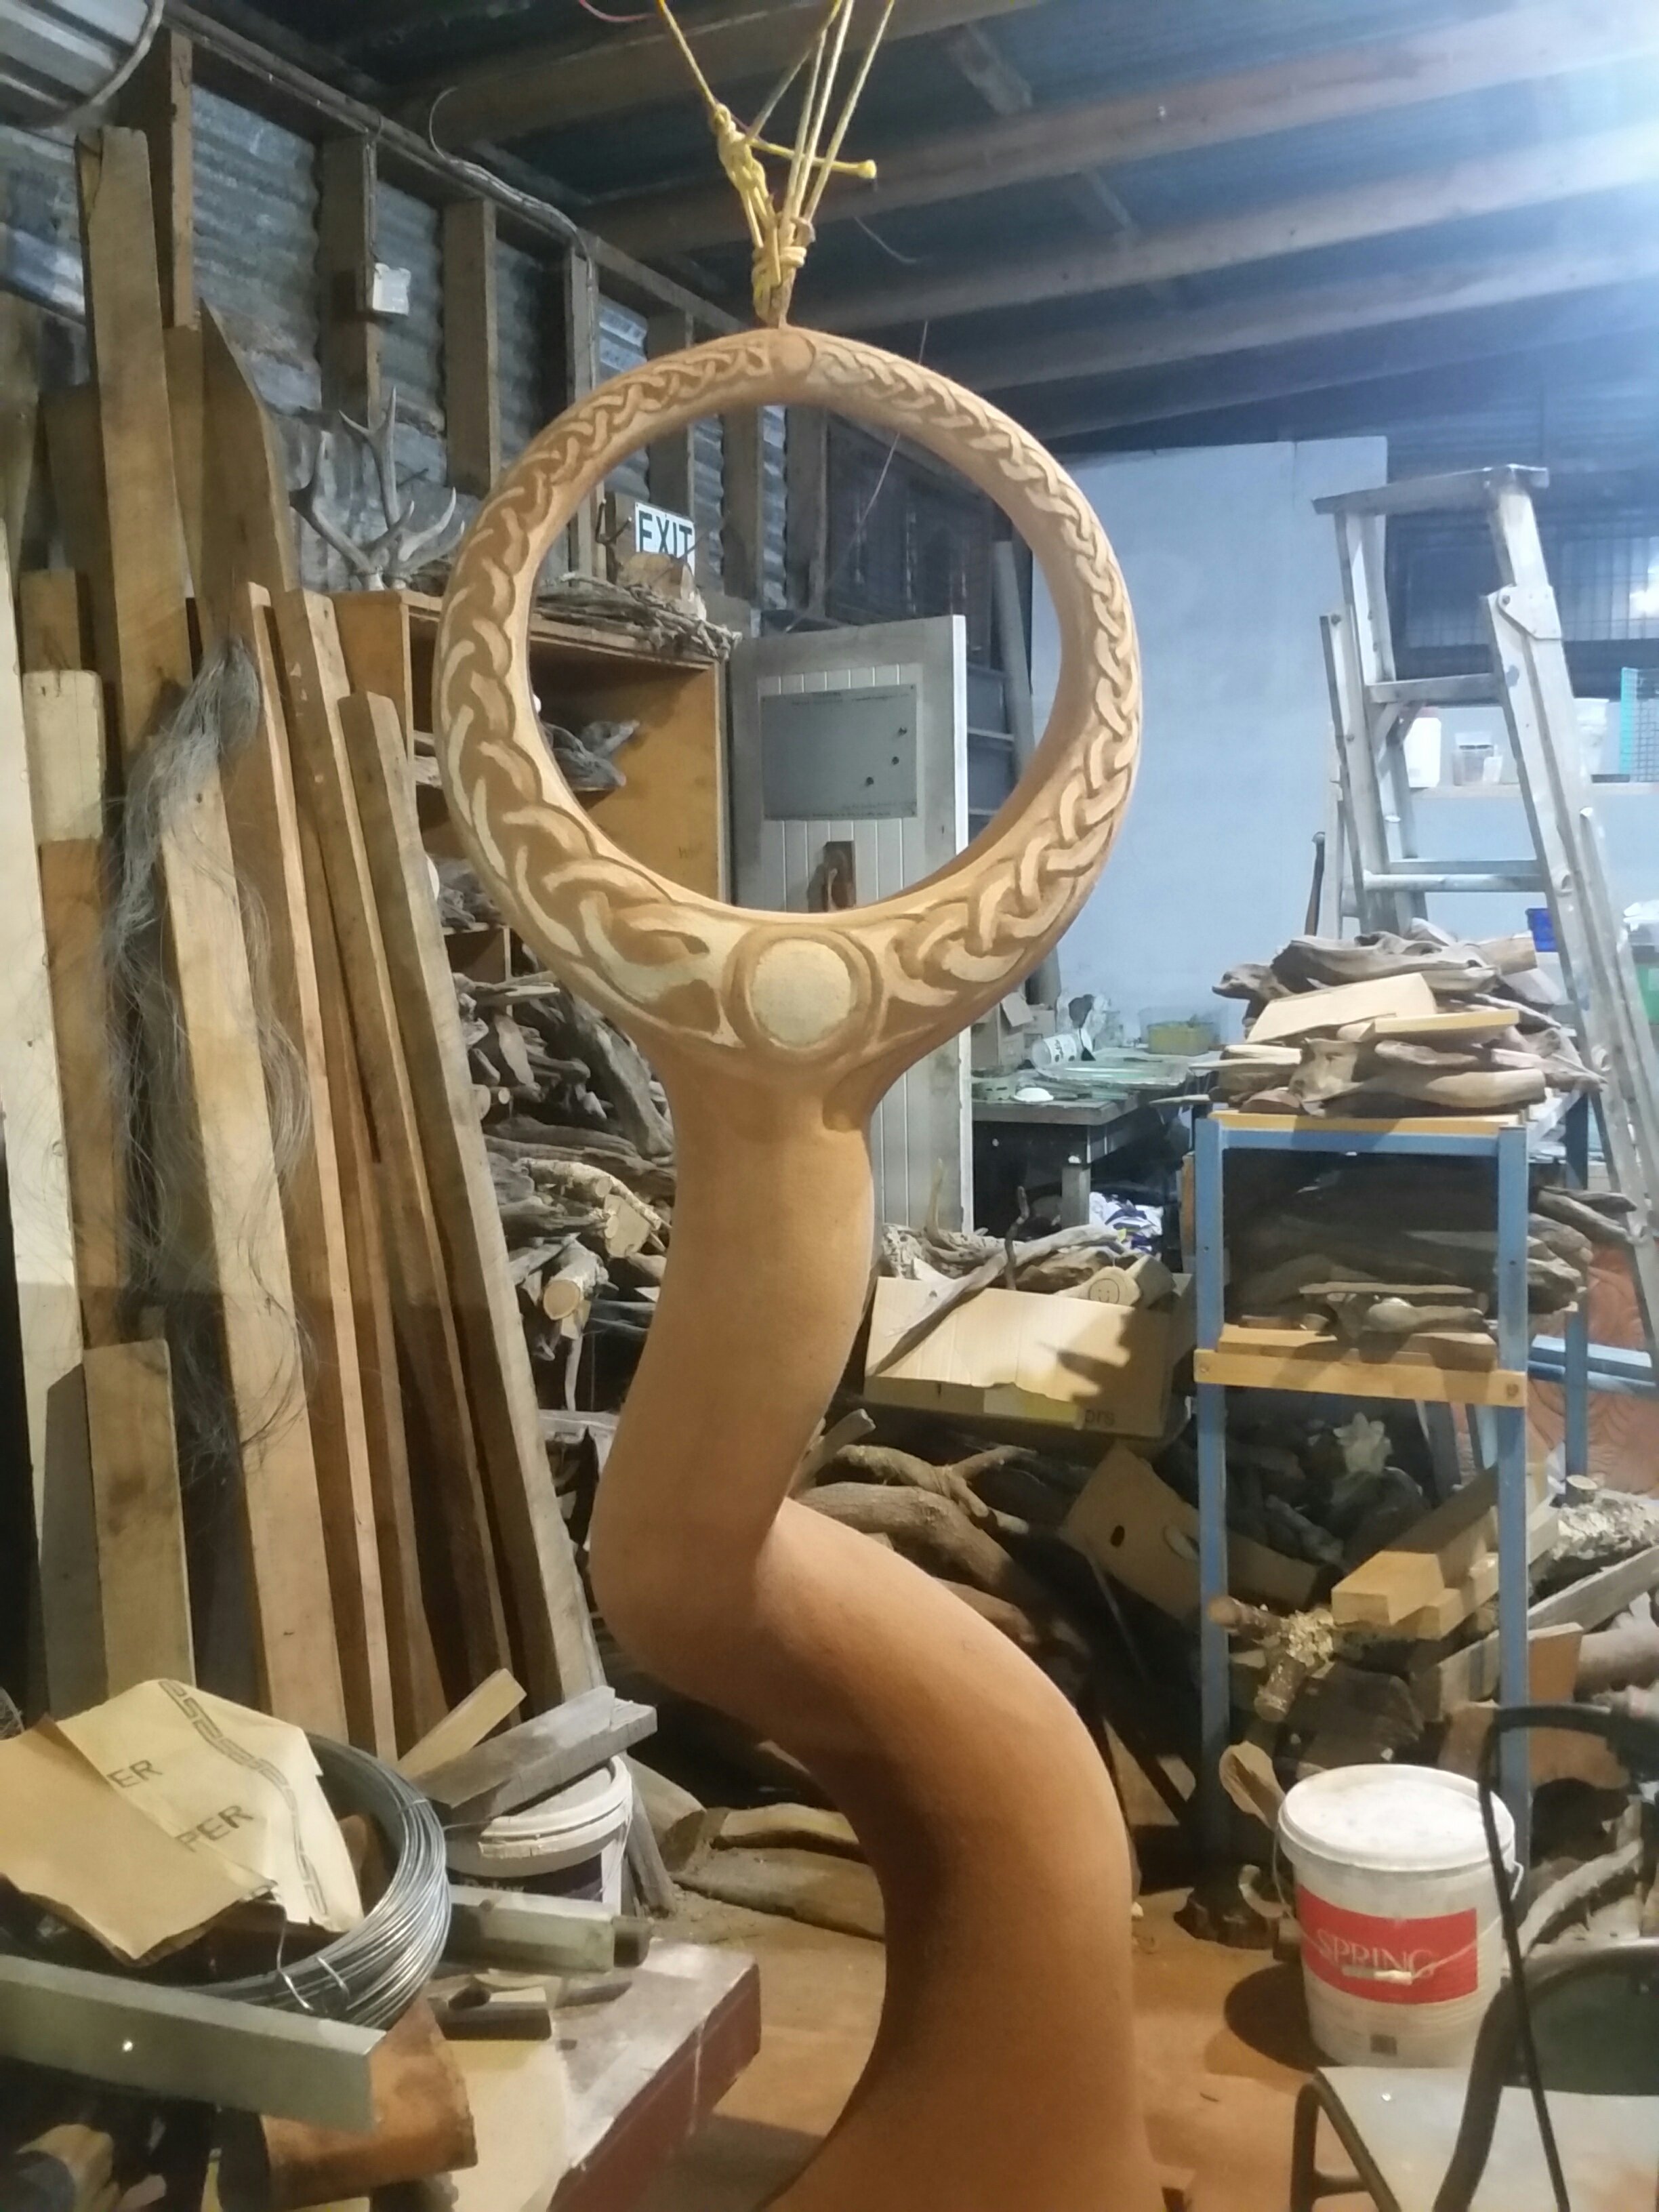
Just spent most of today doing this, in between visitors… overnight setting but still nice and soft to carve… in a twist of the unfolding it’s now not for the bronze ‘sunwheel’ – clients want a smaller one for that… will buy this one as well for a different site… with whatever feature I come up with… including carving…so I went for a celtic knot plus some branch hints and on one side a medallion probably to have a celtic knot in it too…
Note the tungsten scraper and also the steel ruler which scraped at an angle around the spiral helped true up the curve.. on a boat hull this is I believe called ‘fairing’ the lines. Also for carving the knotwork I found it helpful to paint primer on first so it is easier to draw and see to cut to the lines… More work needed but at least main carving done while plaster is softer. Tomorrow it will be harder. ..but still ok to scrape with tungsten blades.
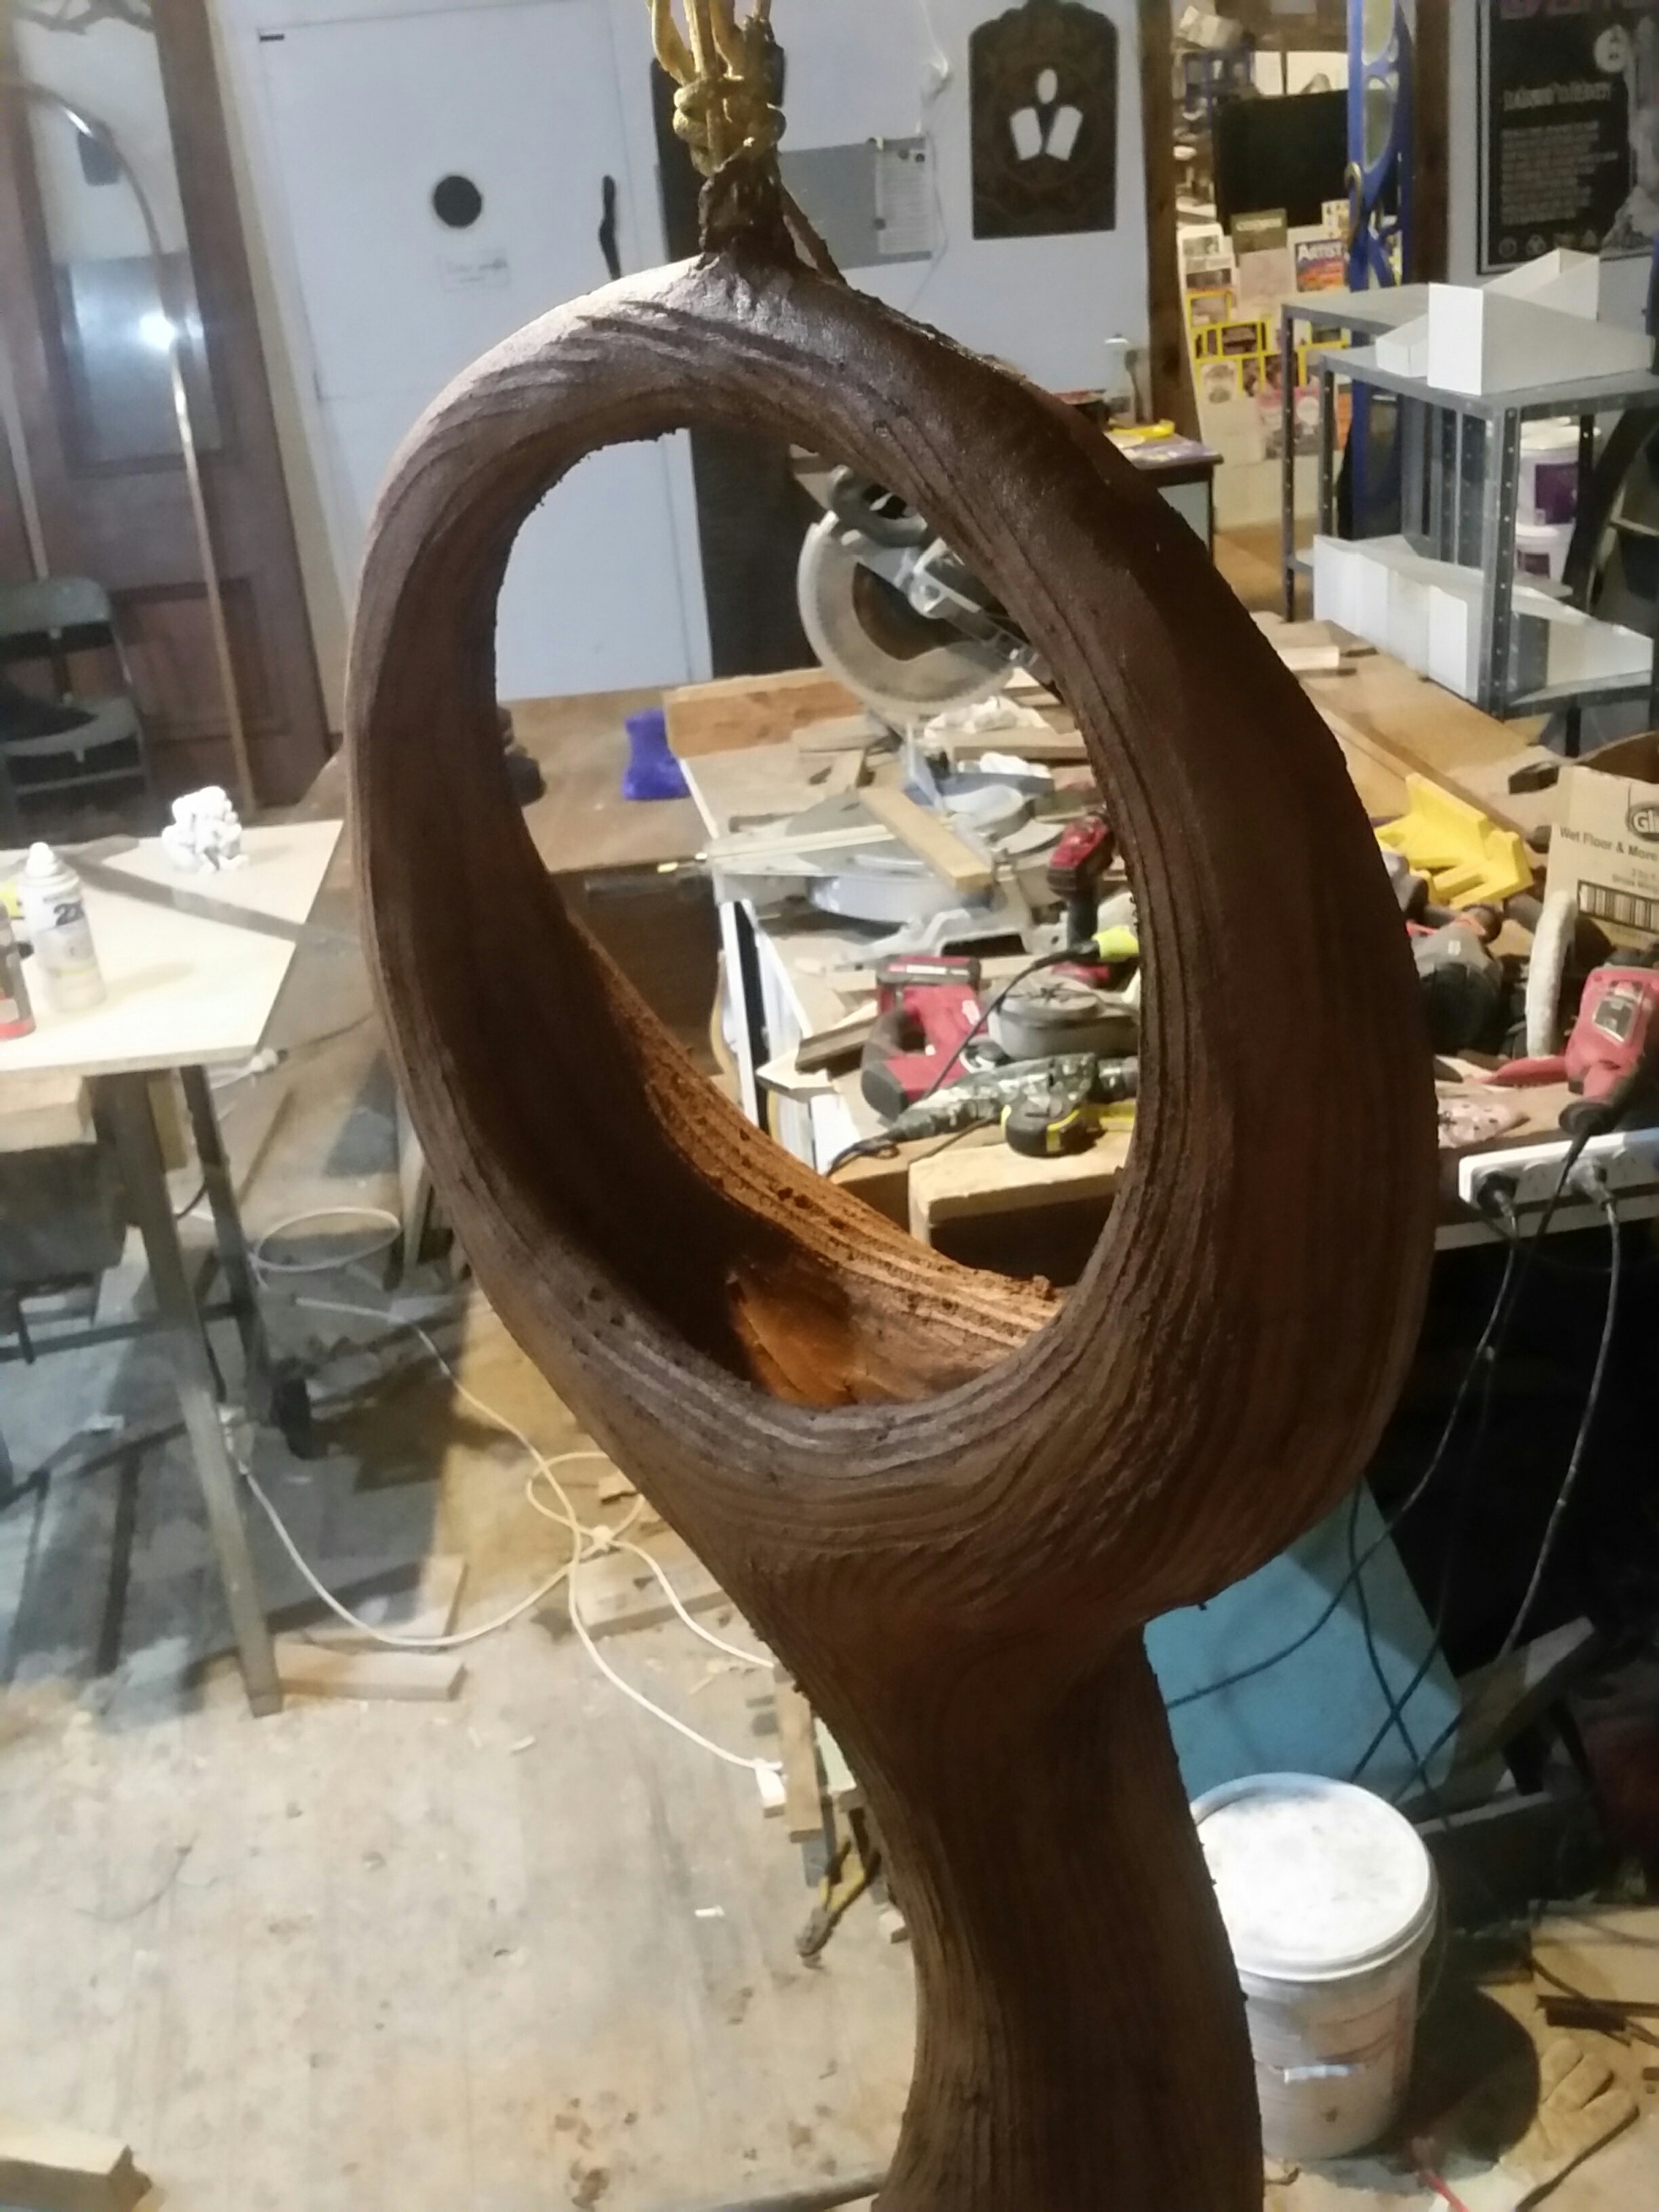
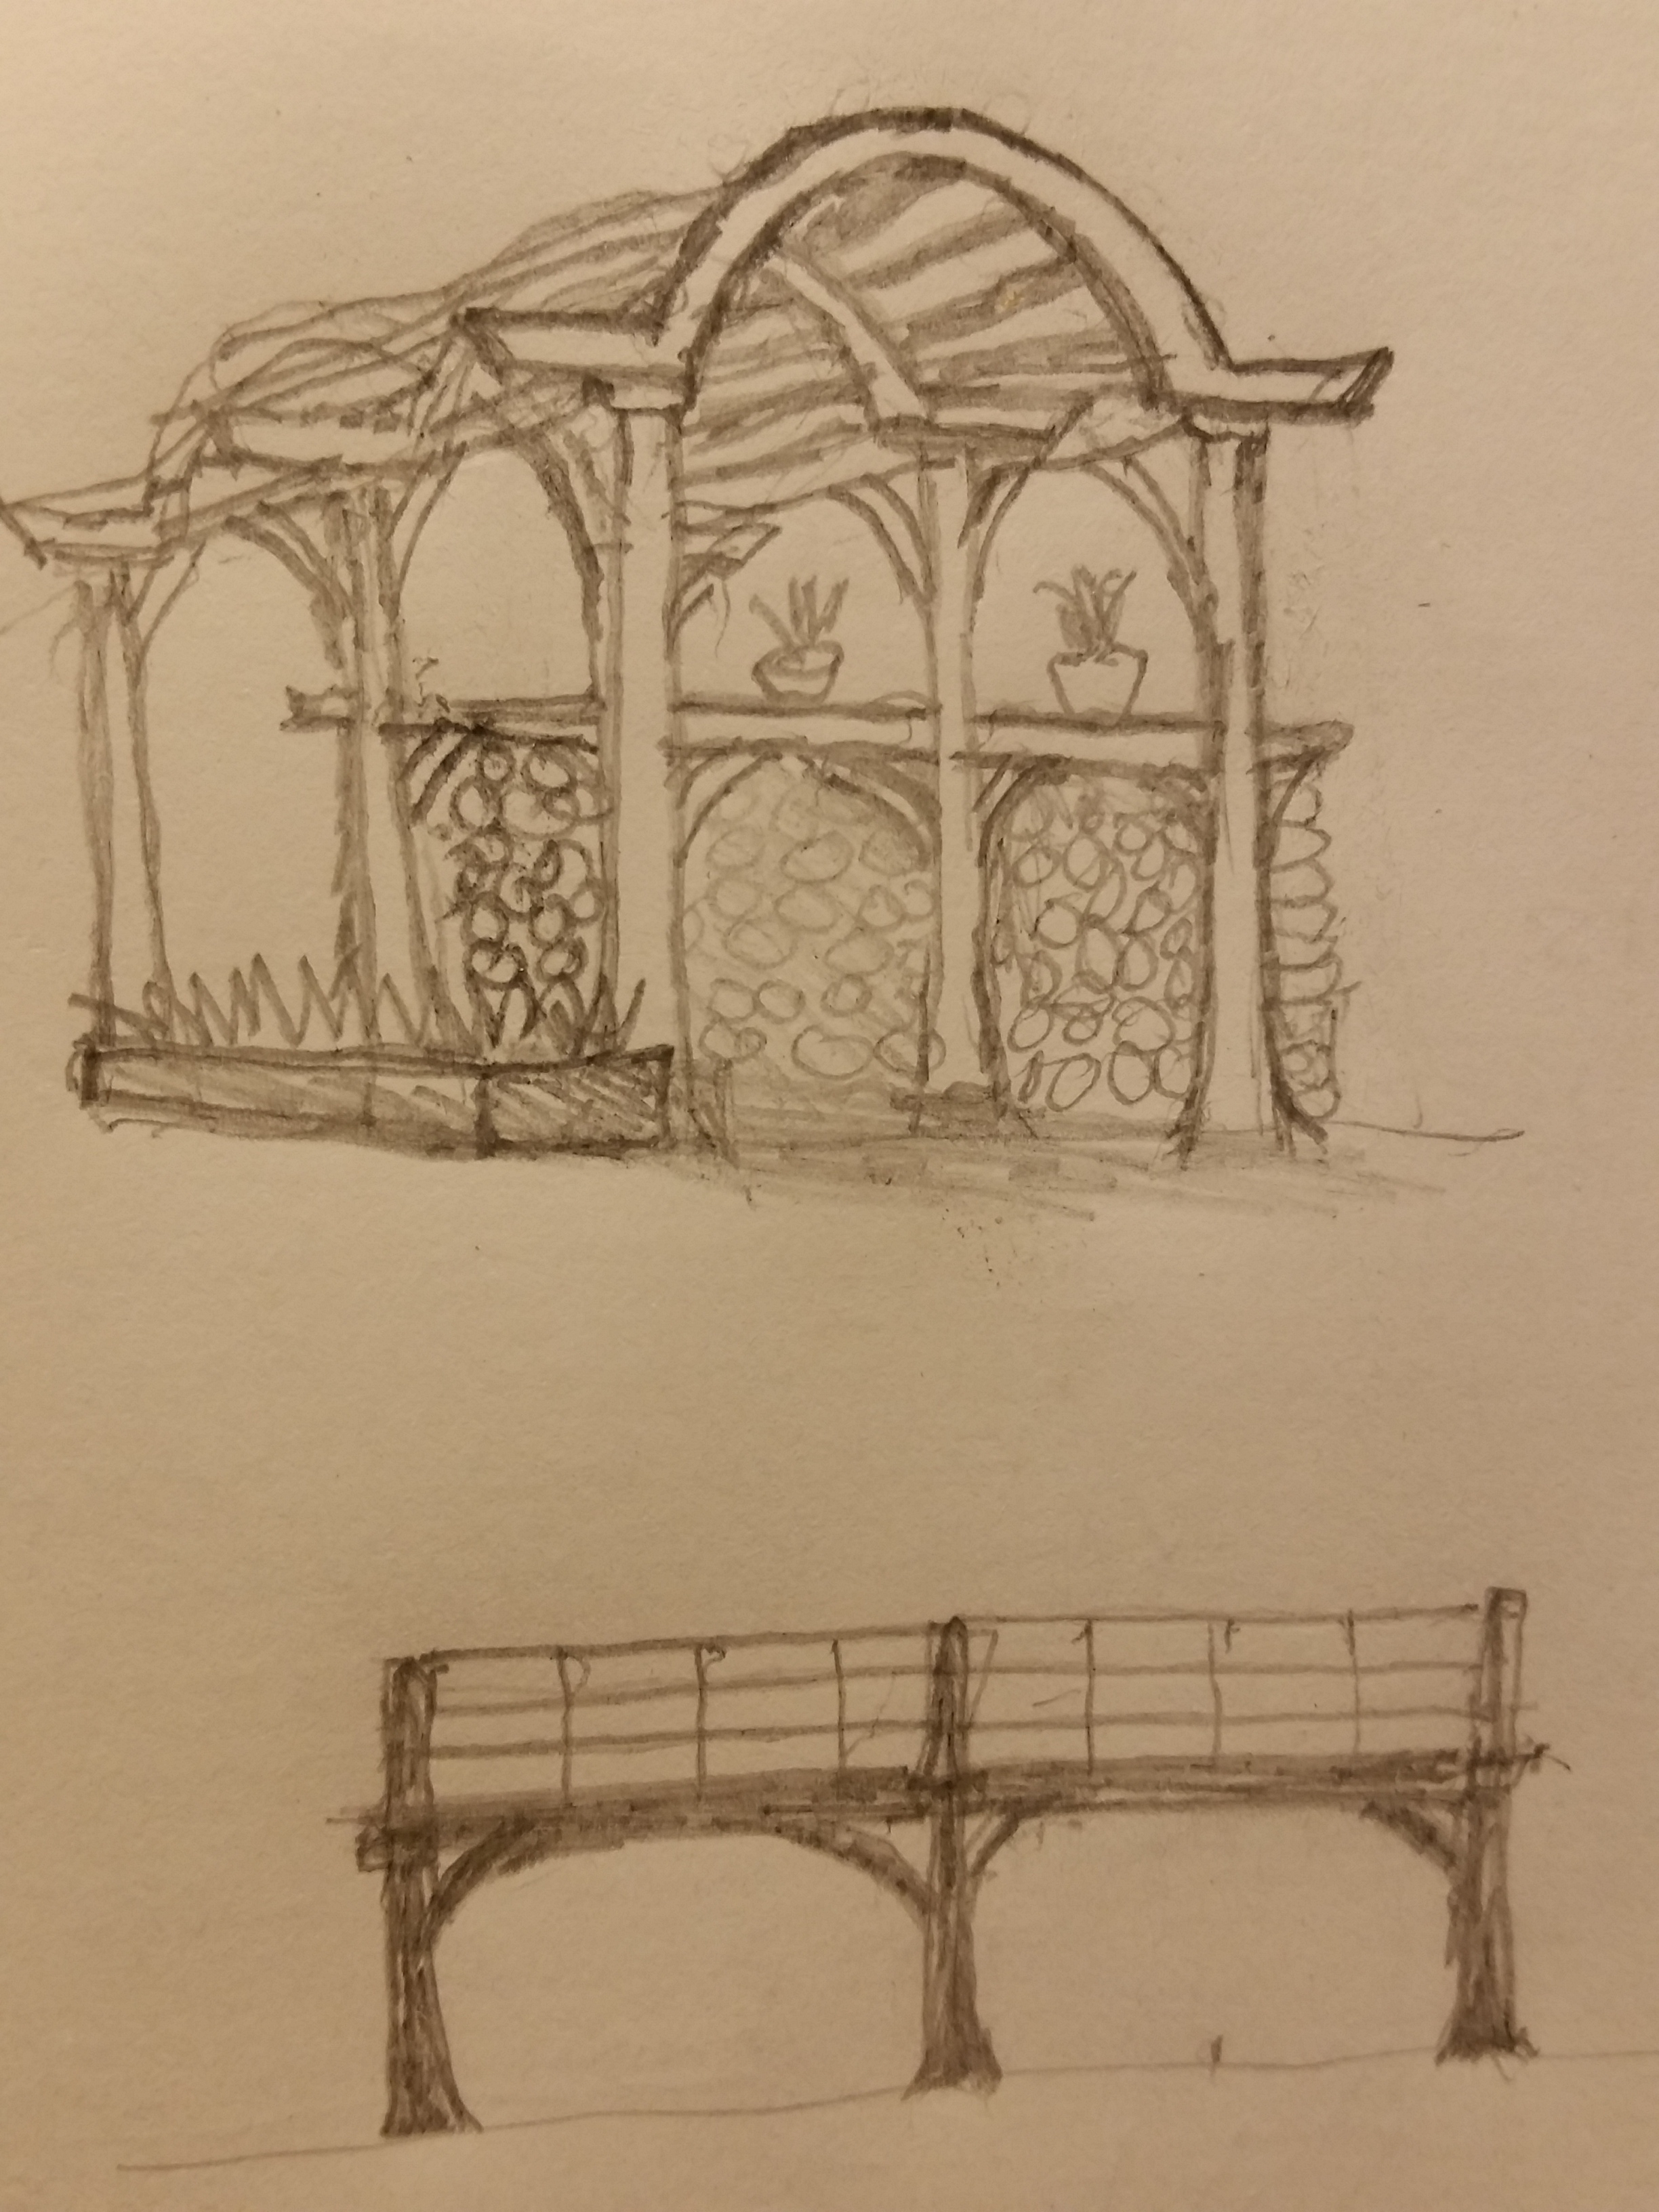
This is two trial drawings I’ve just done for the moon (/sun) gate (about 8foot…2.4 metres- diameter) I plan to do as soon as humanly possible 🙂 probably will do plaster model/s about a foot high to see how they look in 3d. The bottom one would have the sun opening set back from the knot circle with a short ‘tunnel’ joining them…
Facing out over the Eastern sea perhaps… Comments welcomed!
Always a mental obstacle to starting the next stage… transition to a different mode feels like a big job. But plastering is actually quite quick… the thing is to begin!
Note the ropes steadying and supporting the sculpture while it sets. Also the screwed wood pieces holding the twisted 10 mm rebar main armature pieces bent at right angles at the floor.
I’ve been working on a new ideal rebar bender for the 6mm rebar…will work for the 10 mm or 12mm too I’m sure. Requires welding but worth it I think. The bending grooves I cut using standard angle grinder. One model I made by welding a square of hard steel onto the flattened end of a piece of old electrical conduit pipe, the other is the cut off end of an old wrench. Handles formed by winding soft polypropylene cord around the pipe with plenty of pva glue. Frayed ends soaked in glue can be tucked under the windings.
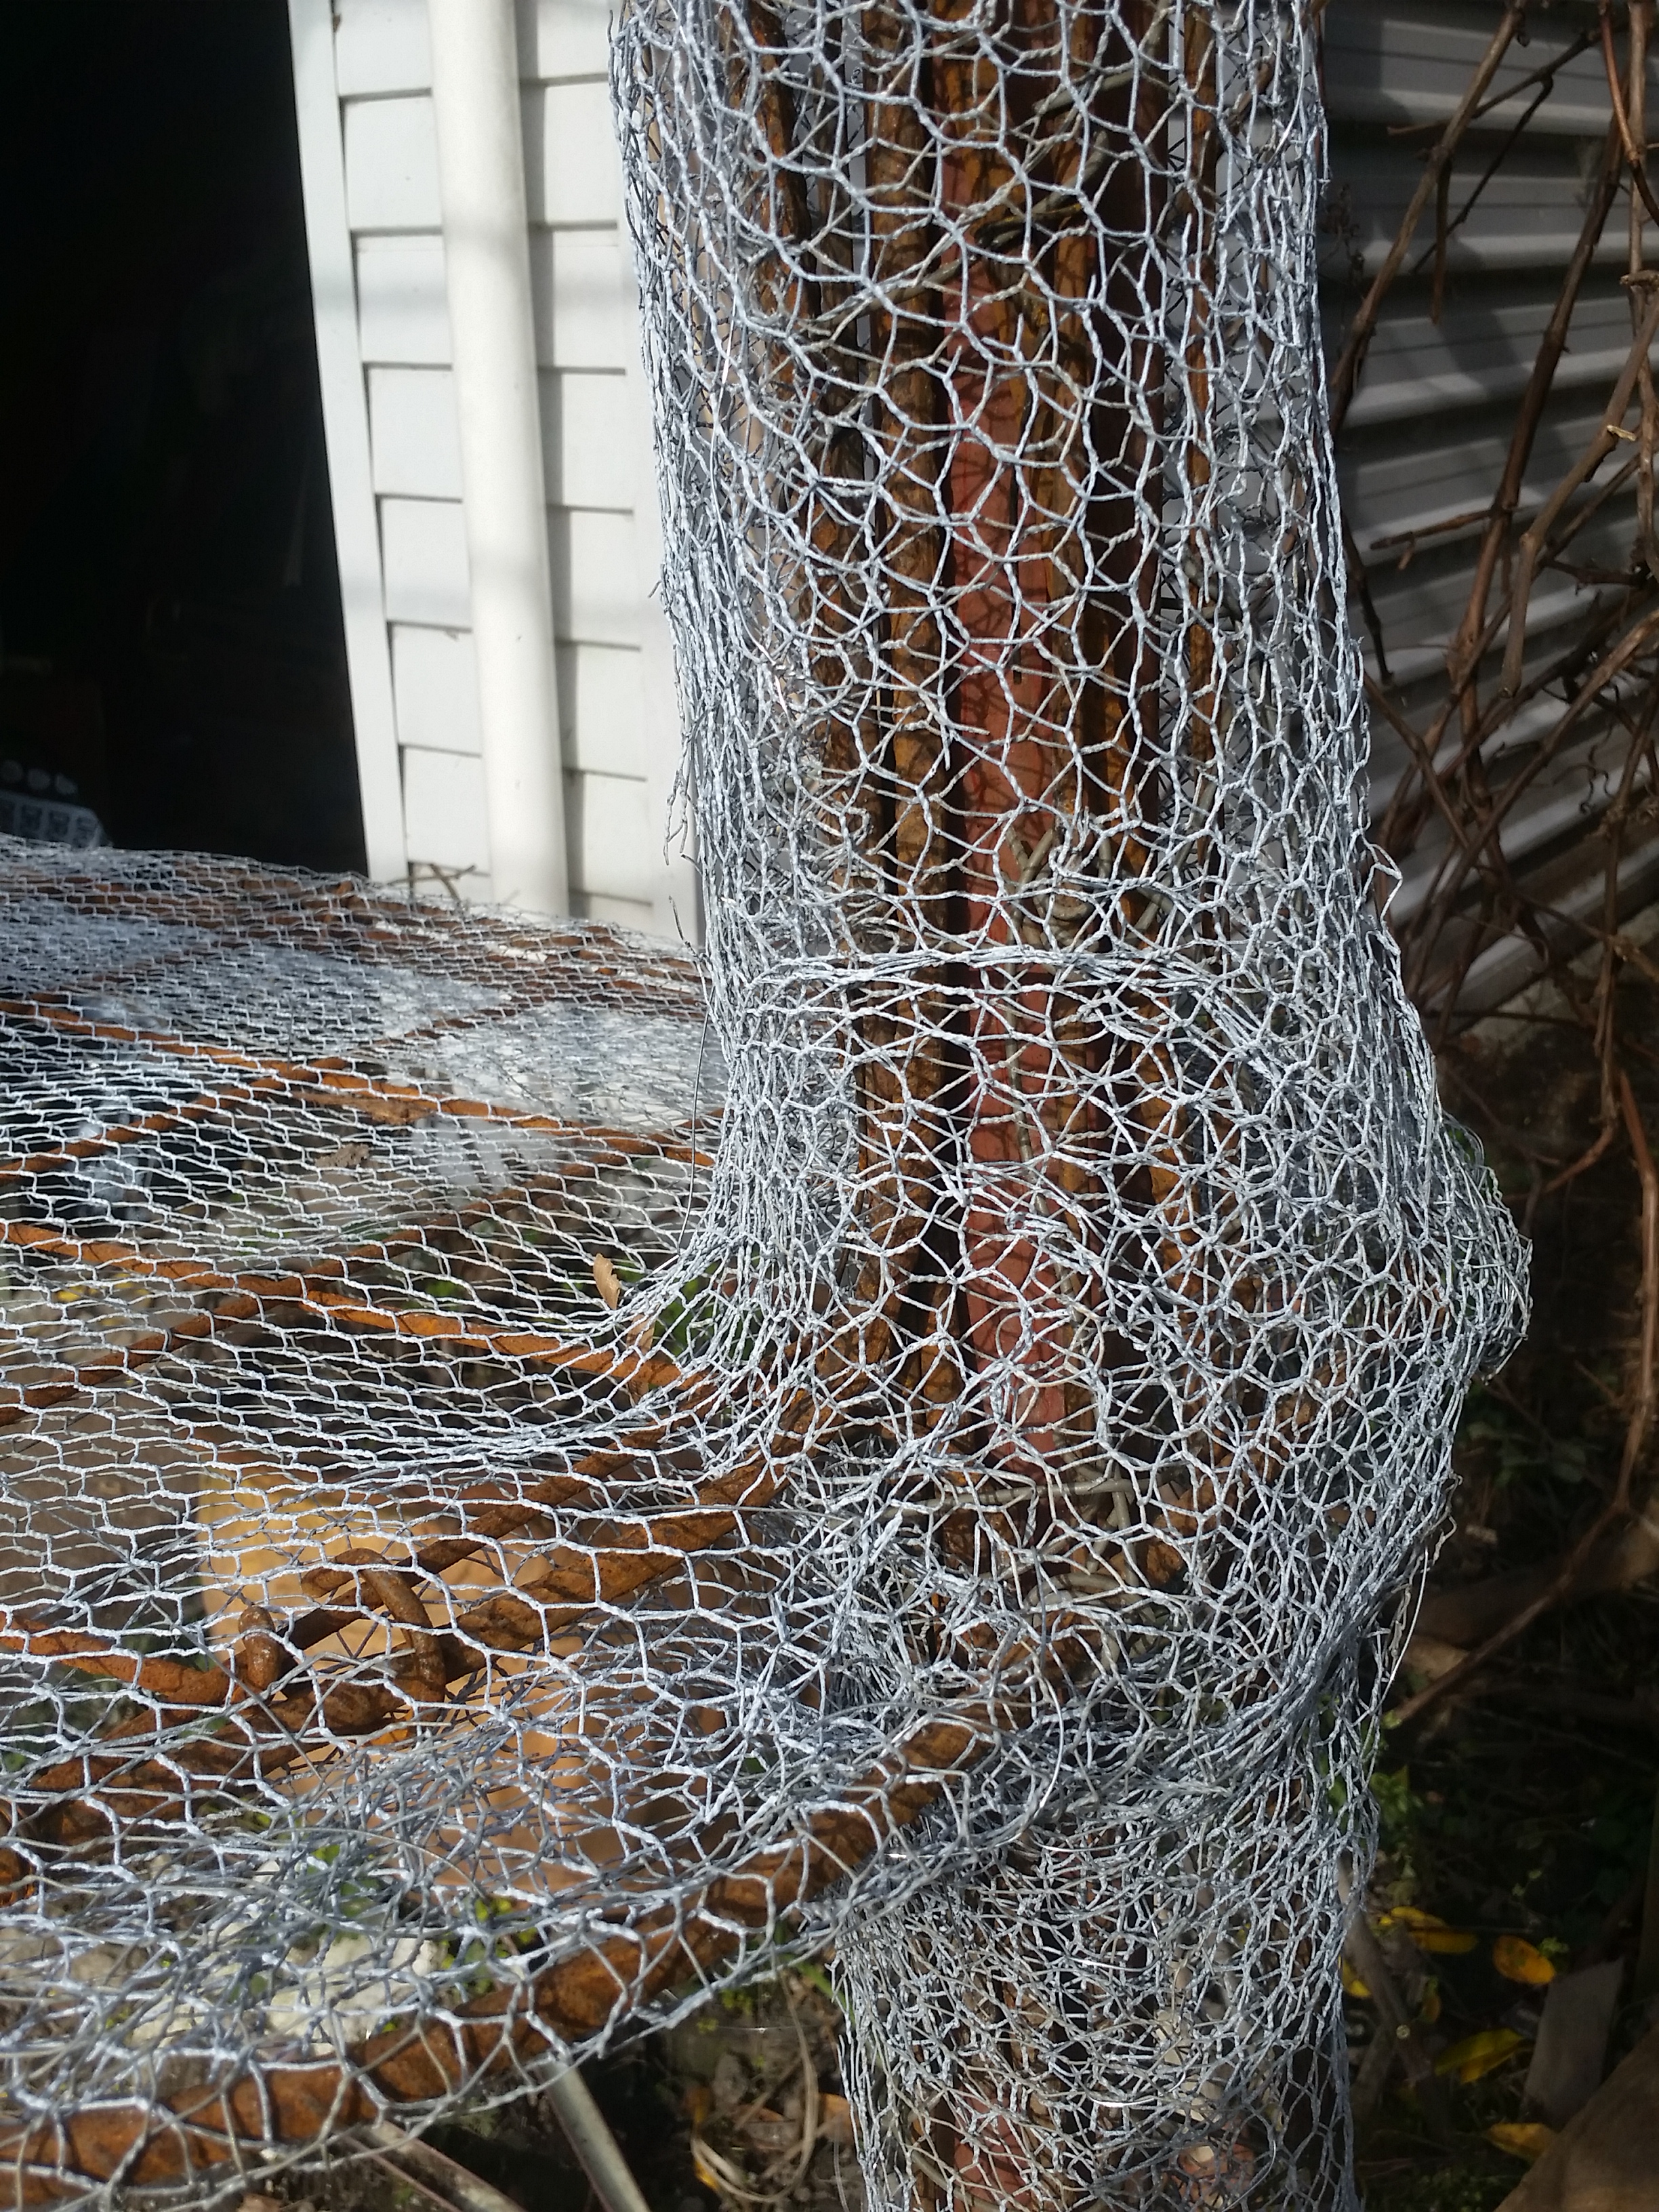
Also see this cool way to crosscut chicken mesh to make nice stretchy strips for winding around curved railings or spirals such as this sculpture I’m building to house a spinning bronze ‘sun-wheel’ for a customer. I use strips a lot now. It’s quick to cut them if you just fold a length of chicken mesh lengthwise twice so it’s a quarter as wide, then tinsnip this long strip crosswise…strips about 150mm to 25mm wide. They stack well until use when you just grab the ends and pull. Strips cut like this are very stretchable. There are cut ends of mesh of course, but I’ve found if I wear leather rigger’s gloves (soft pigskin – quite cheap) they don’t hurt… also on the first plaster coat I now wear either rigger’s gloves or thick nitrile gloves safety equipment shops have these..or the local bigger hardware shop (Bunnings here in nz). The sharp ends of the mesh are buried in plaster at the first coat with a little care, or at least by the second coat. For longer rails or tubes of ferro – e.g. branches or garden arches – it is the only way to go I think. And being wound on in overlapping windings it doesn’t need much – or any – lacing wire to hold it in place, just at the final end of the winding. See one of the folded cut strips in the first picture. Note the tins nips screwed down for quick snipping.
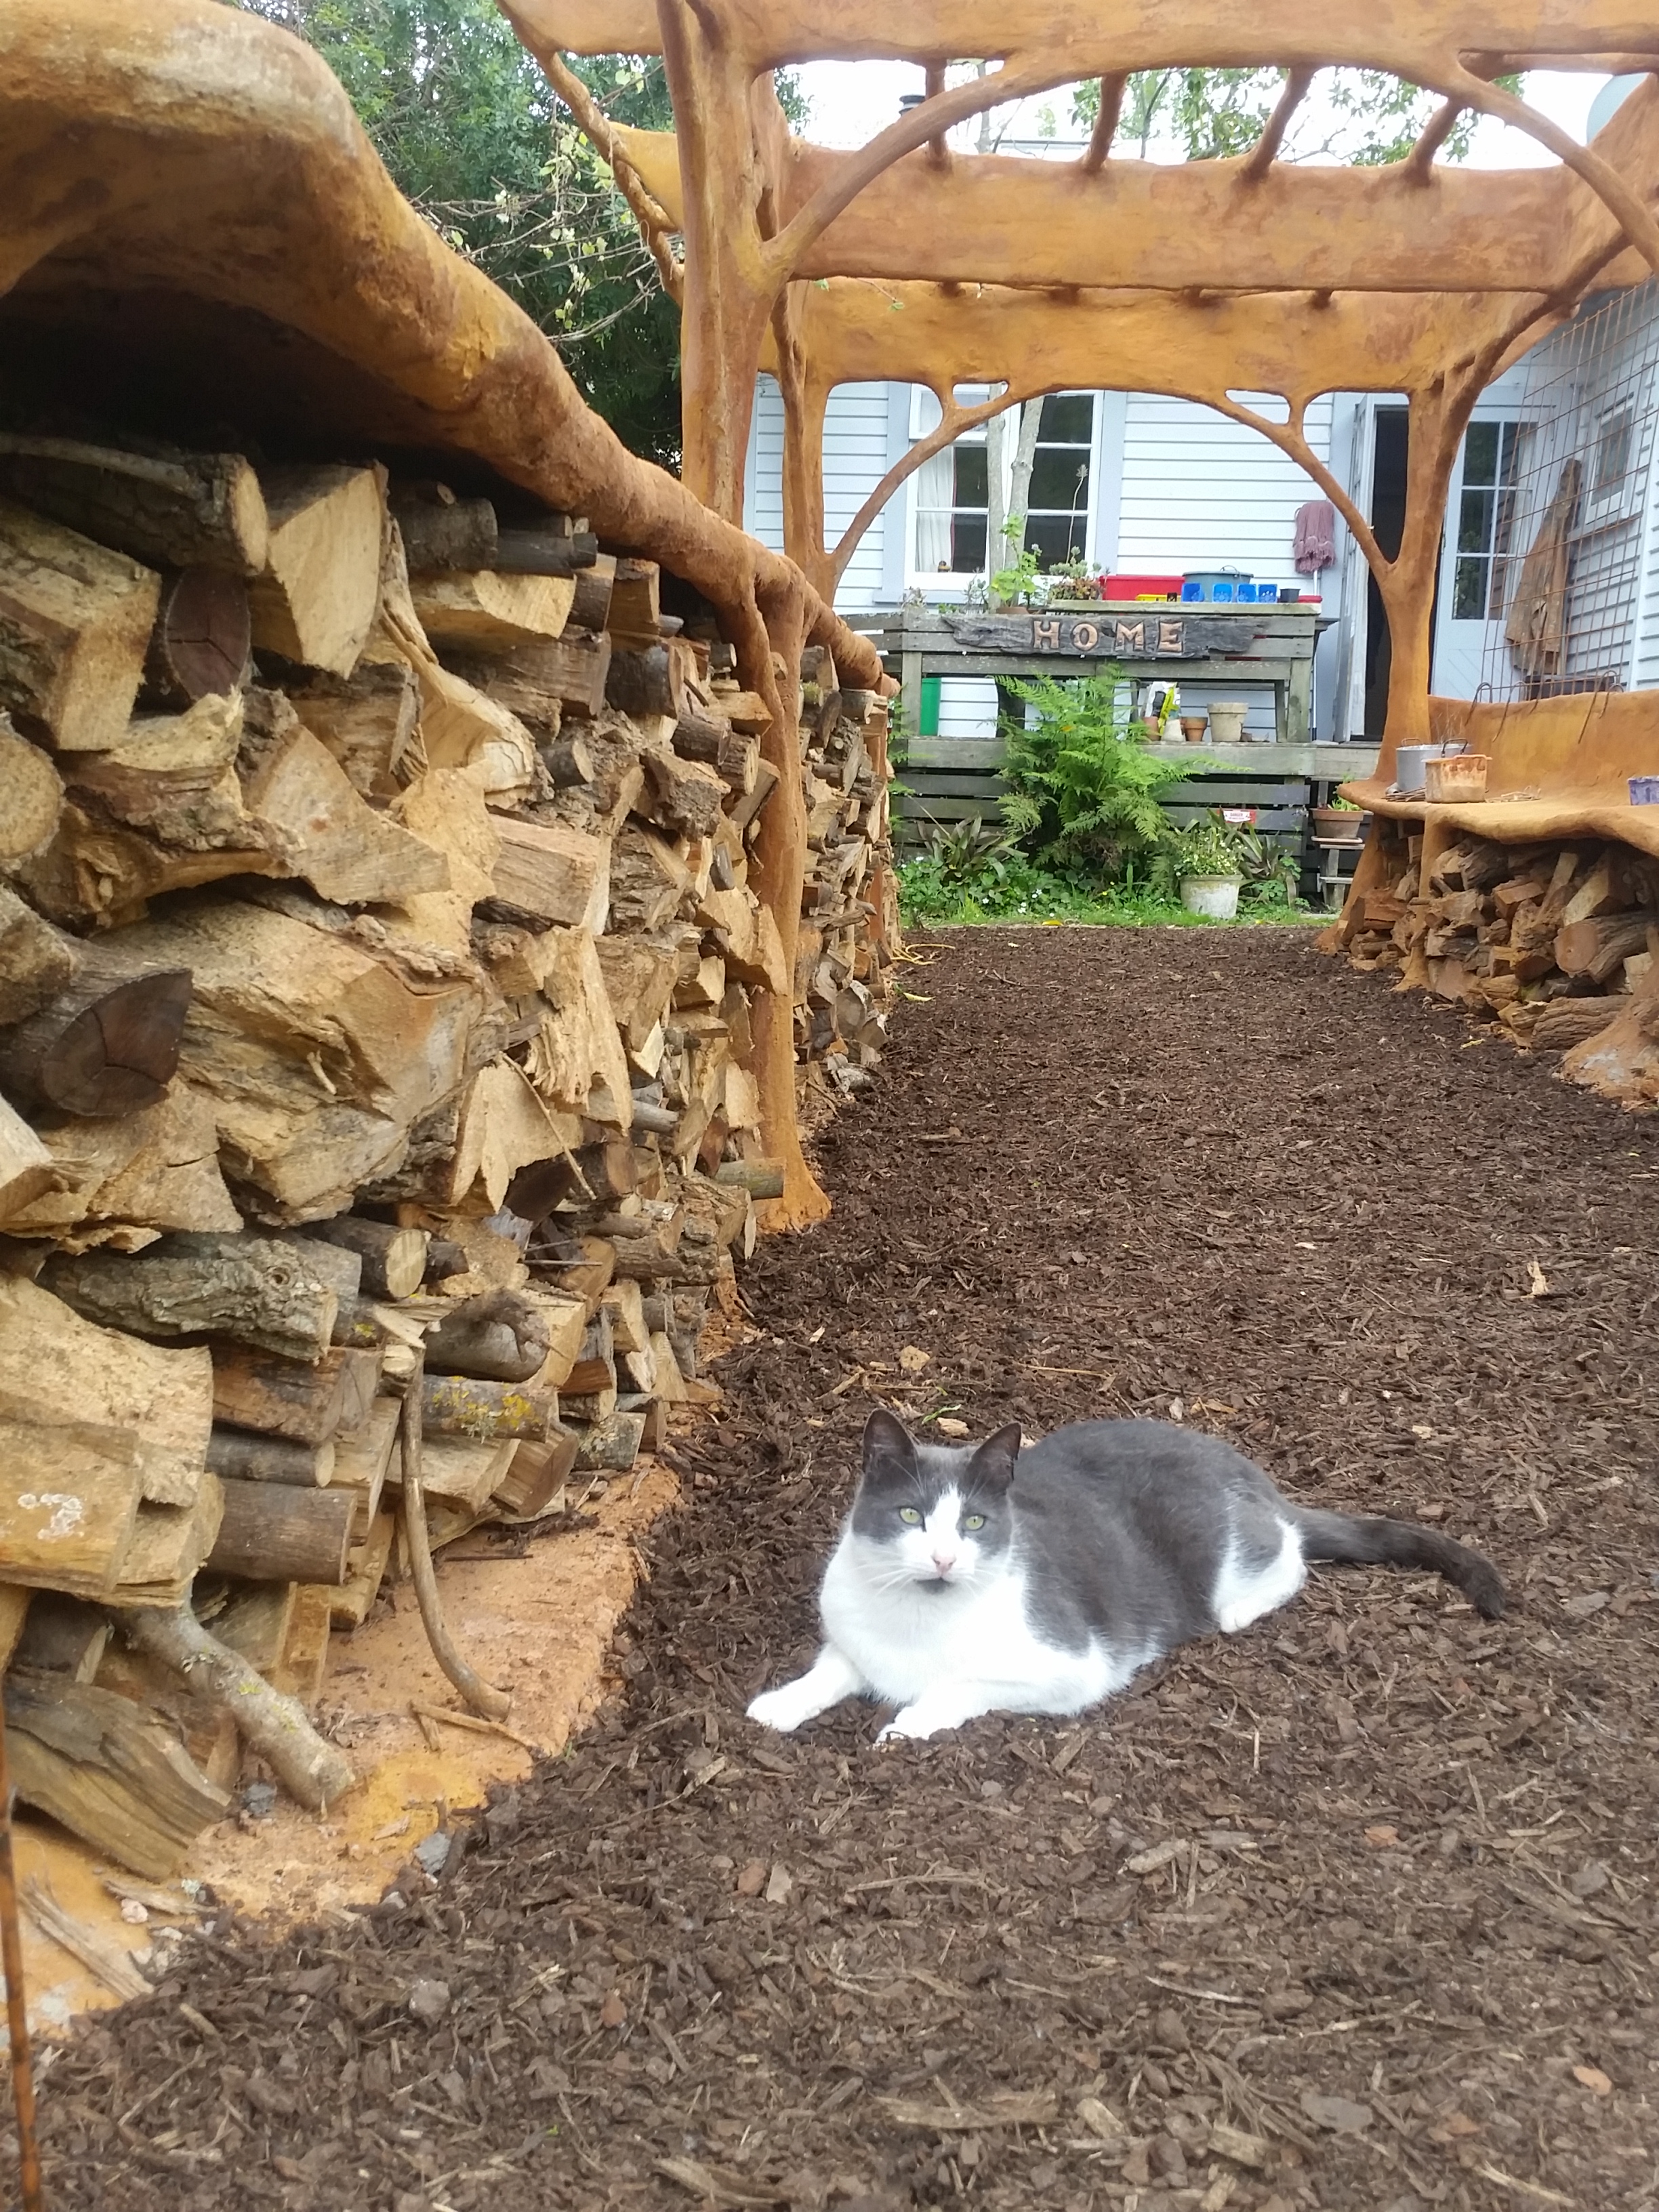
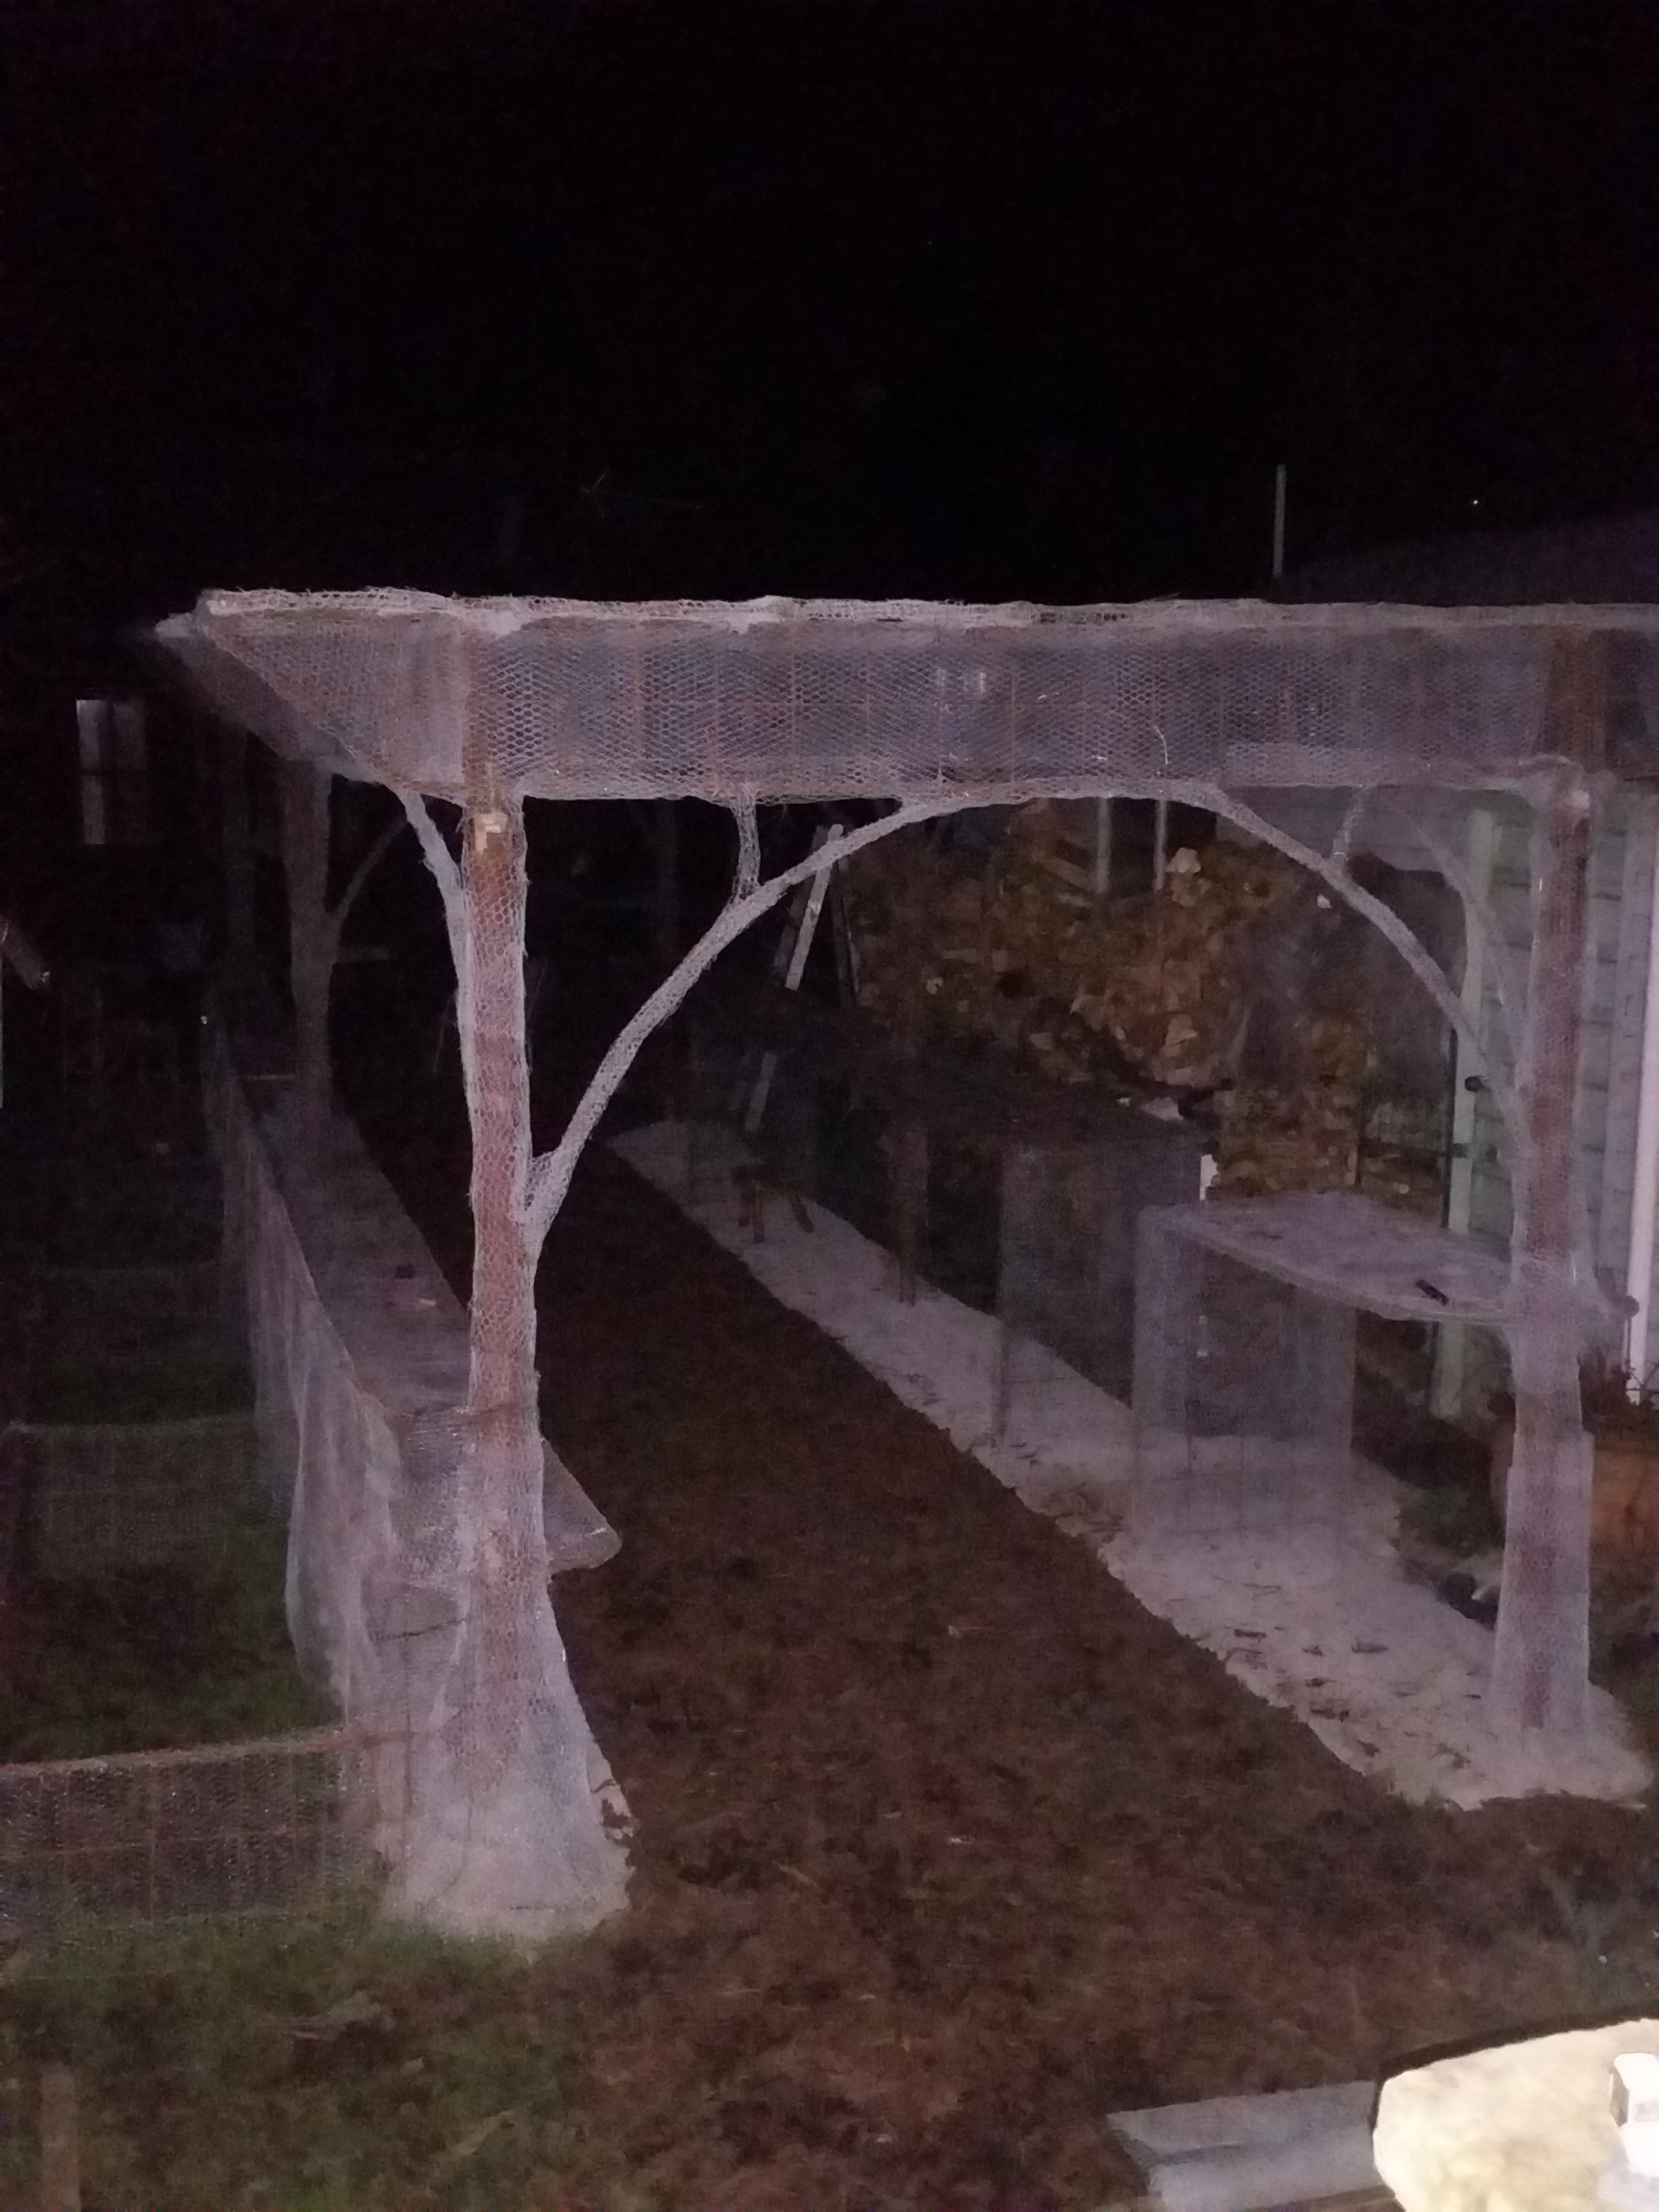
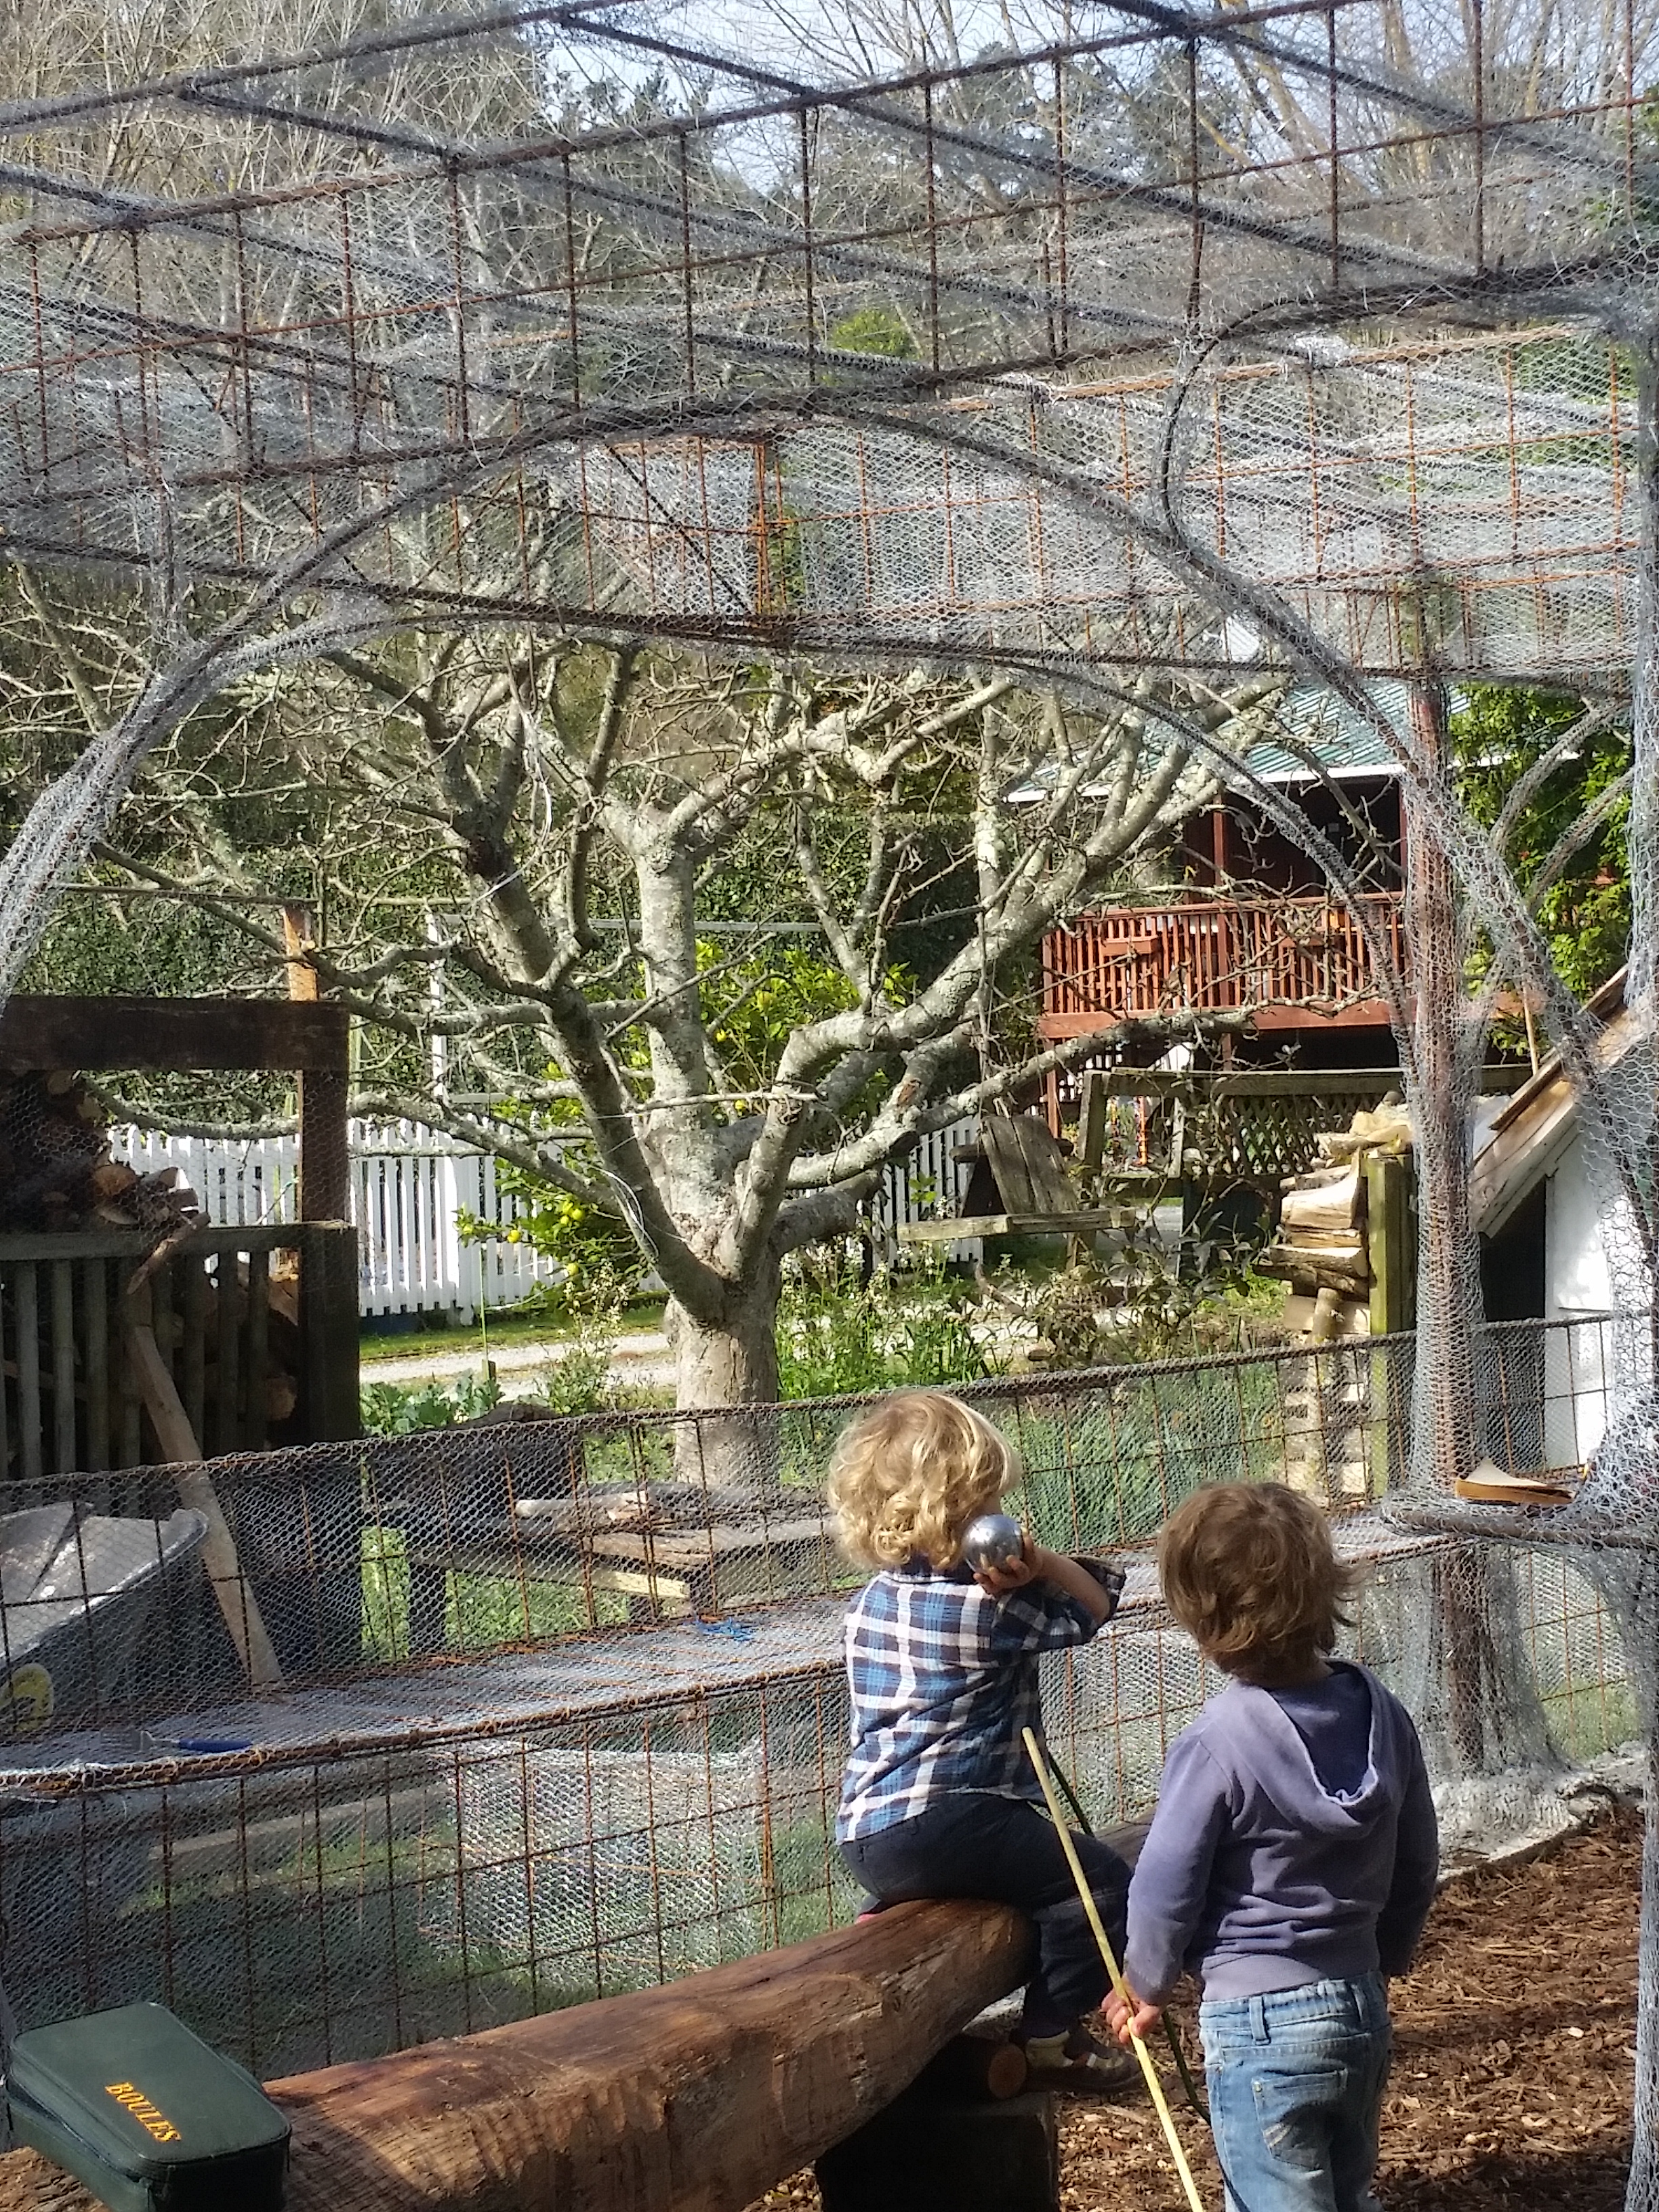
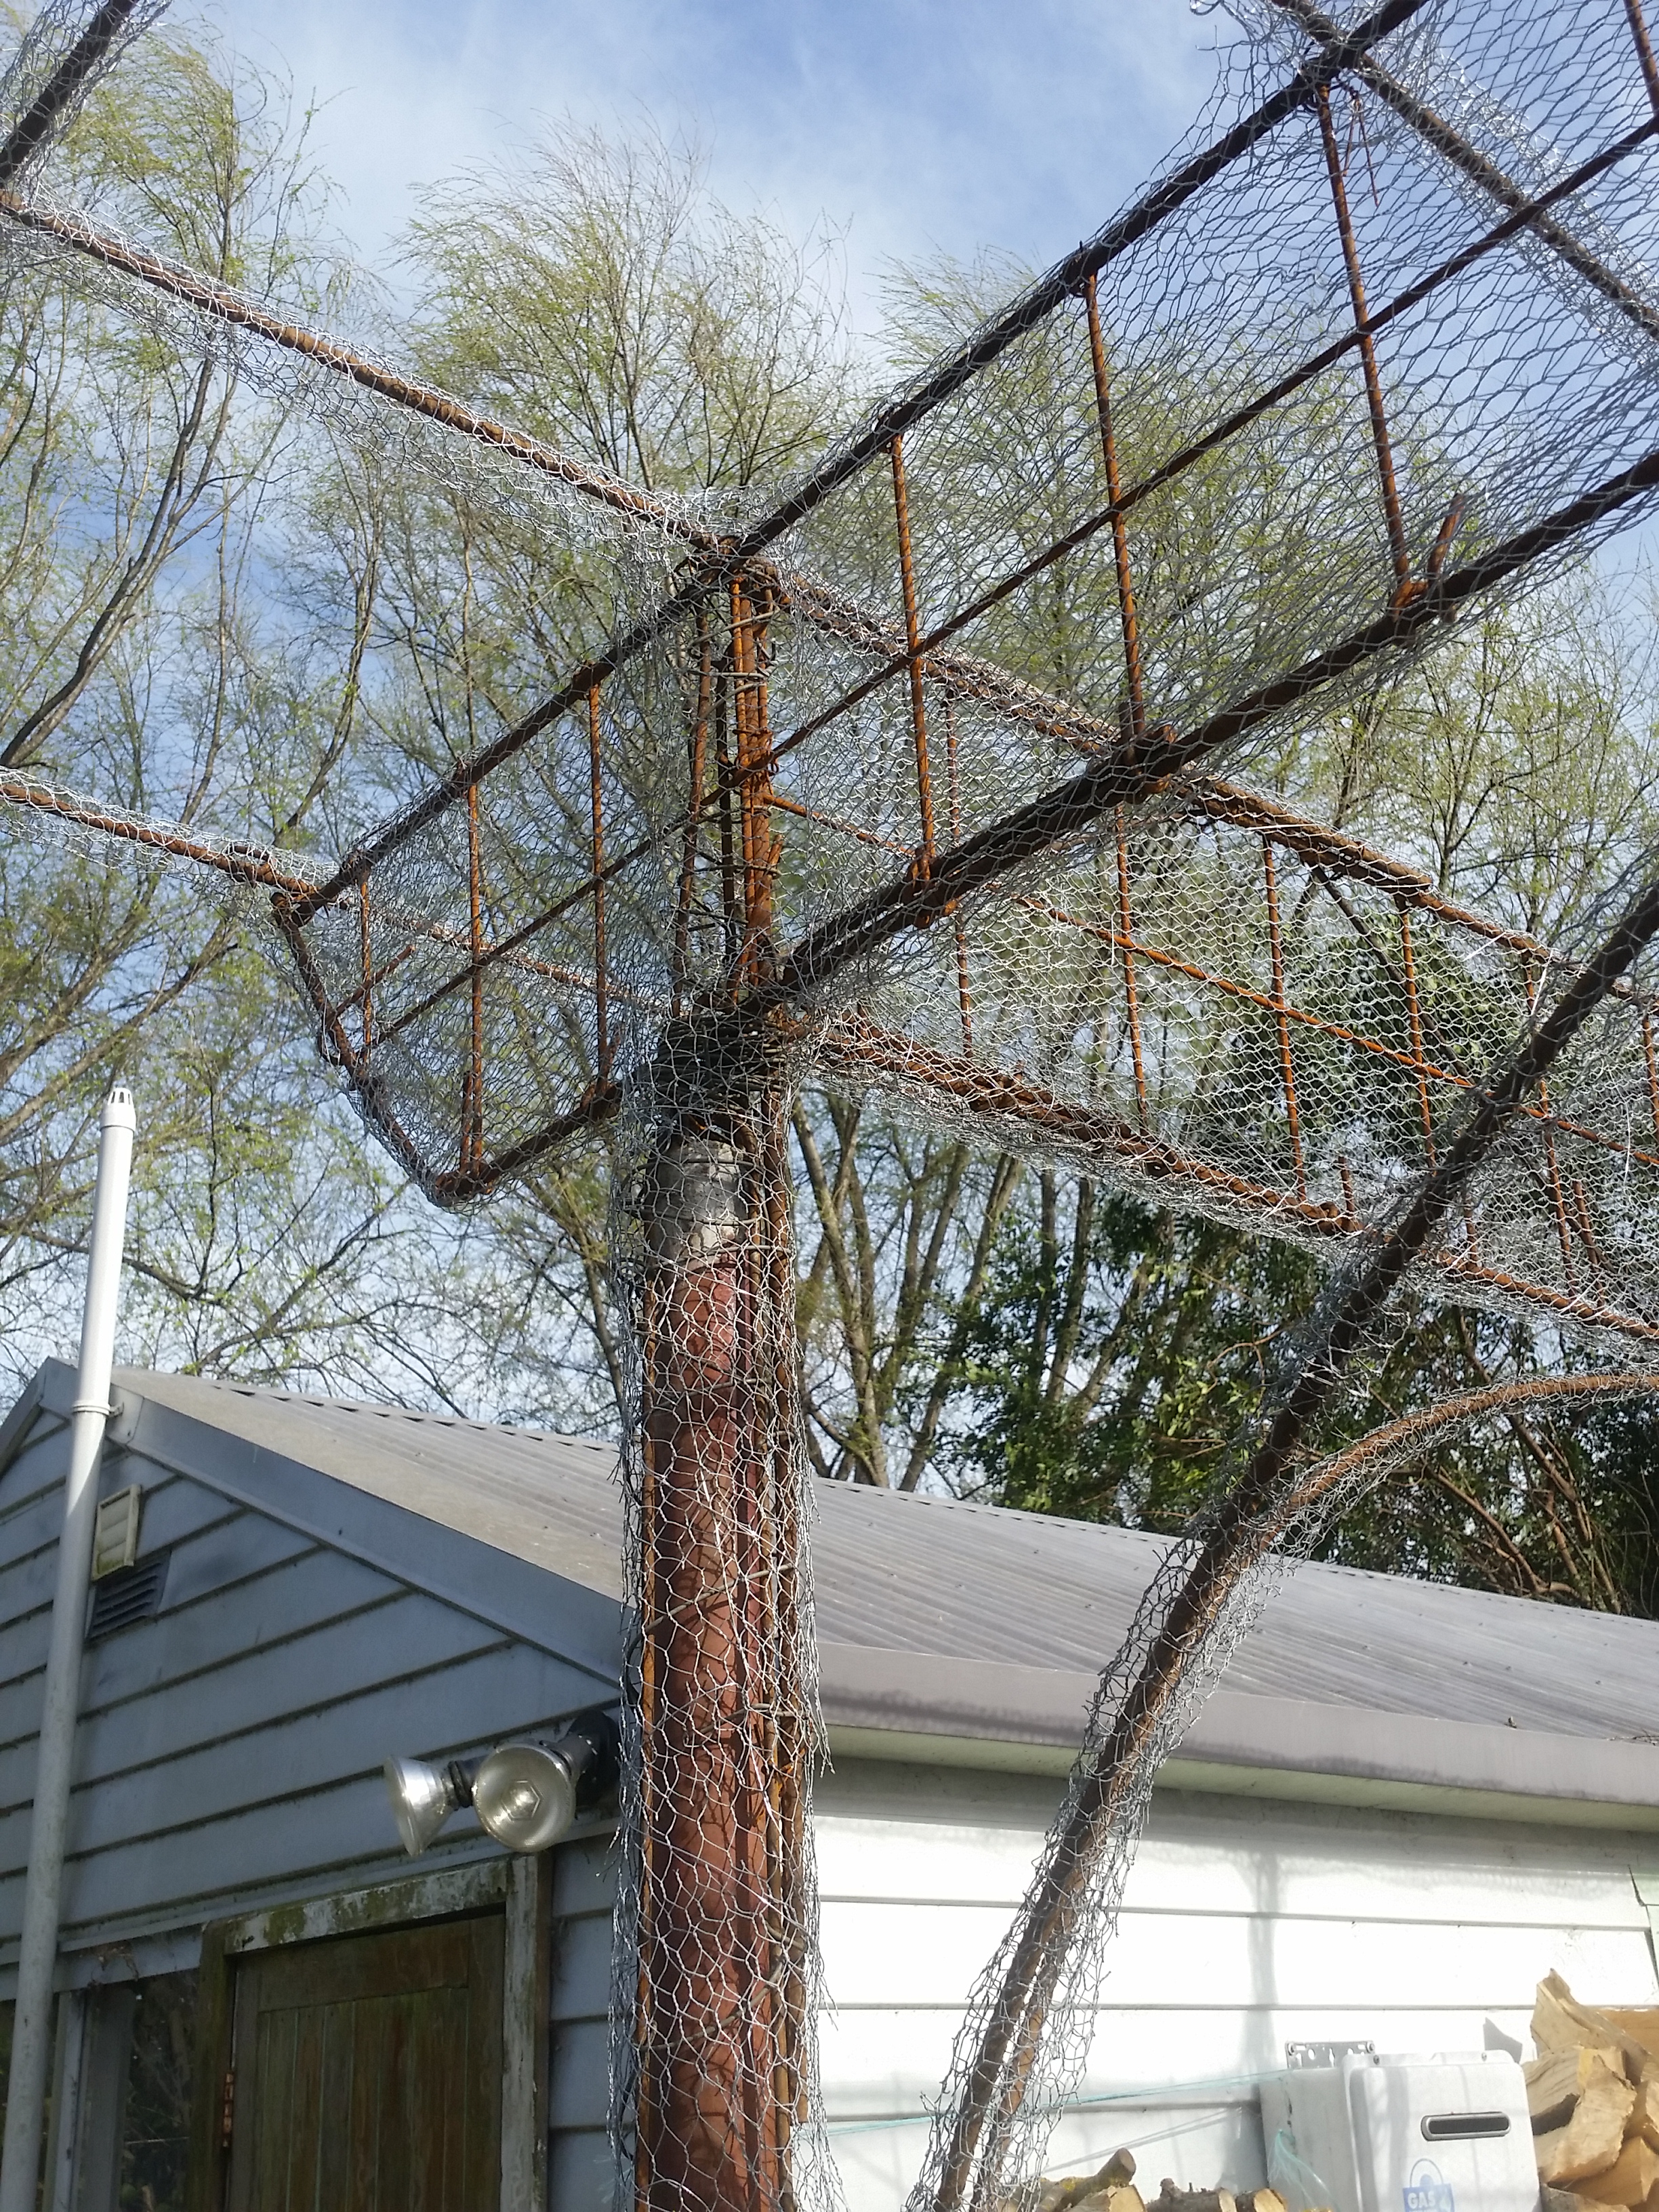
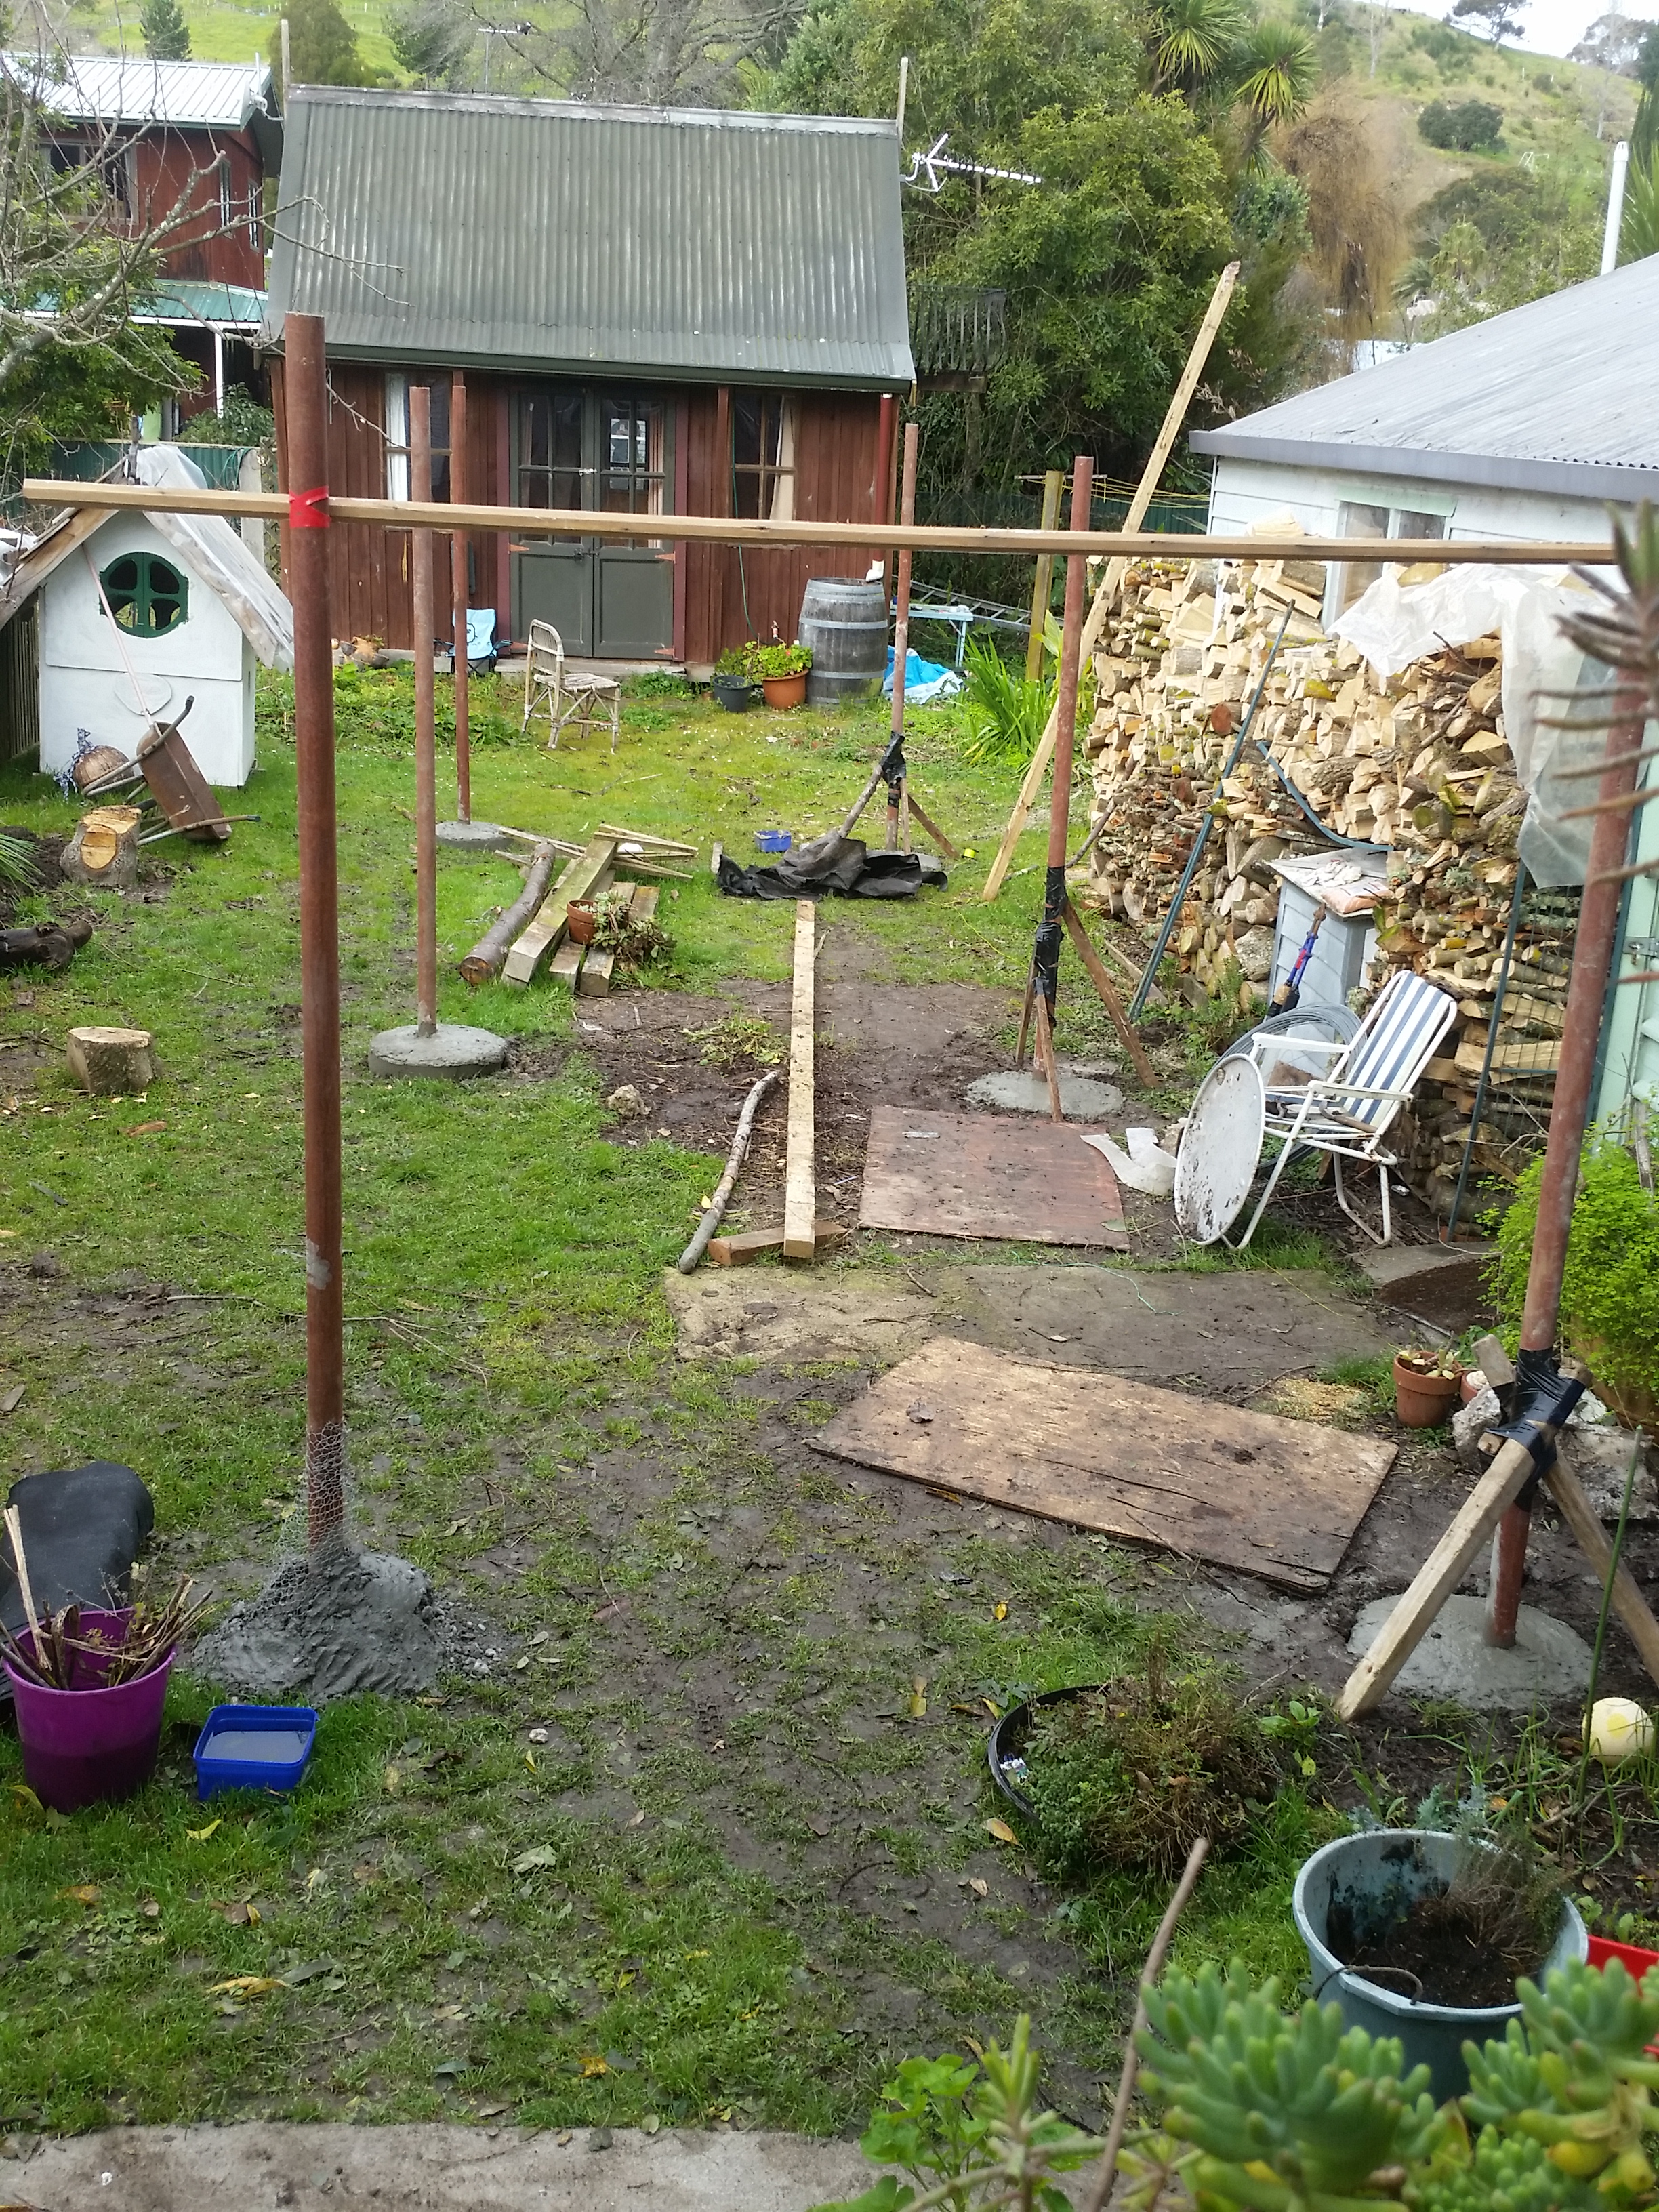
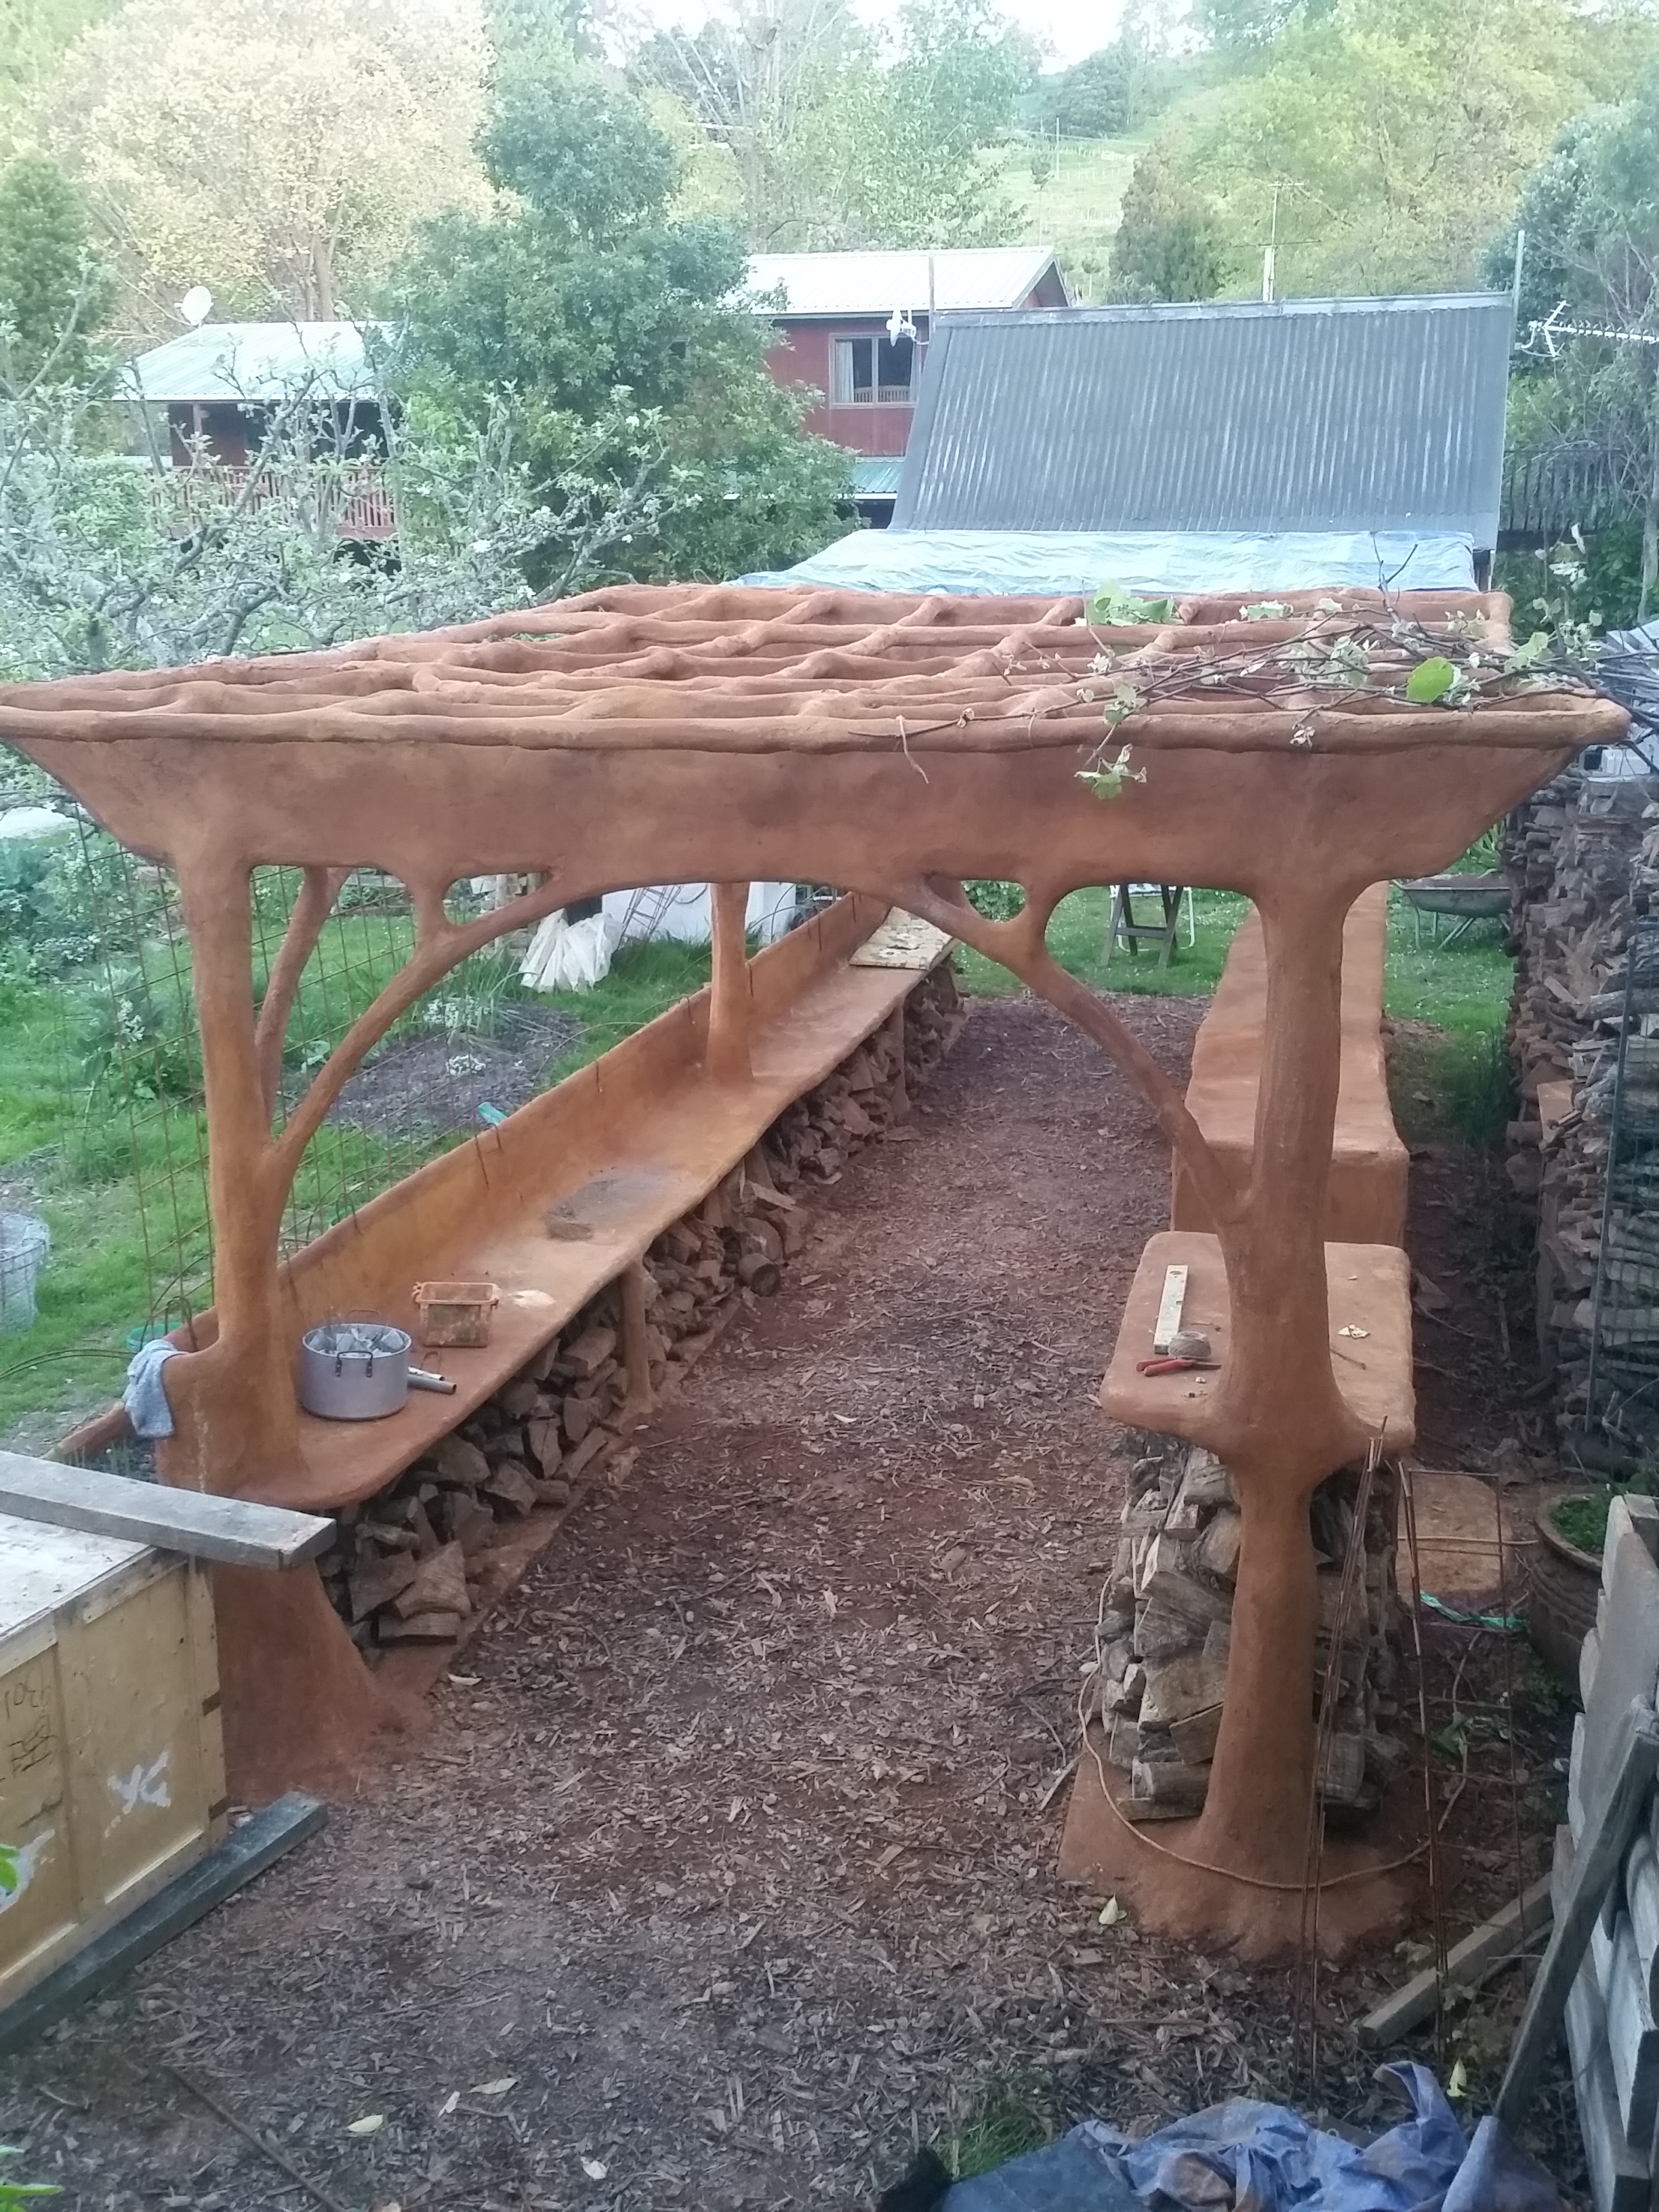
A Home project… part of Appletree Haven’s intensive garden makeover. Finally it’s done! Many sidetracks and weather delays, and a few health delays too! This pergola is quite big – 8 metres by about 3.2 all up.
I continue to refine techniques, especially the making of ferro round section beams… also made a new bender, and got a bigger (125mm) angle grinder with ultrathin cutoff disks for quick cutting of rebar especially all the square mesh I’m using now for all but the fully rounded shapes. I used a spray pack with handpump for applying the iron sulphate solution for the rusty finish stain… way faster than brushing on! Here are some more photos of the final product, followed by some of the building thereof.
Well I’m finally back to ferrocement, in Gisborne now based at Dreamspace gallery and workshops, 61 Carnarvon St. Main focus in the ferro: ‘dreamhavens – cabins you only dreamed of’… see www.dreamhaven.nz . (formerly hobbithaven – this was lost in cyberspace when my old email peter at eutopia disappeared with eutopia.co.nz – sigh!)
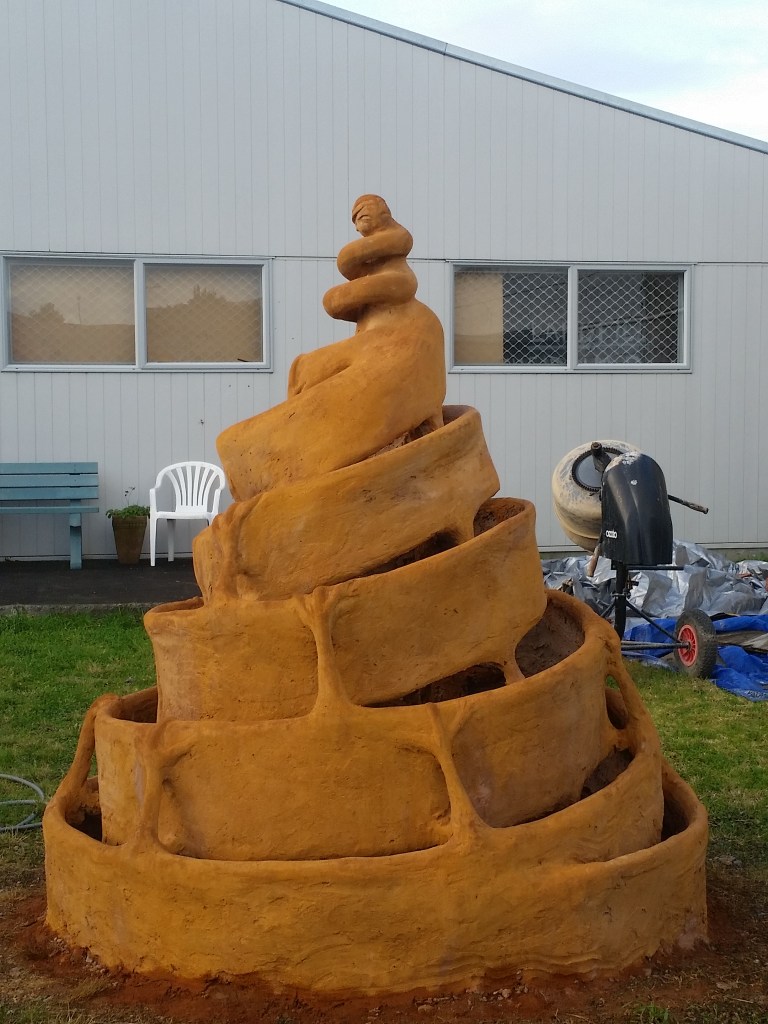
The Tairawhiti Environment Centre here asked me to make a herb spiral for them, and a garden path edging. Here are some photos. The spiral was a challenge as it is a complex shape to bend steel to – a spiral of steel rebar becomes a giant spring which needs strong framework to hold it. I put it over a ‘christmas tree’ frame specially made for forming circles and sprirals. But next time I will try welded joins – tied ones slip and the spiral twists… So, welding learning curve next… Also note the colour – hybrid of some ‘marigold’ oxide in the final coat and a wash of iron sulphate (used in lawn care for moss control) within a day of last coat and carving of it. Also note the black non-woven weedmatting for protection while the plaster cures – we got a 4 metre-wide roll of the thick felty stuff from Permathene which works well as it is wettable, doesn’t flap about, and won’t tear or fray like woven does. Raewyn will help fill the spiral and plant it. We are donating it to the cause – good advert I hope!
The garden edging took a lot of bending over and joining up 6 metre lengths, but it is very strong. They plan to fill it with smooth pebbles.