Making ferrocement arch frames

This is a quick, literally back of envelope drawing of how I made a few arches for a hobbit cabin roof (cabin still awaiting completion due to an urgent public sculpture project – the giant gourds – which paid the rent!) A viewer on my Renaissance workshops YouTube channel was asking…

Oh, and to chickenwire arches, i use crosscut strips of chickenwire, wrapped around the rebar arch like a bandage, with plenty of overlap and stretched tight. Use rigger’s gloves…they are comfortable and yet amazingly protective against the cut ends of the chickenwire mesh …leather is so tough..

Rebar Arch frames the easy way

Gourds await the hiab crane

The last one being on tripod of strong ferrocement pillars filled with plaster, and carved, took a lot longer, but we’re happy… I used a thin shading grout to highlight the shapes. See my increasingly frequent howto uploads on my YouTube channel Renaissance Workshops

Making gourd shapes – or water tanks?

We have an order for public sculptures of 6 gourds brought by the first Maori to Gisborne.. Two are done and placed in the Captain cook memorial park, and now we are doing the last 4. The shape is suitable for water containers too…

The way I built the frames for these two was pretty quick- I drew the profile on recycled particle board, screwed screws along the profile for bending the vertical ribs to, measured the length, cut nine d10 (10mm deformed ie indented) rebars for the large gourd, 6 for the 900mm one, then bent them to the line of screws. I pre-bent the right angle bends at the base using a bender tool.

Then D10 horizontal ribs, circles (bent around a barrel and a concrete cone cast from a road cone) were tied to the vertical ribs on the inside. Then I wound fencing wire (medium tensile, heavier gauge ‘no.8’ wire) around the outside of the ribs. The ribs of the big gourd were supported by a drum shape bent from 150mm square mesh.

Hayley after stitching the chickenwire all day…
Right angles bent, now bending curve…

How-to ferrocement videos on my YouTube channel Renaissance Workshops

https://youtu.be/GtDQIaWQA-U

Hayley my expert hue helper tying some rebar on our third hue/gourd…

This is the first – just 6 minutes, hopefully a few gems for all…more quick videos hopefully as we make things… currently making more ferrocement ‘hue’ – Maori for gourds. From one metre high to 1.8…

C2 and the Spiral

20180521_092321.jpg

T

he spiral I’ve been chipping away at between other exciting works here at Dreamspace gallery and workshops www.dreamspace.nz is now pretty much like shiny aged bronze…a product I’ve tested from Peter Fell Ltd in Auckland, called C2 hardener and sealer for concrete, seems great…not a paint but a penetrating lithium silicate product which apparently replaces the calcium silicate in the concrete or plaster, making it denser harder and more polishable. ..

Ferrocement raised beds really are great!

I’ve just done another one at the Story Ark, out the front this time. About 7 metres long, one-sided as it is against the front of the Ark. Framework was minimalist, and one length of 13mm mesh chickenwire folded over it lengthwise, and laced with thin (.7 or somm) tie wire. As per the book fantastic ferrocement of course! Oh and the ends of the framework I stapled onto the wood of the Ark, and plastered right up to the wood. I will line the Ark side of the bed with black plastic to prevent the soil from rotting the wood.

It only took two mixer-loads to plaster it – about 40kg of cement (or two 25kg bags at most), and one coat (round-ended trowel finish) was sufficient. done in an afternoon (by yours truly alone). Then lightly sanded with about 60 grit and stained a couple of days later (can do it same day – it works apparently by chemical reaction with uncured plaster, at least not fully cured) with garden-store-standard iron sulphate, strong solution put on with a rag, two applications to make sure. Apart from keeping under cover for a few days to maximise plaster curing, that’s it!

I grubbed a shallow (maybe 50mm) trench for the framework to discourage the invasive kikuyu grass we have here courtesy of a mad council decades ago…

new raised bed in front of ark


This finish goes darker when wet, as you see in the photo. I suppose I used three quarters of a kilo of the iron sulphate – about NZ $5 depending on the garden store you go to.

The mega-fibre II I used to get for plaster isnt available here now, and I havent sourced the Sika fibre here yet, so I improvised: I chopped up some old polypropylene rope into about 30mm lengths, rubbed it a bit to loosen all the fibres, and added it to the mix. It was coarser than the other but plastered fine, and did the job of helping the thick coat not to sag.

I thoroughly recommend ferrocement for serious raised beds. It’s probably about as quick as wood for the same height, or at least if you count the lifetime cost of wood, which rots in proportion to your success in filling it with a fertile soil bursting with microorganisms! Of course, you can make a wooden one then line it with plastic, but why go there when there’s ferro, which will outlast all wooden outdoor structures…

ferrocement birdbath fountain, carved

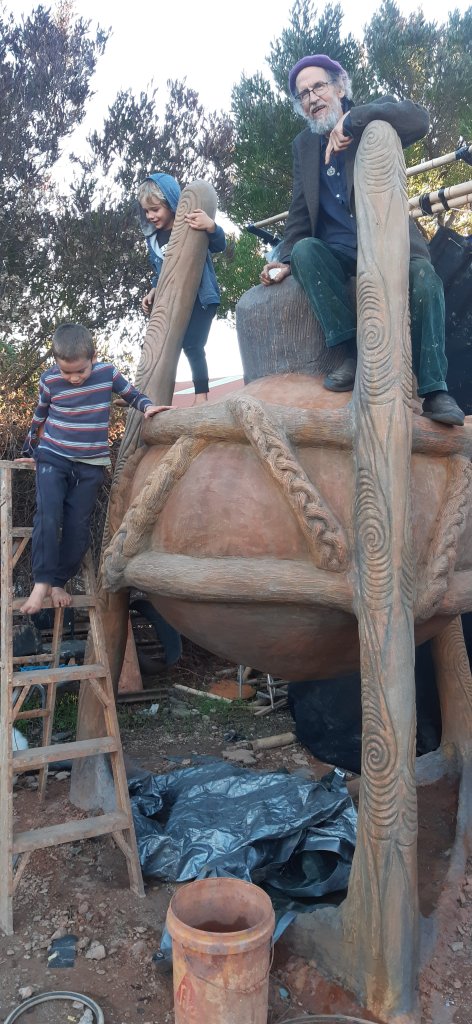
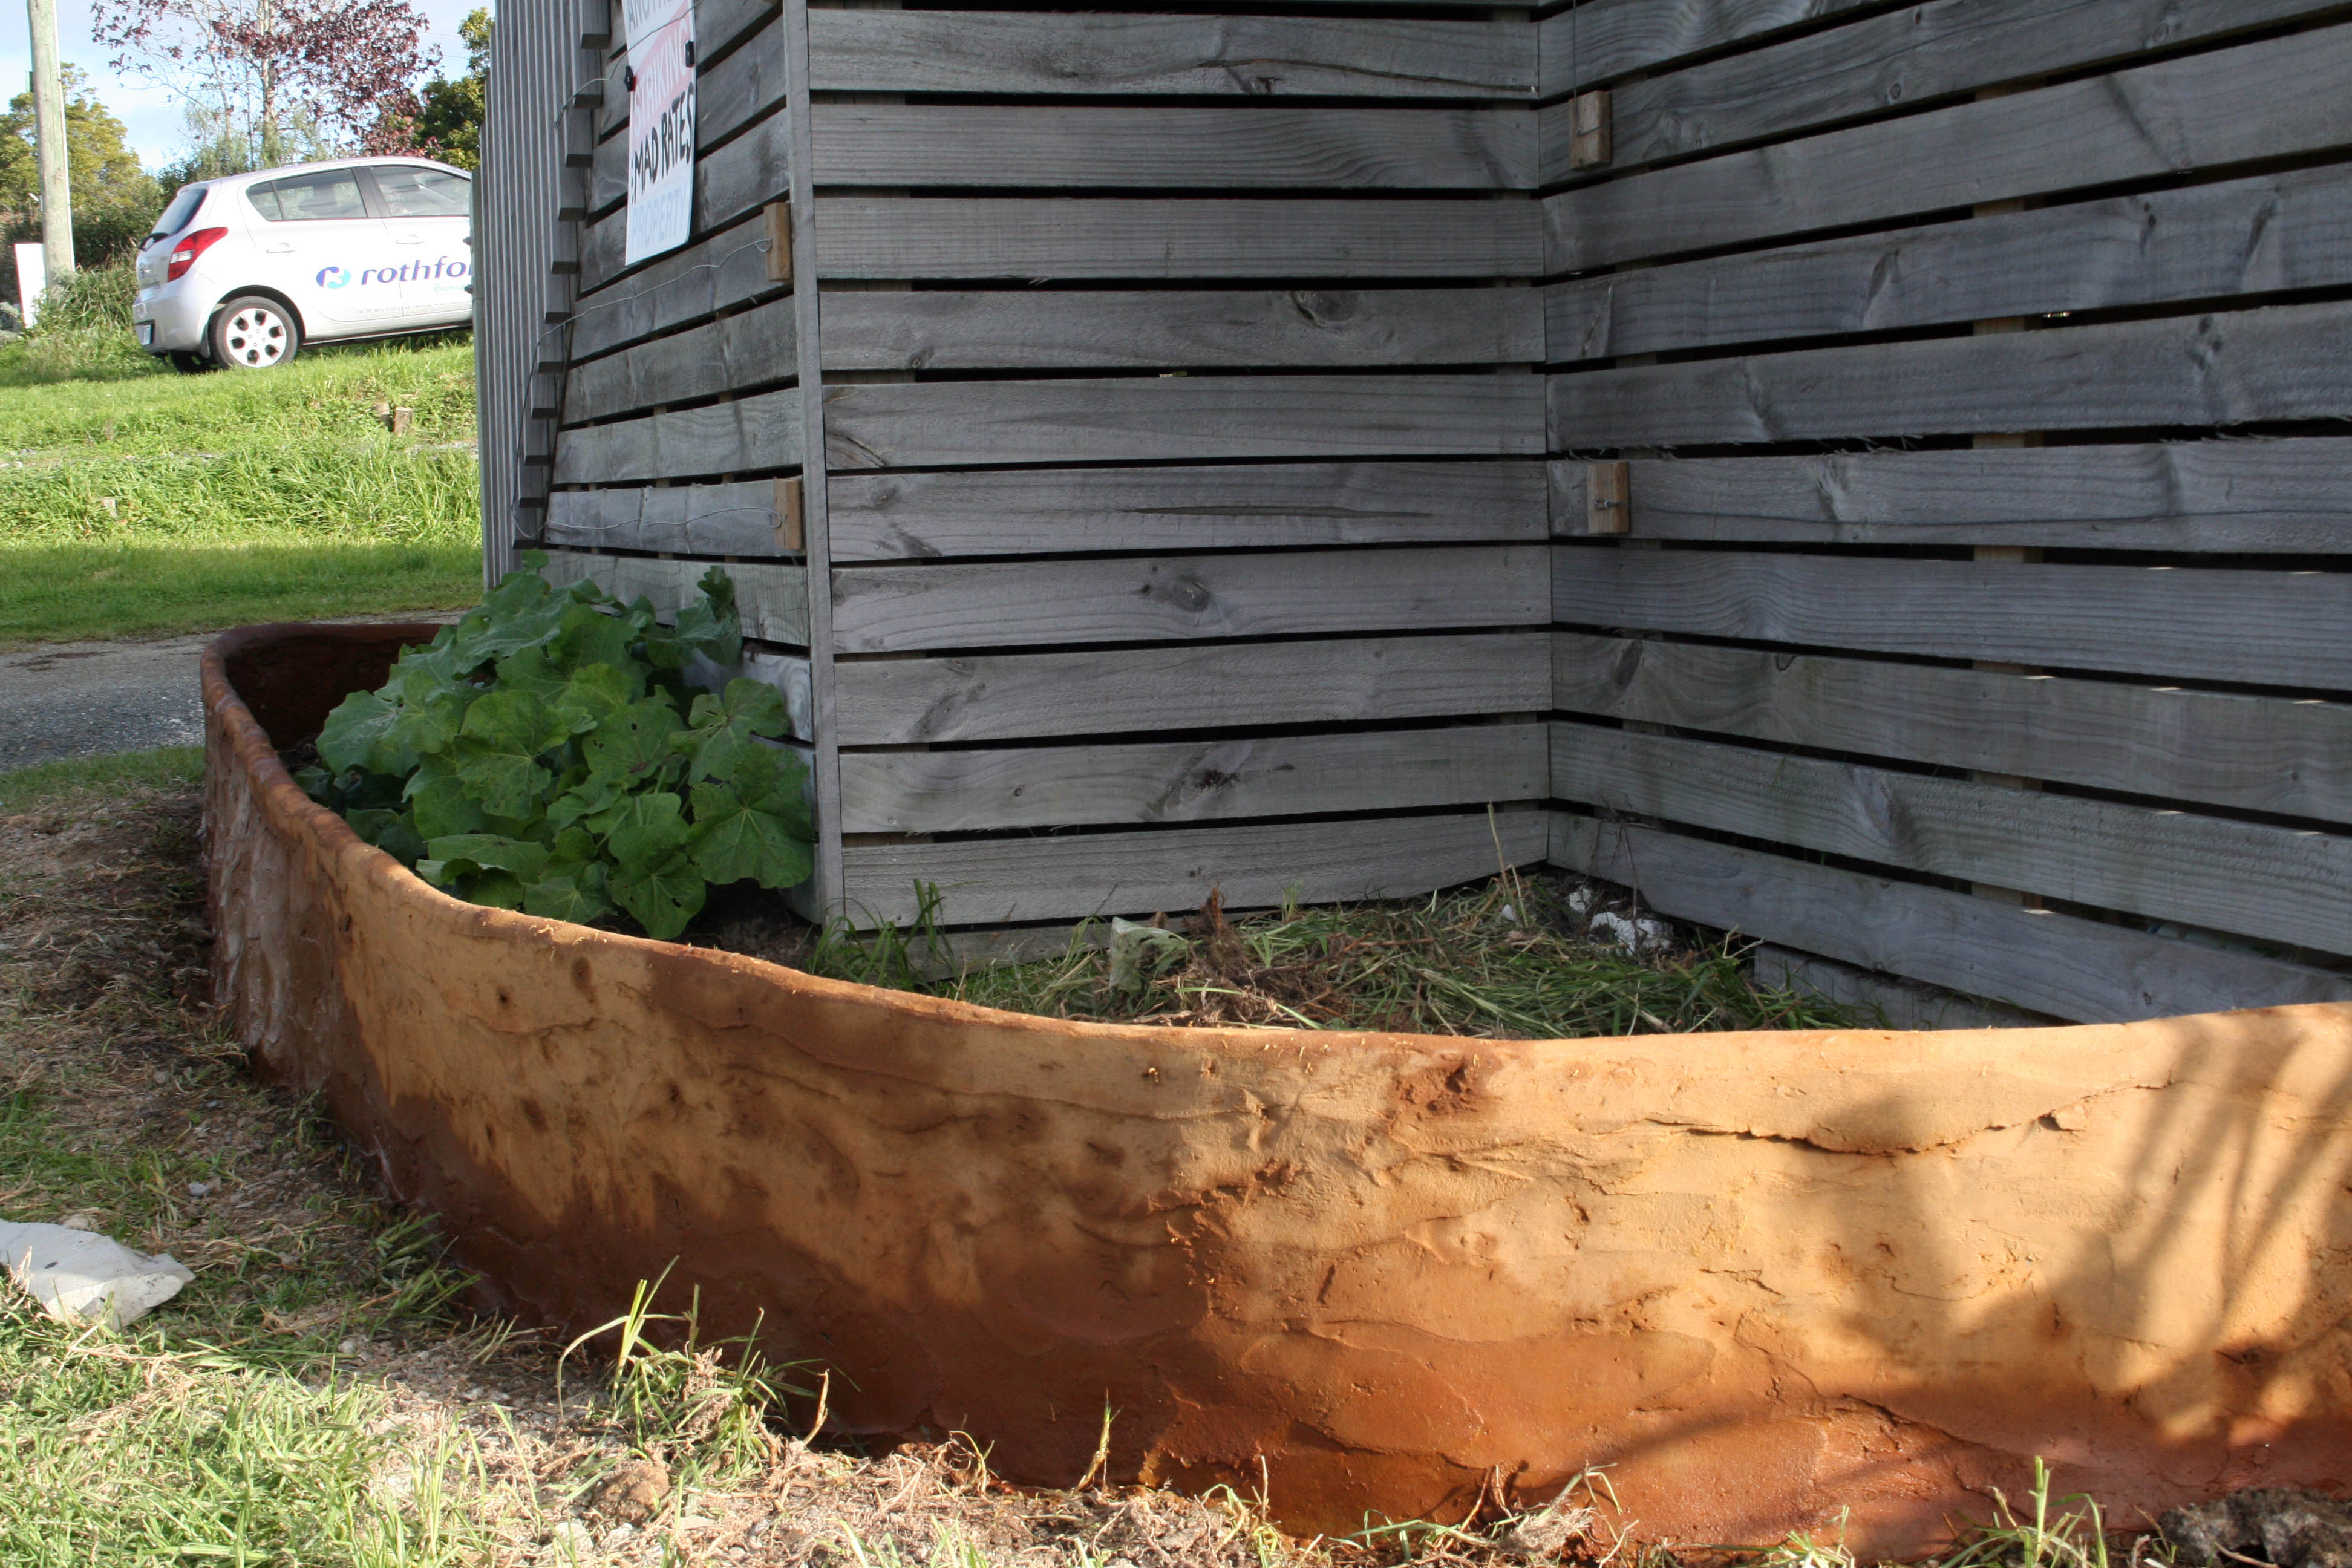
I did this (based on the cafe eutopia fountain we did 12 or so years ago now, still the centrpiece of the courtyard) the week we returned to Gisborne for the birth of our first grandchild (Bruno – he’s doing well, looking forward to seeing him play around the carved raised beds we made… As you can see, a few more sleeps before that can happen!).

Anna and marco  baby IMG_8835

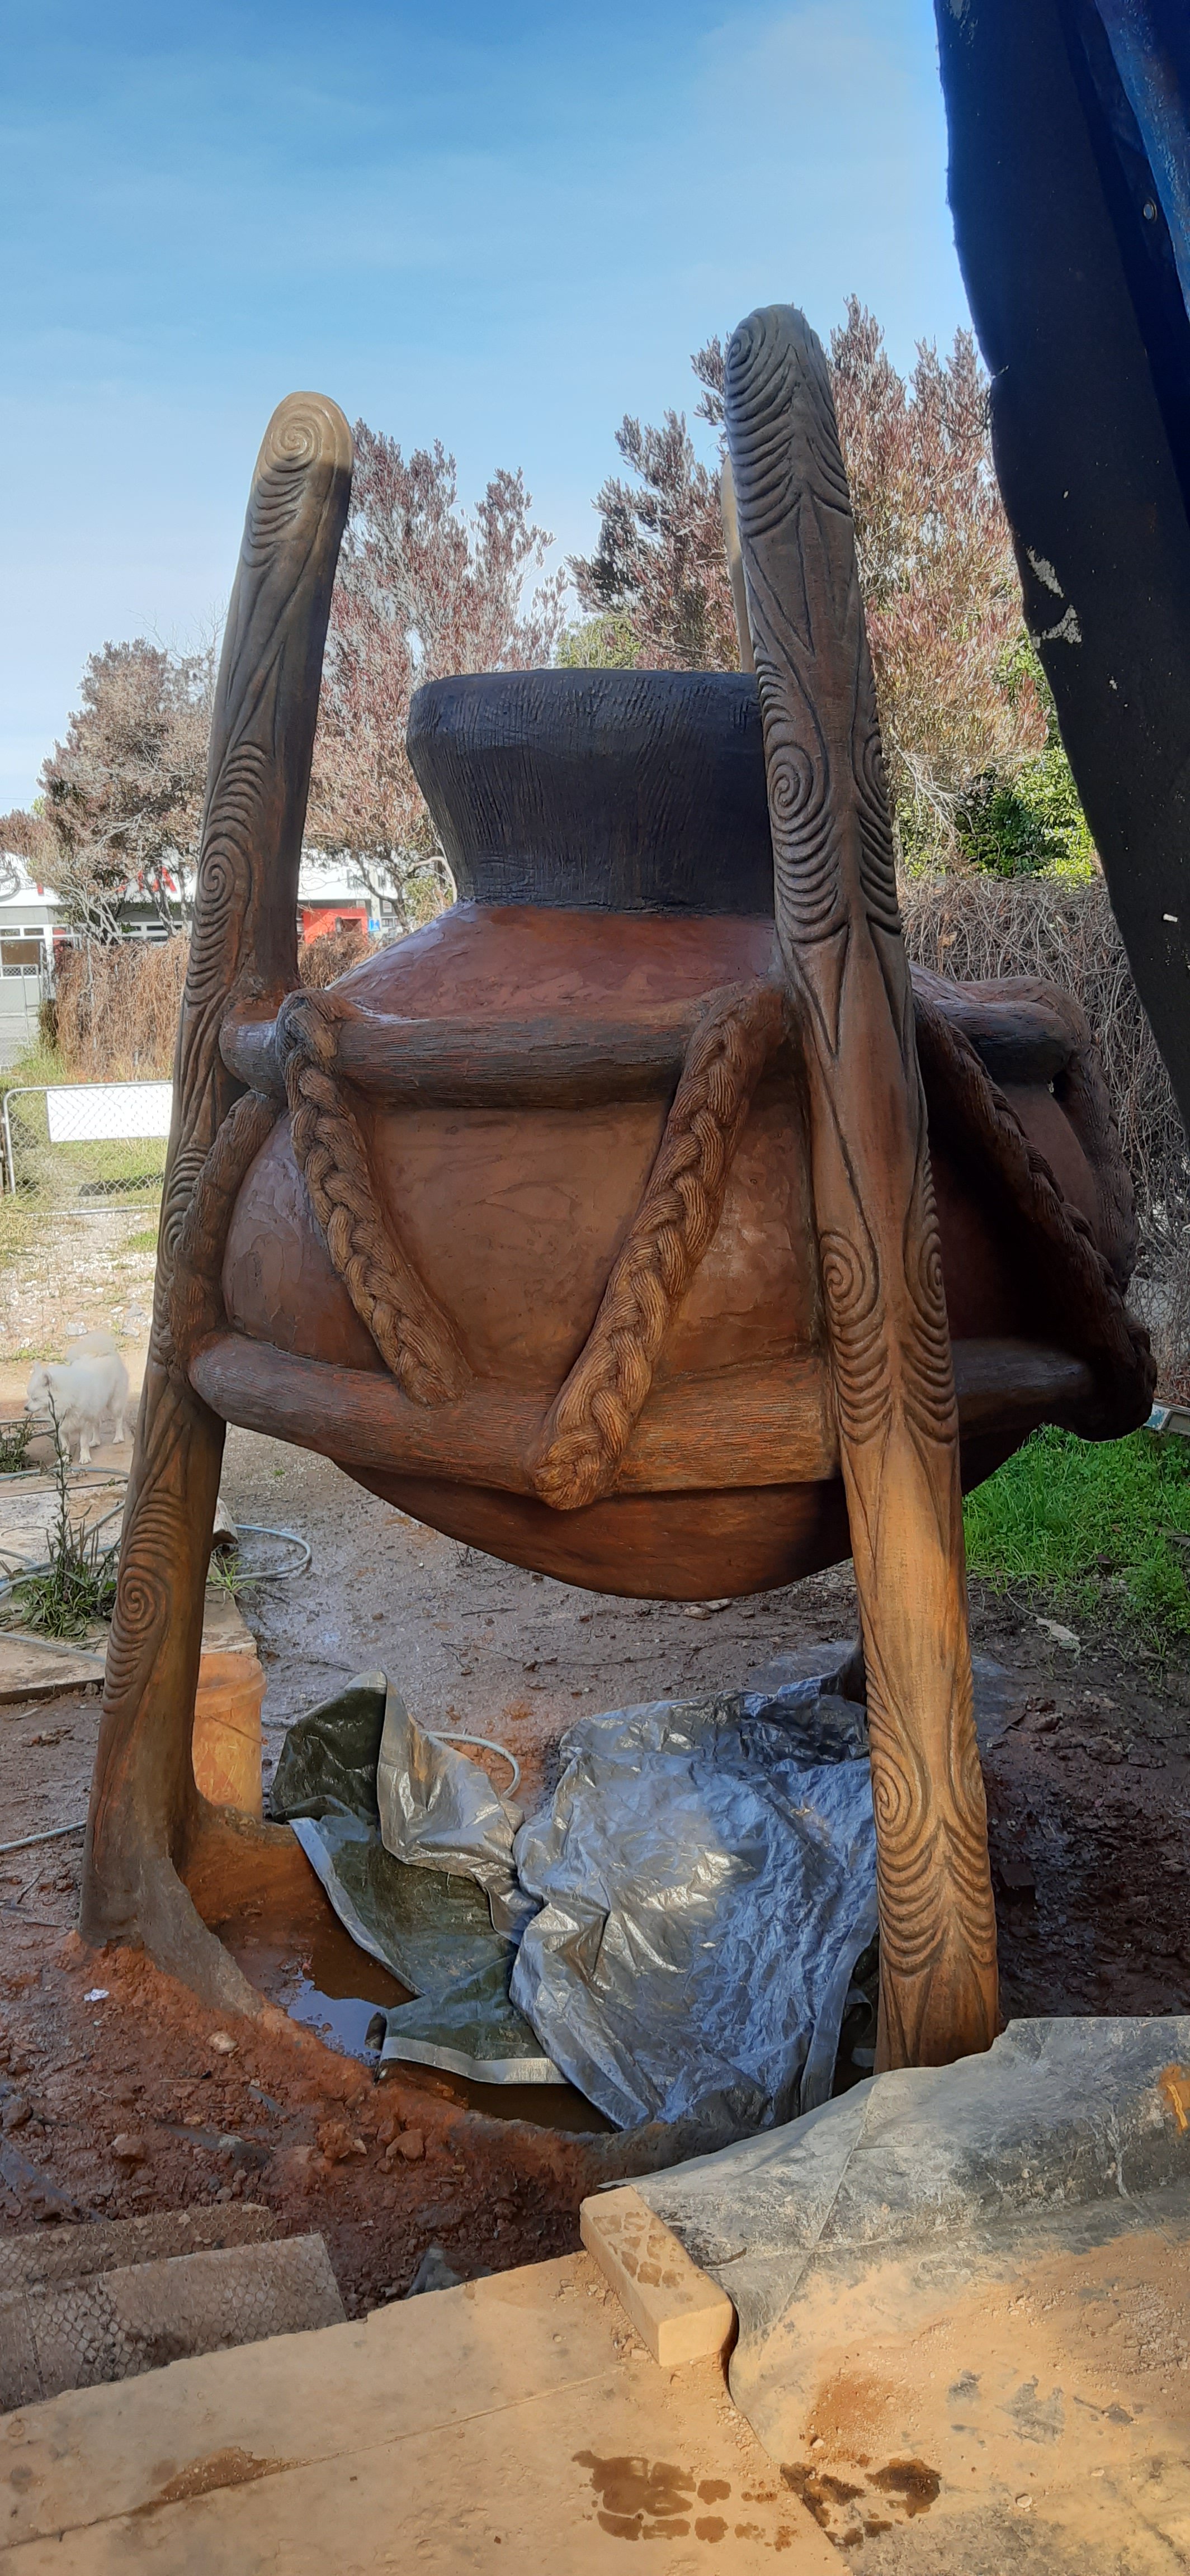
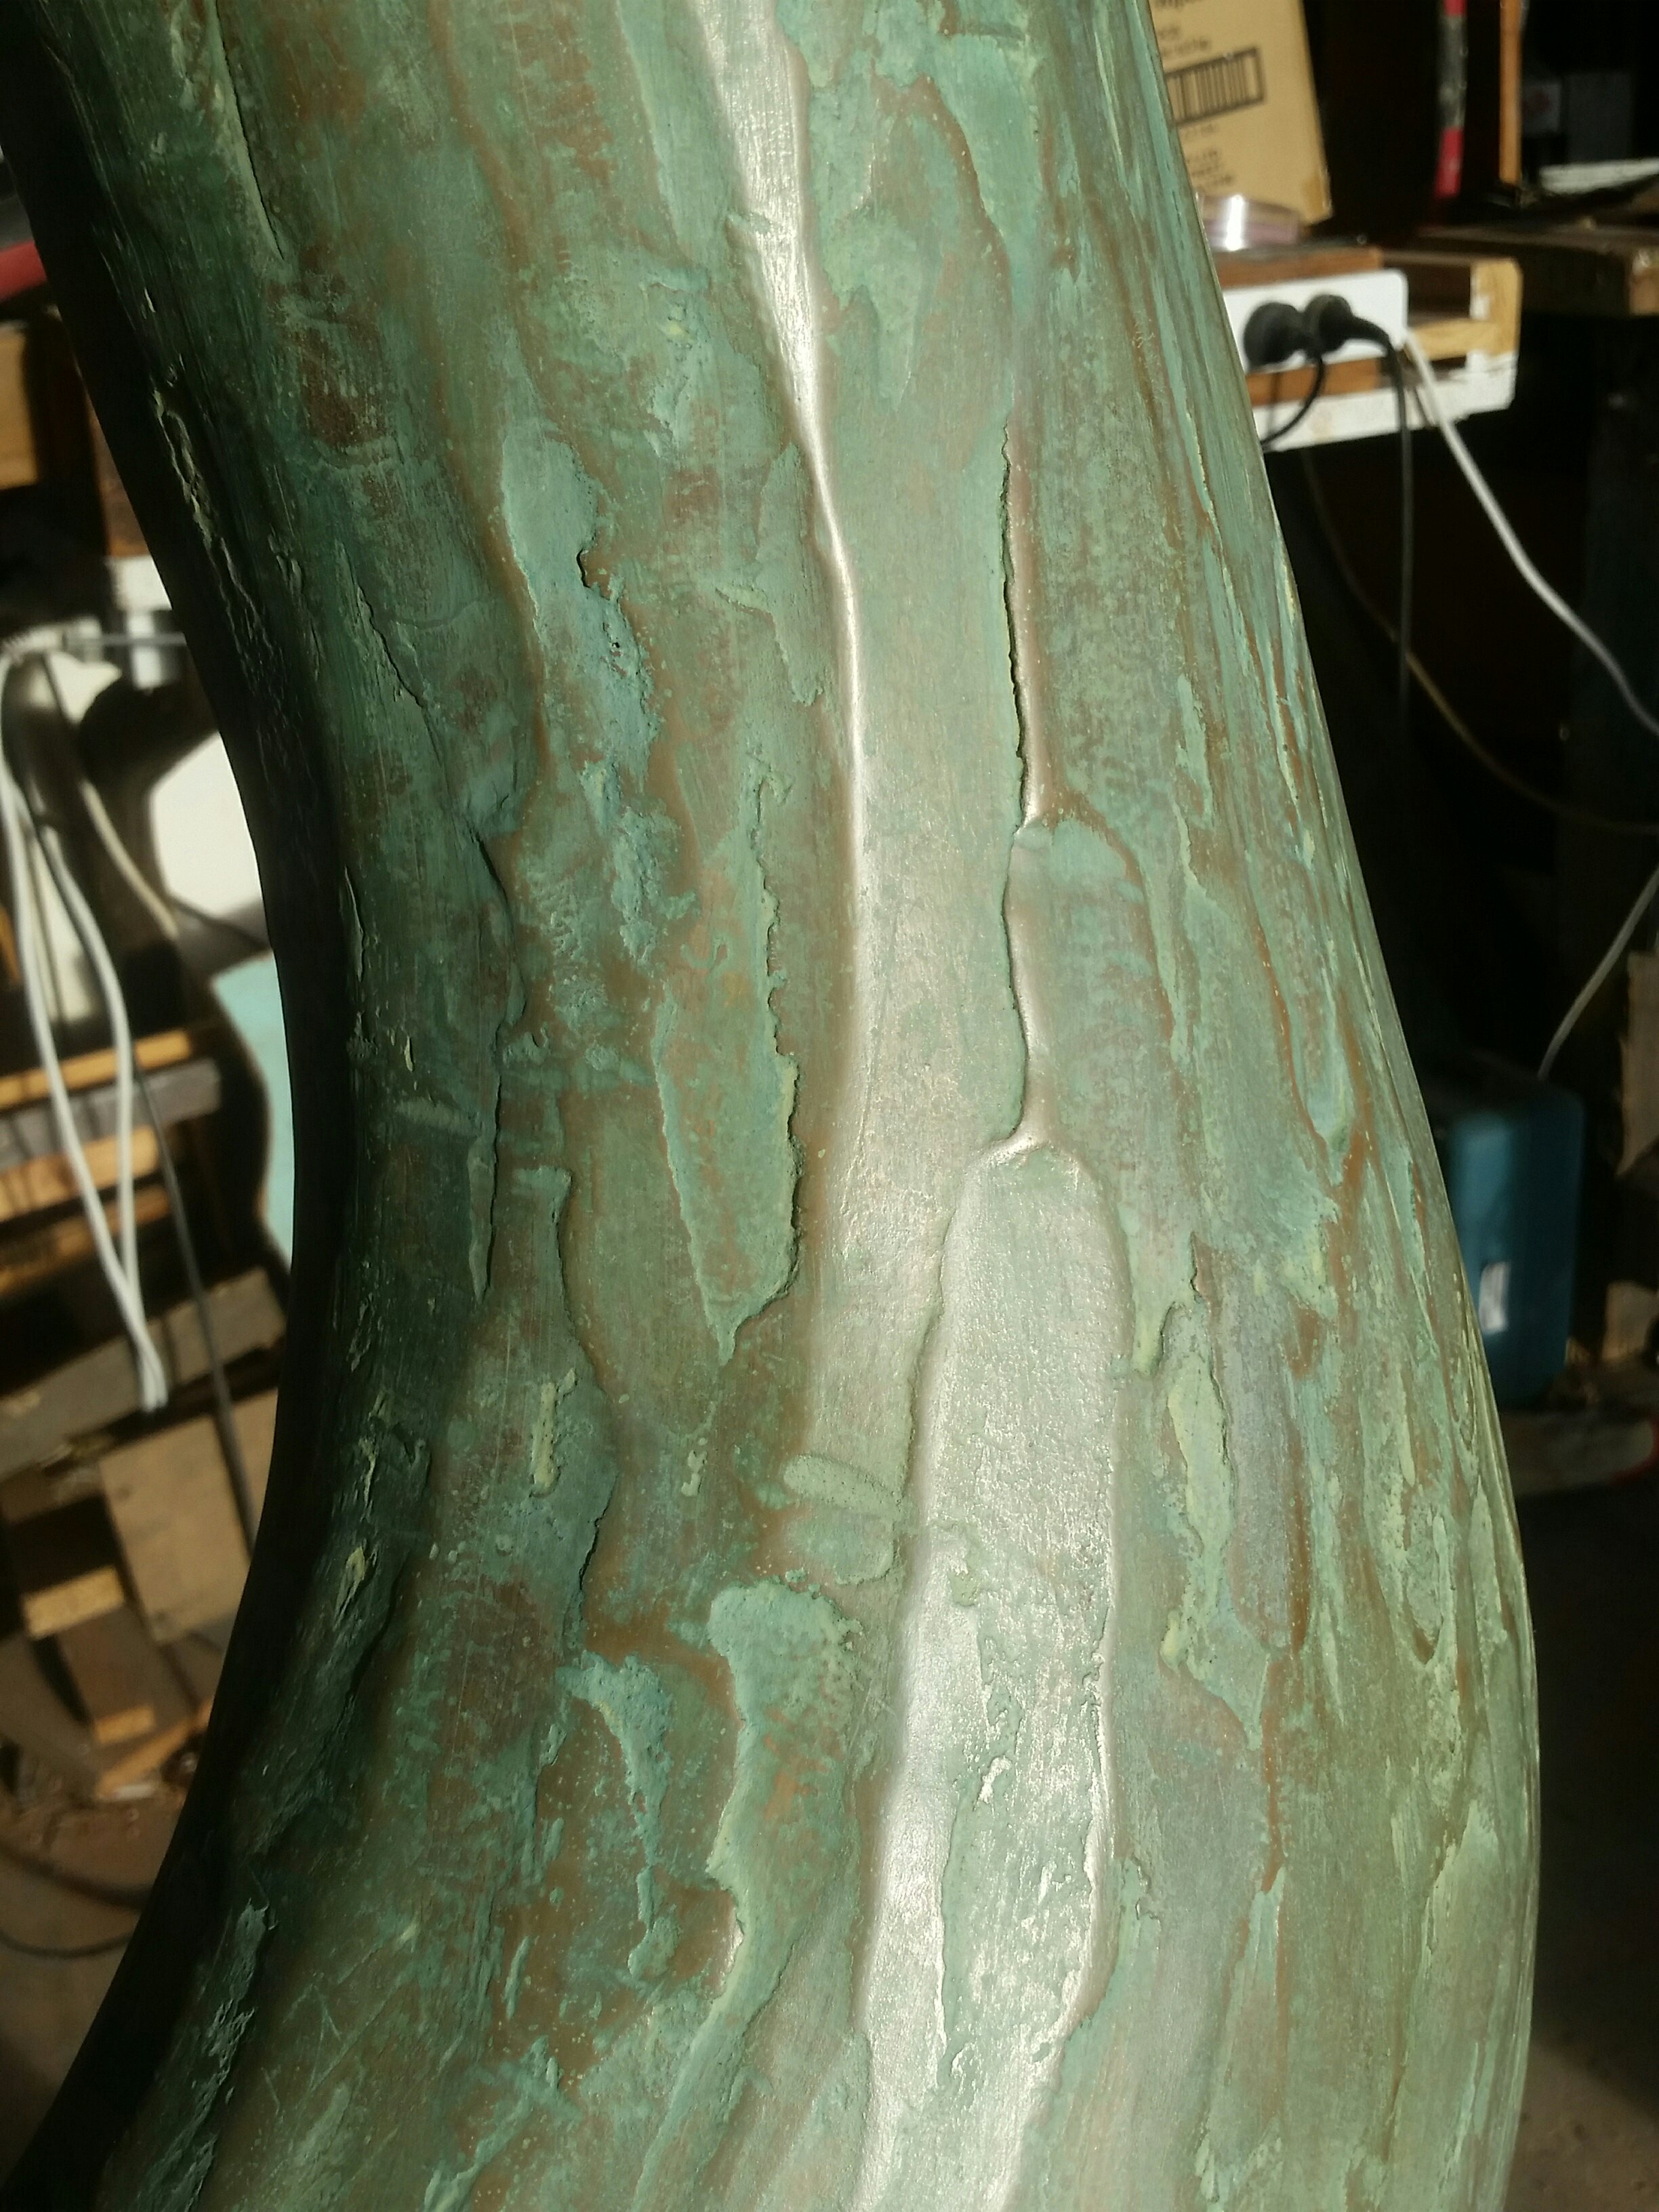
Anna wasn’t sure about doing water in it so I just made it as a birdbath for now. The ‘finished’ photo isn’t quite – it rained overnight and the paint wasn’t quite dry enough to do the ‘shadowing’ effect by painting on black acrylic paint then wiping it off – you can see the parts where I did manage to do it before I had to catch the plane back home!

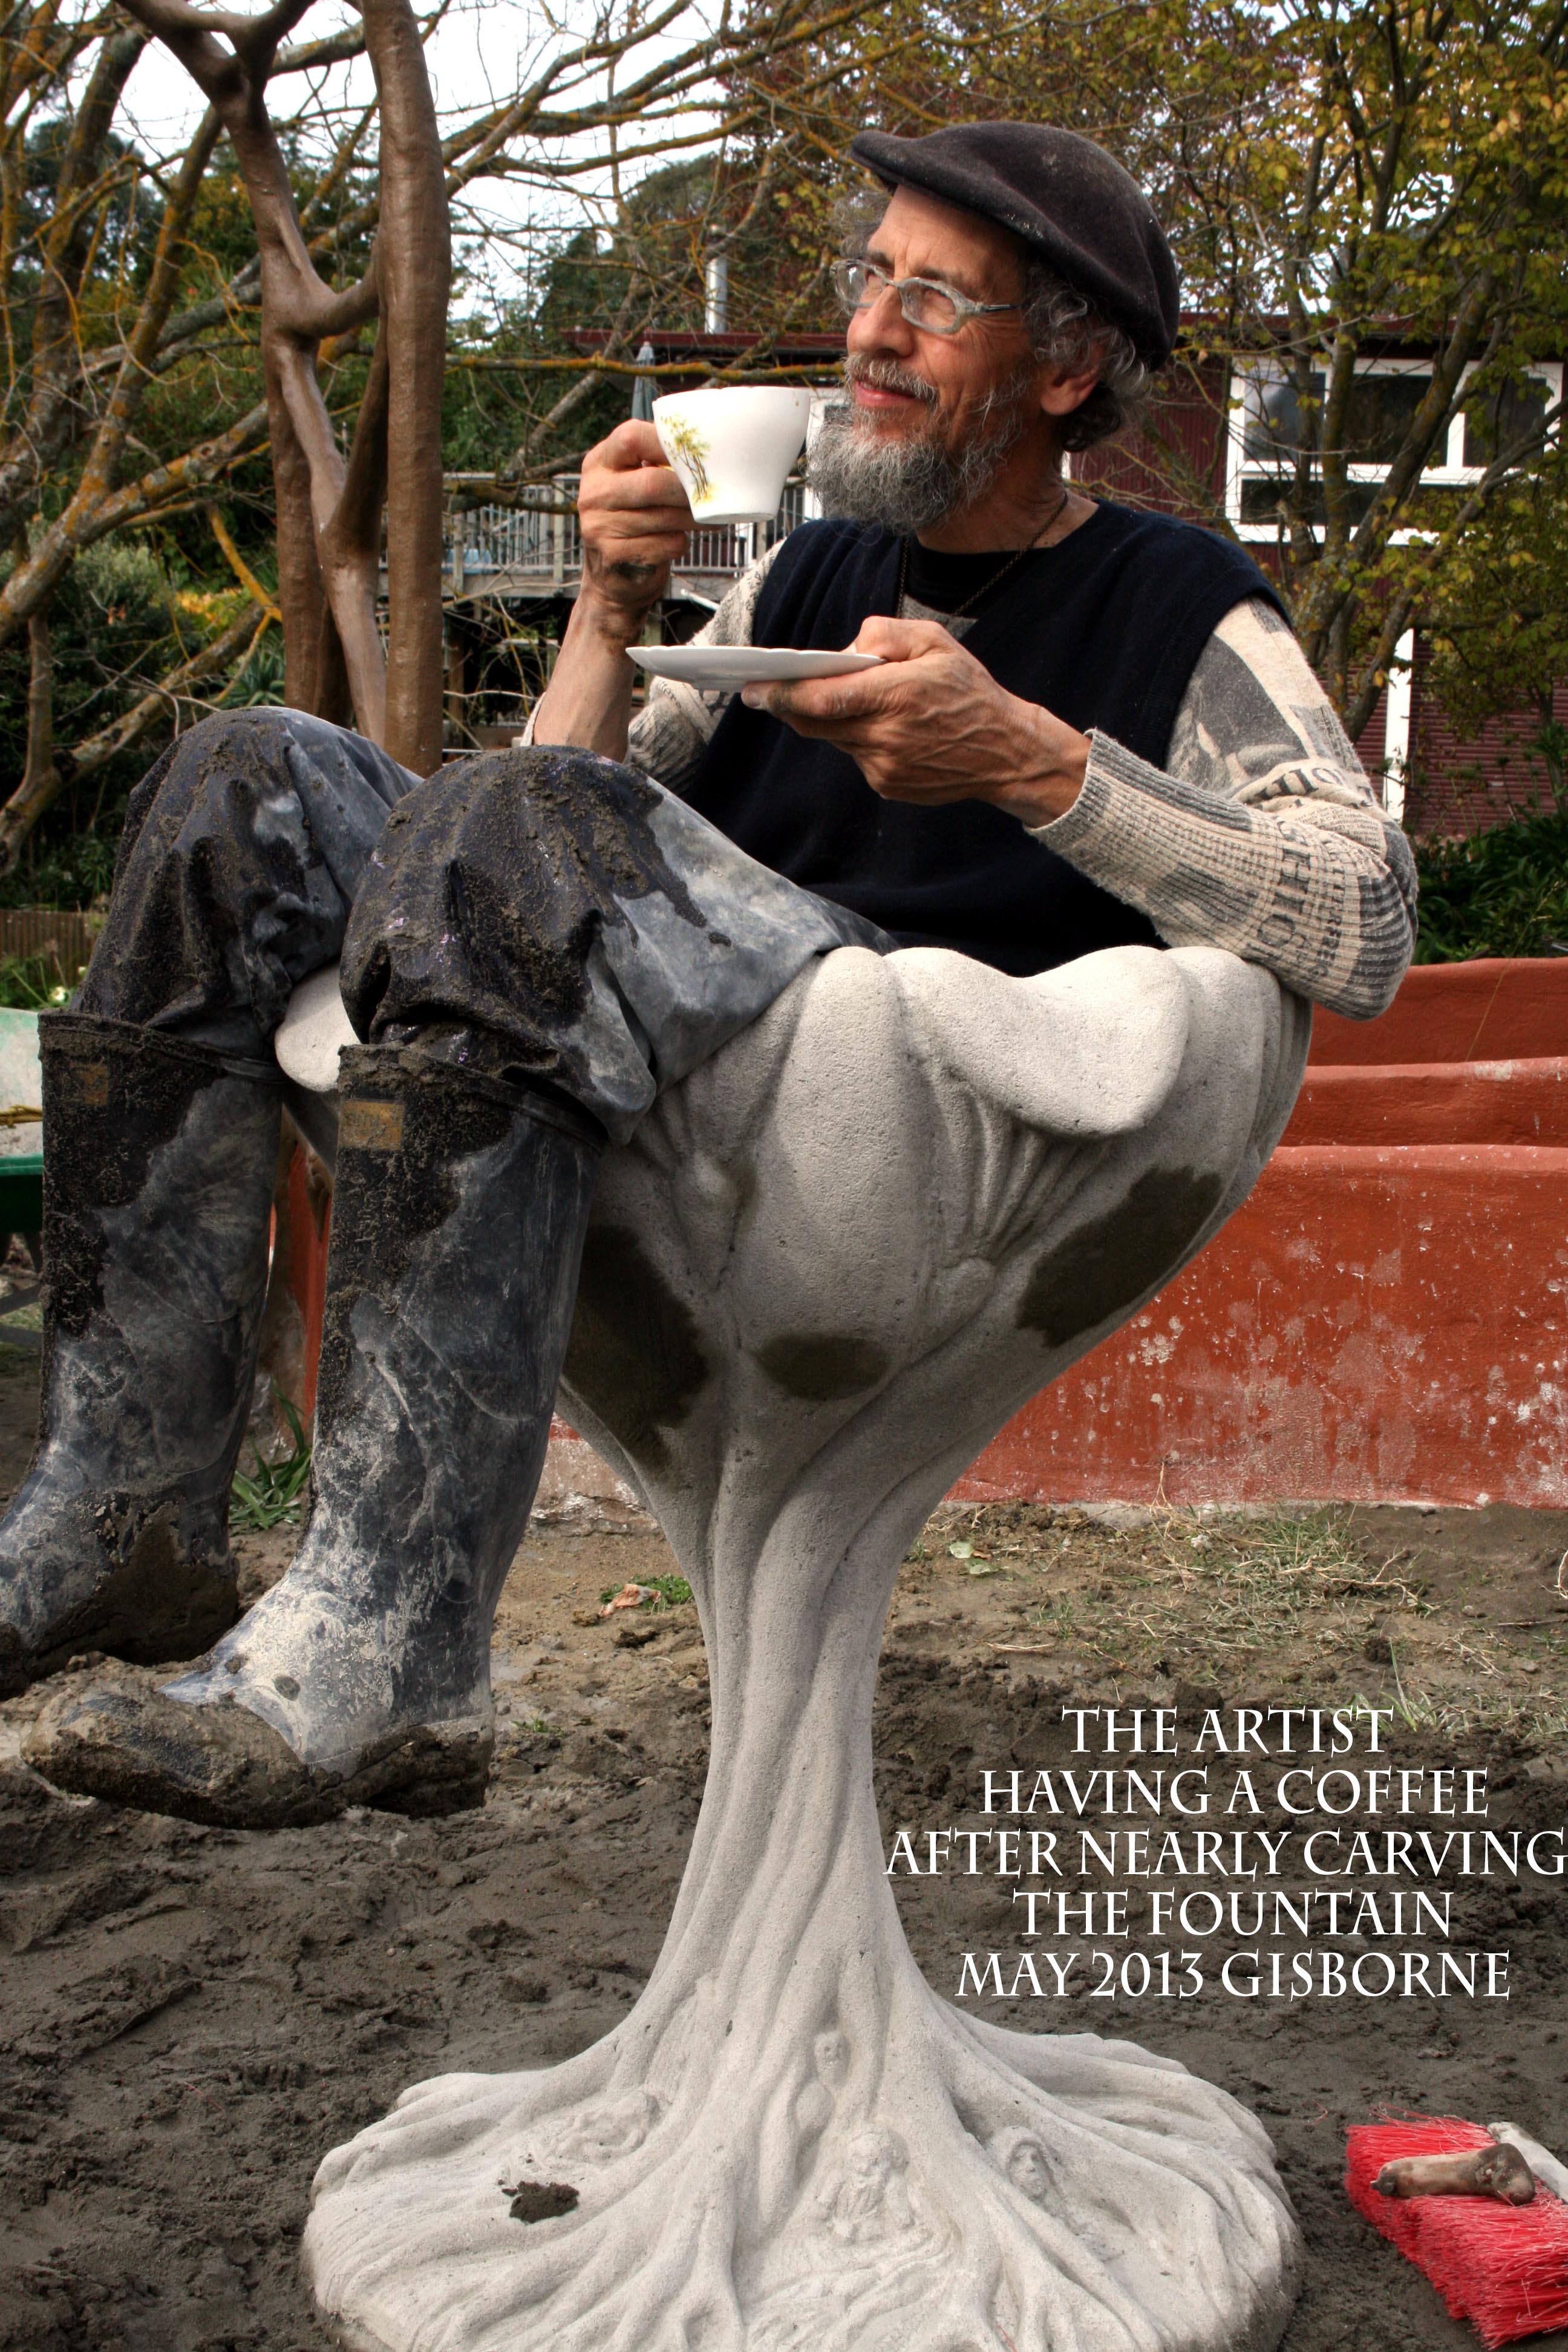
the whole thing took about 2-3 full days I guess. Carved mainly with the tungsten paint scraper I recommend in the book Fantastic Ferrocement. http://www.smashwords.com/books/view/152684

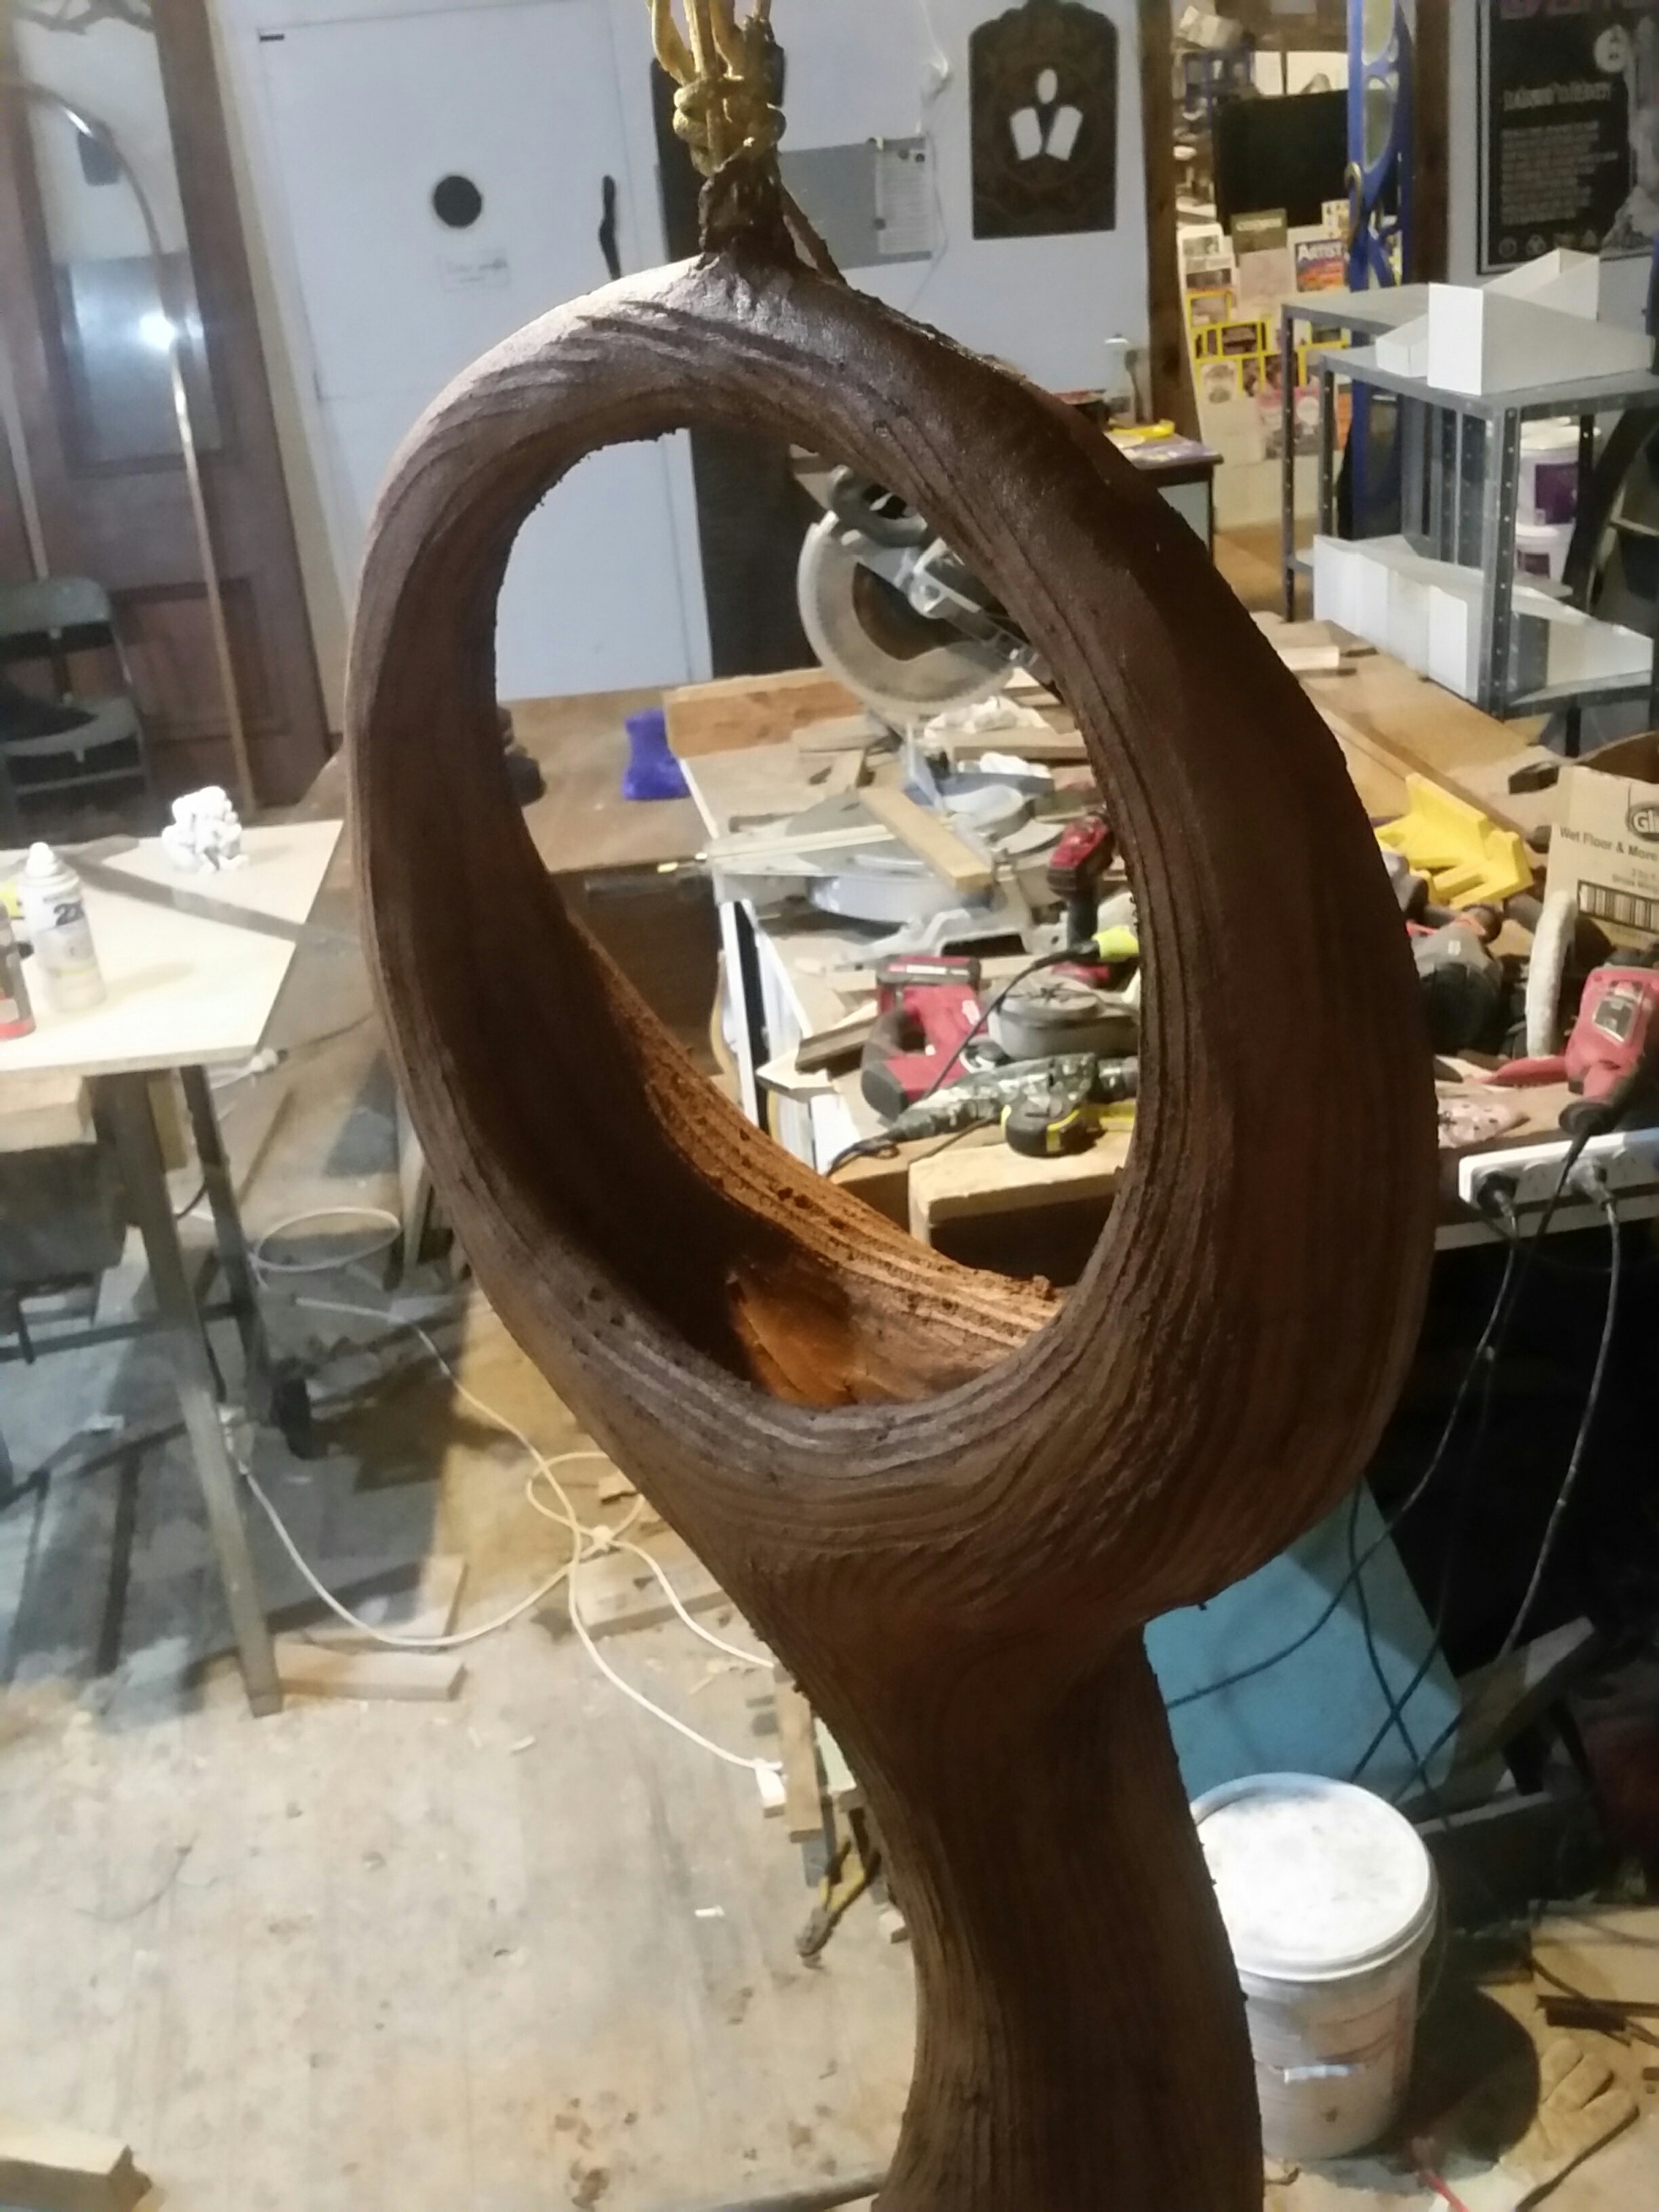
I did make a smaller tungsten chisel for the fine details that were in deep inside the ‘tree roots’ where the scaper couldnt reach. I will post on that later – when I’ve perfected it!

Five 6mm rods were the upright reinforcing, with roughly 2mm soft wire wrapped around it to make a finer armature for the two layers of chickenwire (more than two counting inevitable overlap on the curves). Instructions in Fantastic Ferrocement stand – some minor developments, such as using straight rebar tie wires instead of bag ties for tying the rebars together.

peter in fountain Gisborne IMG_8857 copy annas birdbath 05 05 13 reduced

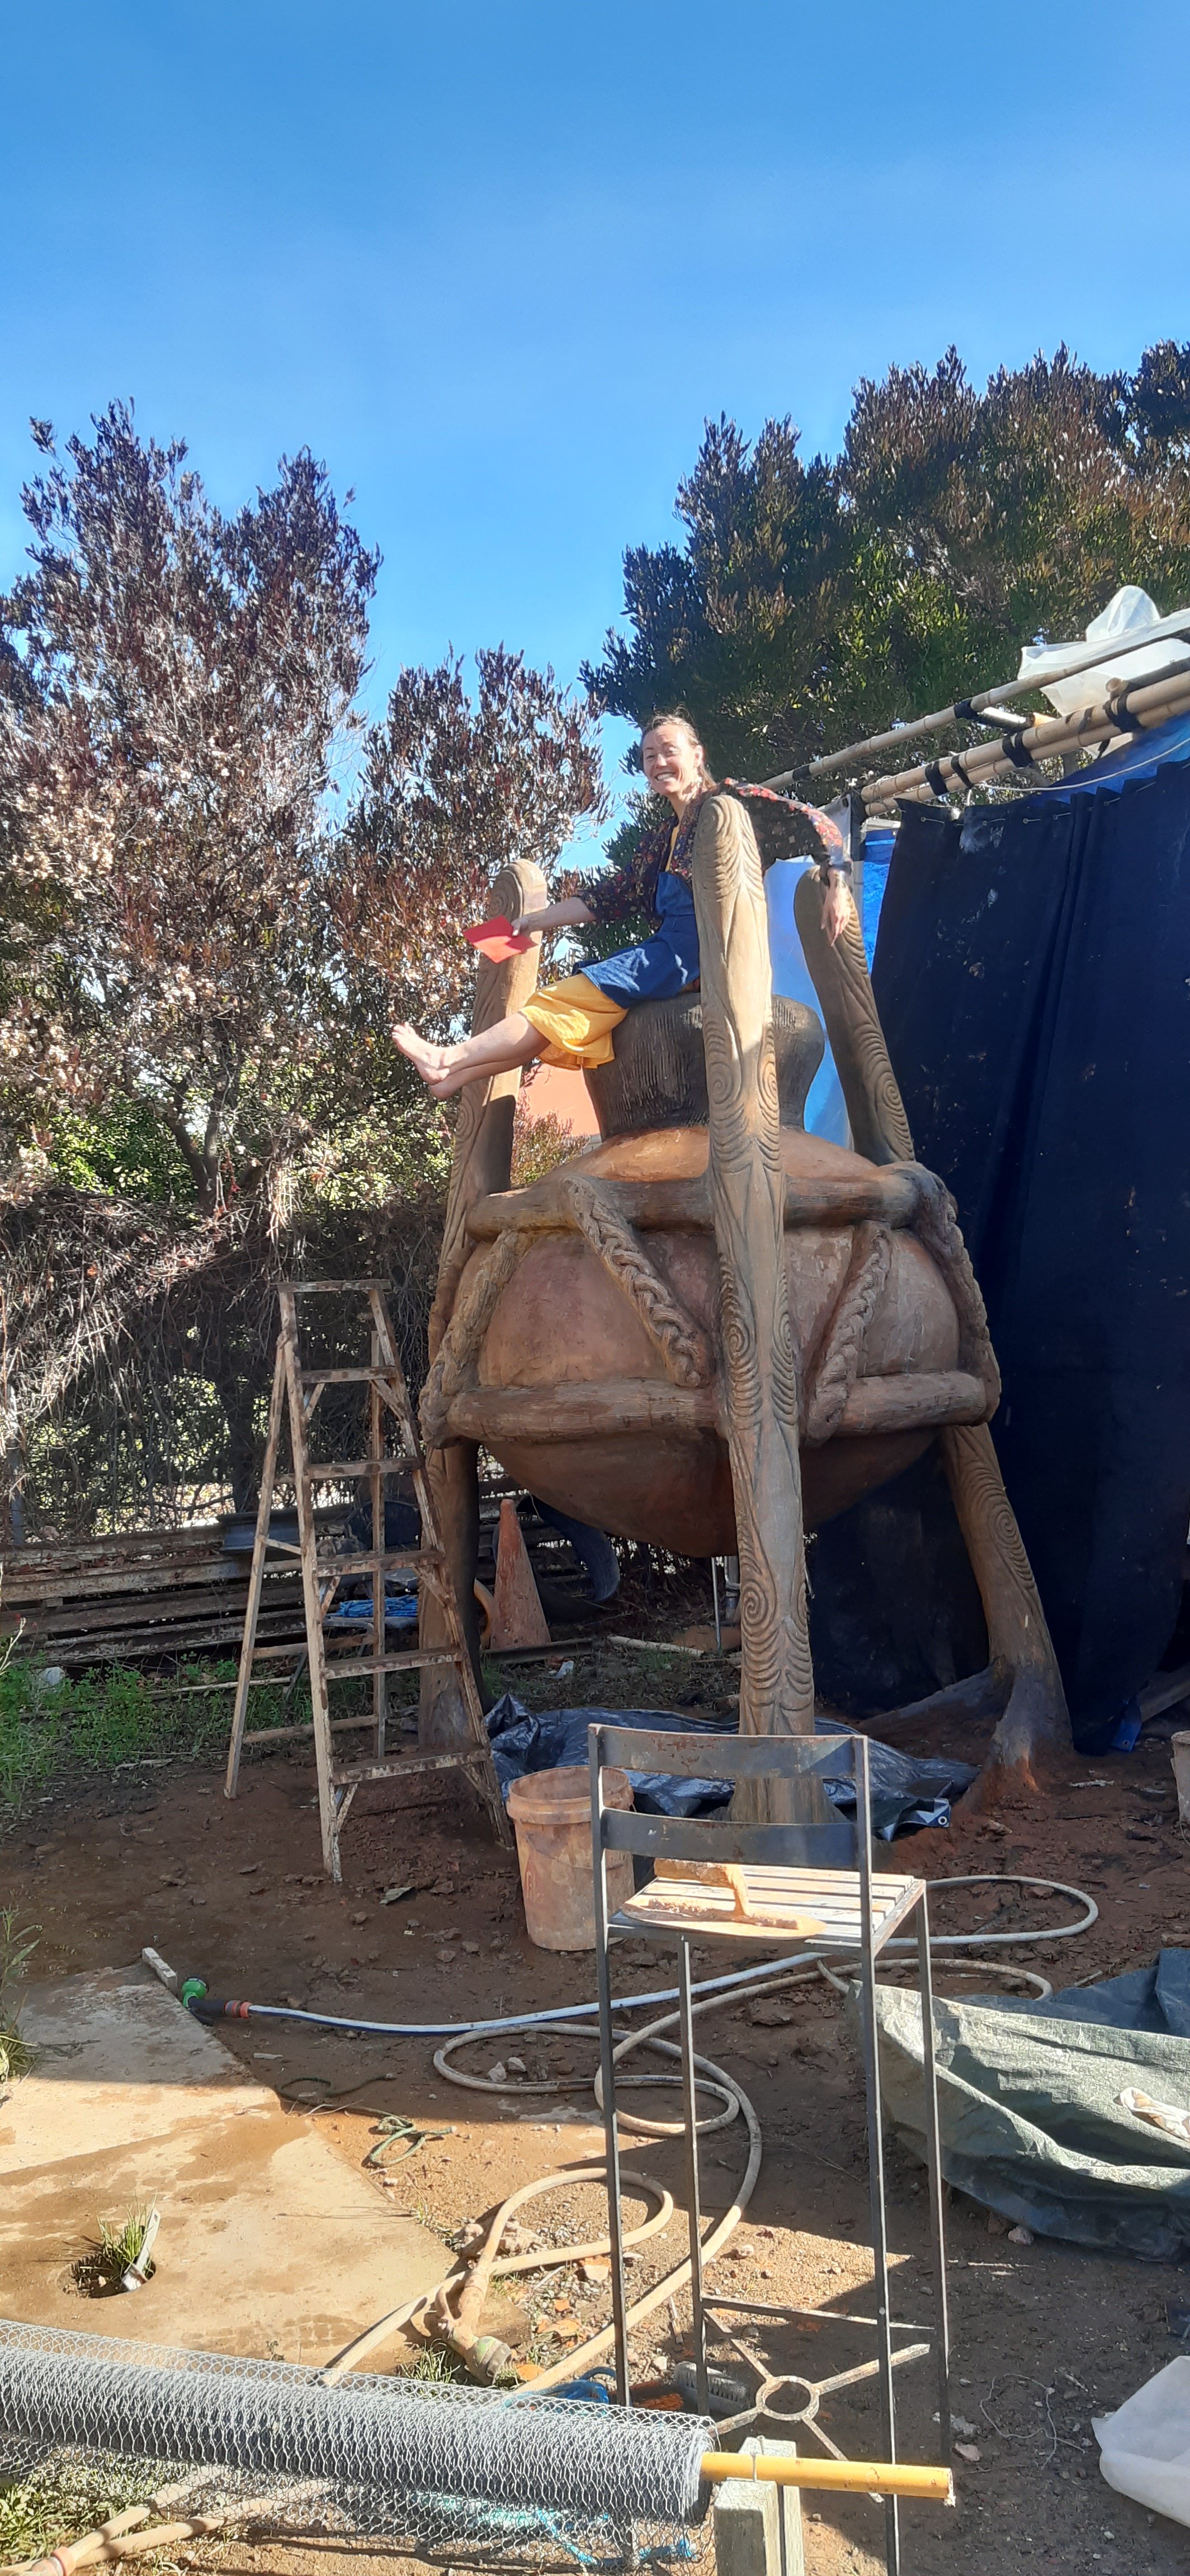
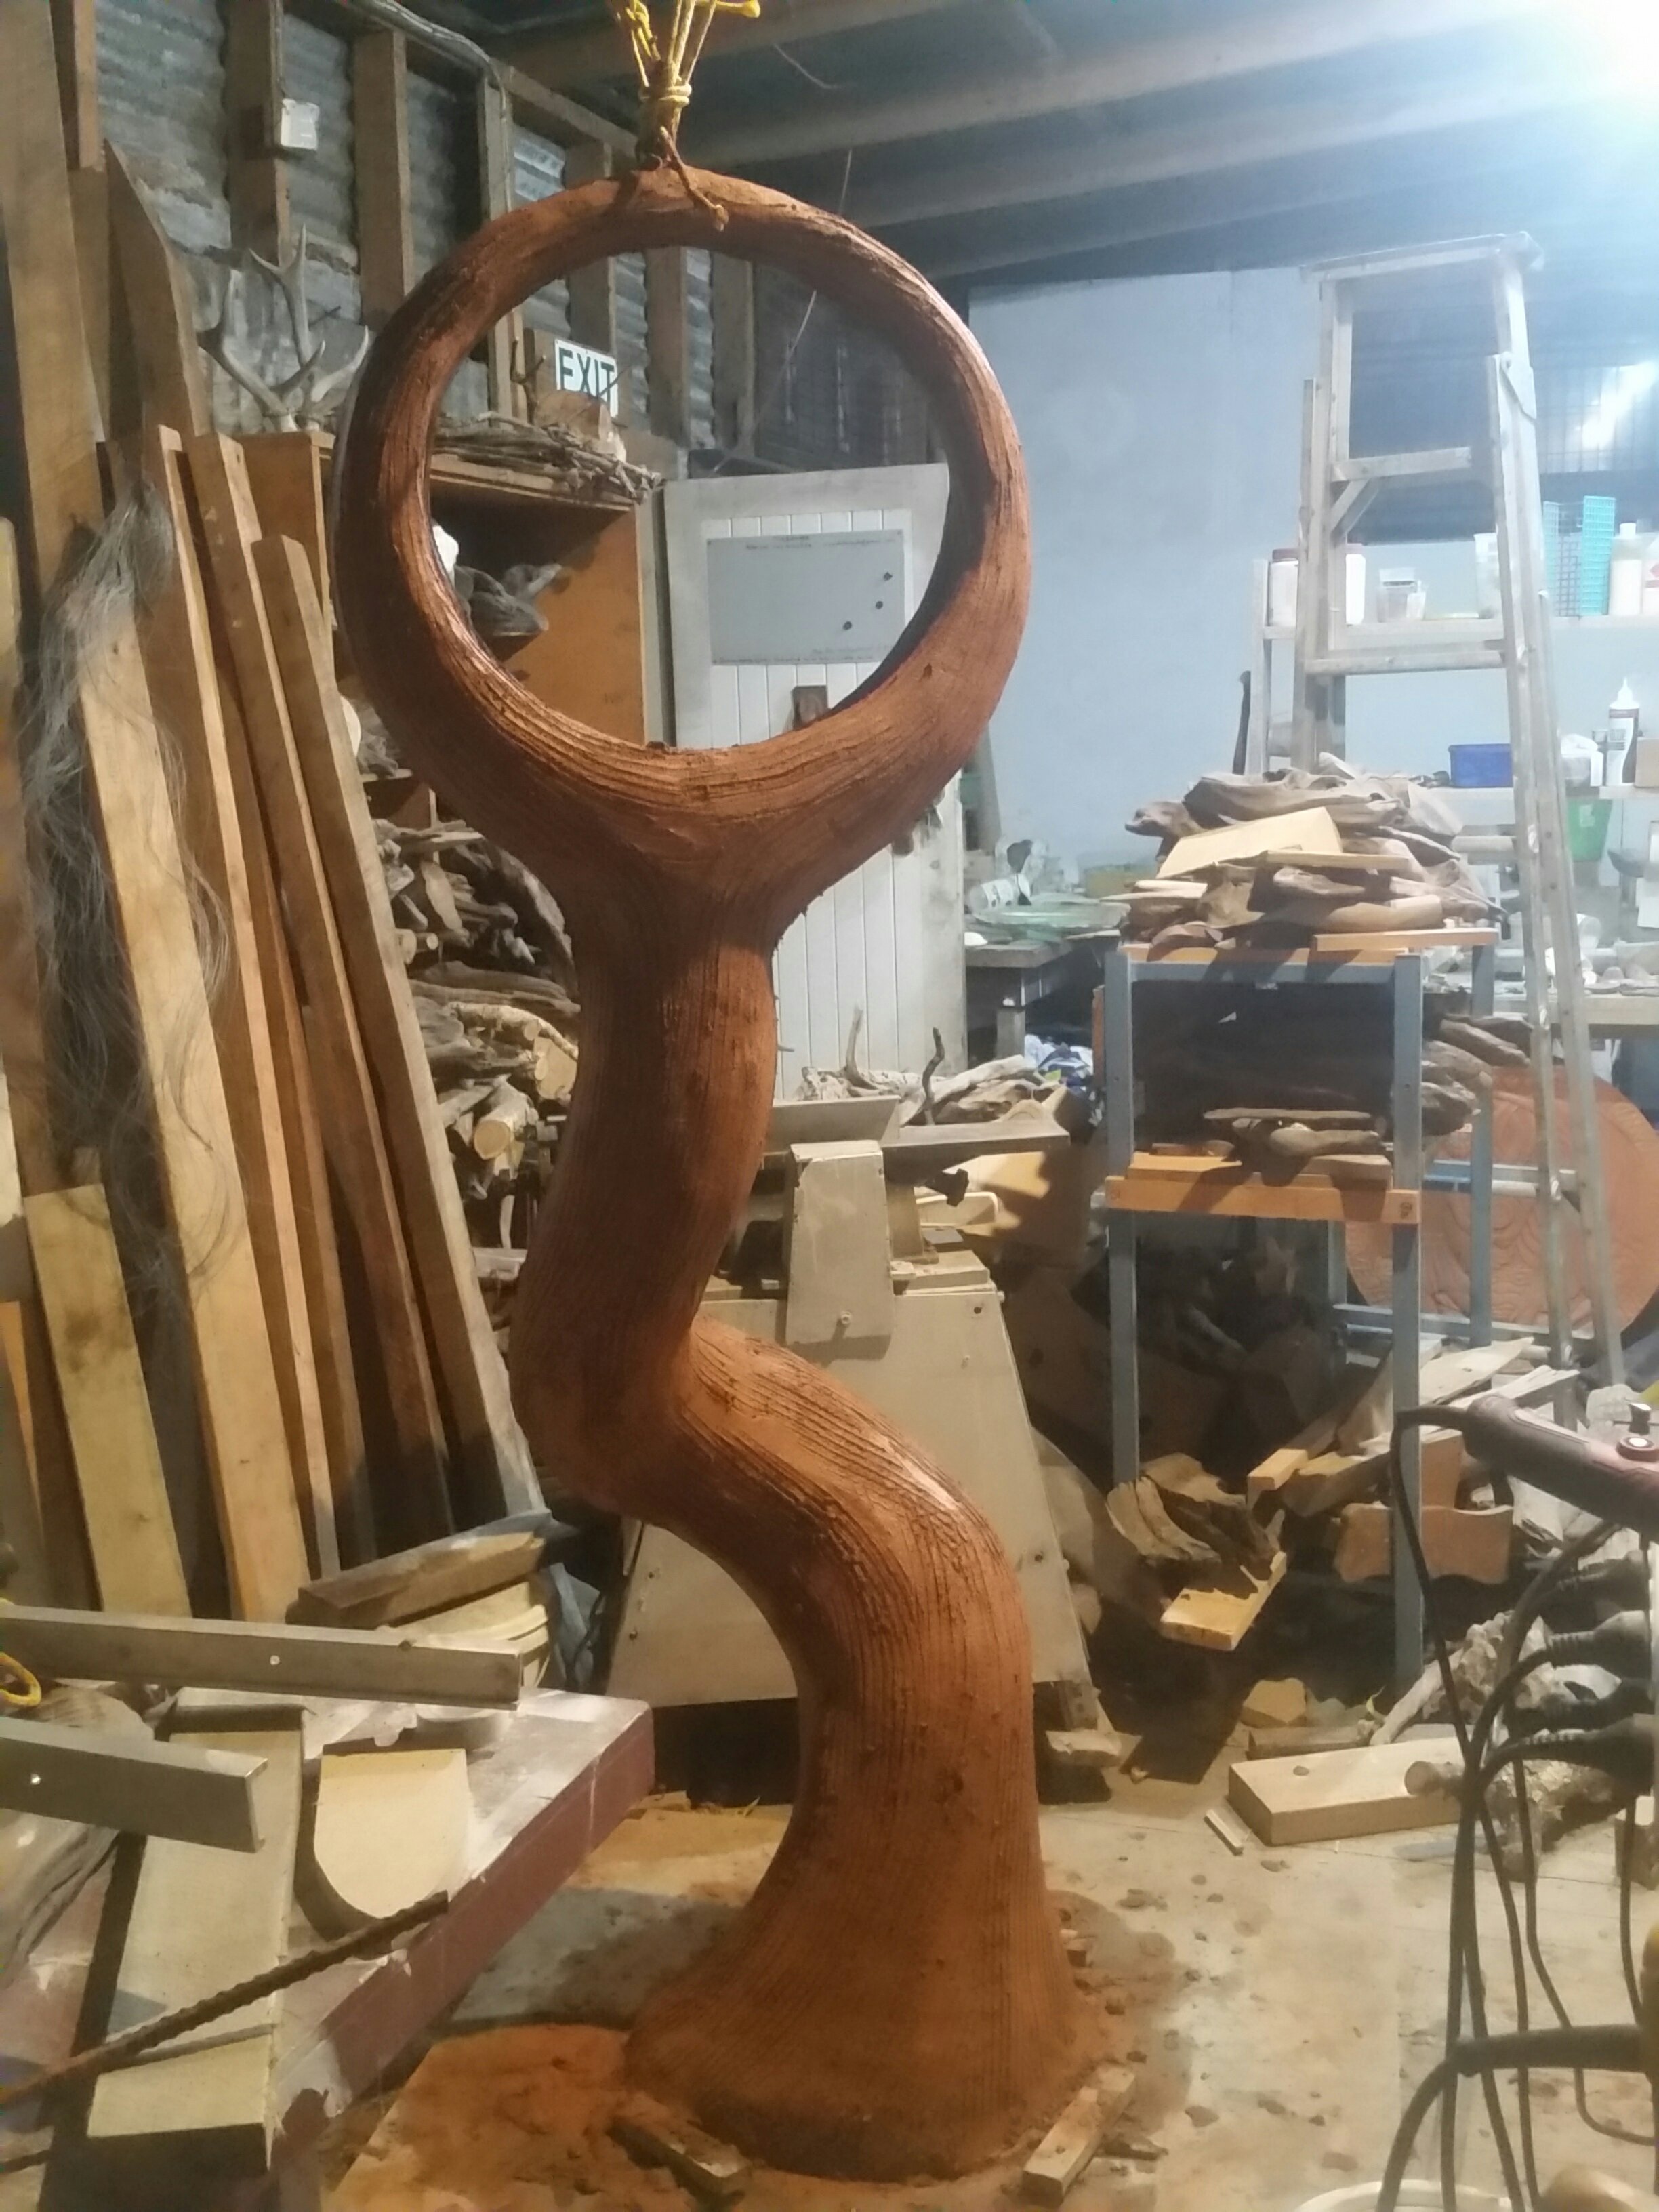
Note the whitish first coat – Resene Limelock to seal in the lime for painting before the plaster is cured. The twist going up the ‘trunk’ is all added – carved into the second thick coat of plaster. Also the ‘roots’ all carved from the extra thick plaster around the base.

I noticed again doing this how good it is to use plenty of plasticiser and mix in the concrete mixer longer than usual for the second coat, until the mix is aerated and wonderfully light and creamy to spread on. Also of course used plenty of fibre. These two things made it possible to get around a one inch  to two or three inch (25-75mm) layer near the base – in one coat.

A deep birdbath/fountain like this can be made safe/shallow for little children by putting gravel in it, I think.

It went so well, while my other stuff (more conceptual things like the Qor game, and my philosophical writing) has been falling on indifferent ears, that I’ve decided to take several people’s advice and do art for a change, sculpt and perhaps paint again, etc. And maybe make enough to keep bank, wife and kids happier…:) I did a little oak carving recently, in that spirit:

moonwit dreams moonwit dreams REAR

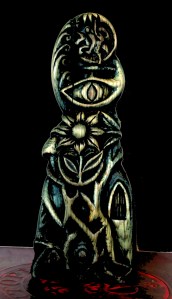
Moonwit Dreams, from my fantasy epic the Apples of Aeden. I made a silicone mould for it too, and have tried some casting in plaster of Paris, oil-finishing the casts by dipping in hot linseed oil, then finishing by ‘shadowing’ as in the original above with dark acrylic.

For any ferro or carved work you want to commission, email me peter@eutopia.co.nz.


Builder of Eutopia building again – contracting in ferrocement

Well, my latest practical development is a return to making concrete stuff –ferrocement gardens and anything else the patron imagines.

I met Deborah, my co-creator in this venture (who is mad keen on ferrocement and gardens too) because I had the Wizard of Eutopia sign out. So in a way it has been of pragmatic use to ‘come out’ as a wizard! Especially since she has a magical little ferro cottage/bach at the back of her place, built by a man named Weston, in need of renovation and containing a built-in water tank which under my sledgehammer is now becoming a sort of grotto of the goddess (the Chrysalis Cave). In this cottage she will sell all my eutopian objects, as well as her own. Magic is indeed unfolding there, and i am sure it will live up to its name ‘Deb’s Enchanted Cottage’.

If you want anything of this nature, email me peter@eutopia.co.nz.

Looking forward to getting out of doors more, being fit, and having fun creating stuff people actually ordered, for a change!

Then when we have some funds, we can tackle the finishing of cafe Eutopia – naturally!