Spiral herb garden progress

Well I’m finally back to ferrocement, in Gisborne now based at Dreamspace gallery and workshops, 61 Carnarvon St. Main focus in the ferro: ‘dreamhavens – cabins you only dreamed of’… see www.dreamhaven.nz  . (formerly hobbithaven – this was lost in cyberspace when my old email peter at eutopia disappeared with eutopia.co.nz – sigh!)

dreamhaven card 26 06 17

The Tairawhiti Environment Centre here asked me to make a herb spiral for them, and a garden path edging. Here are some photos. The spiral was a challenge as it is a complex shape to bend steel to – a spiral of steel rebar becomes a giant spring which needs strong framework to hold it. I put it over a ‘christmas tree’ frame specially made for forming circles and sprirals. But next time I will try welded joins – tied ones slip and the spiral twists… So, welding learning curve next… Also note the colour – hybrid of some ‘marigold’ oxide in the final coat and a wash of iron sulphate (used in lawn care for moss control) within a day of last coat and carving of it. Also note the black non-woven weedmatting for protection while the plaster cures – we got a 4 metre-wide roll of the thick felty stuff from Permathene which works well as it is wettable, doesn’t flap about, and won’t tear or fray like woven does. Raewyn will help fill the spiral and plant it. We are donating it to the cause – good advert I hope!

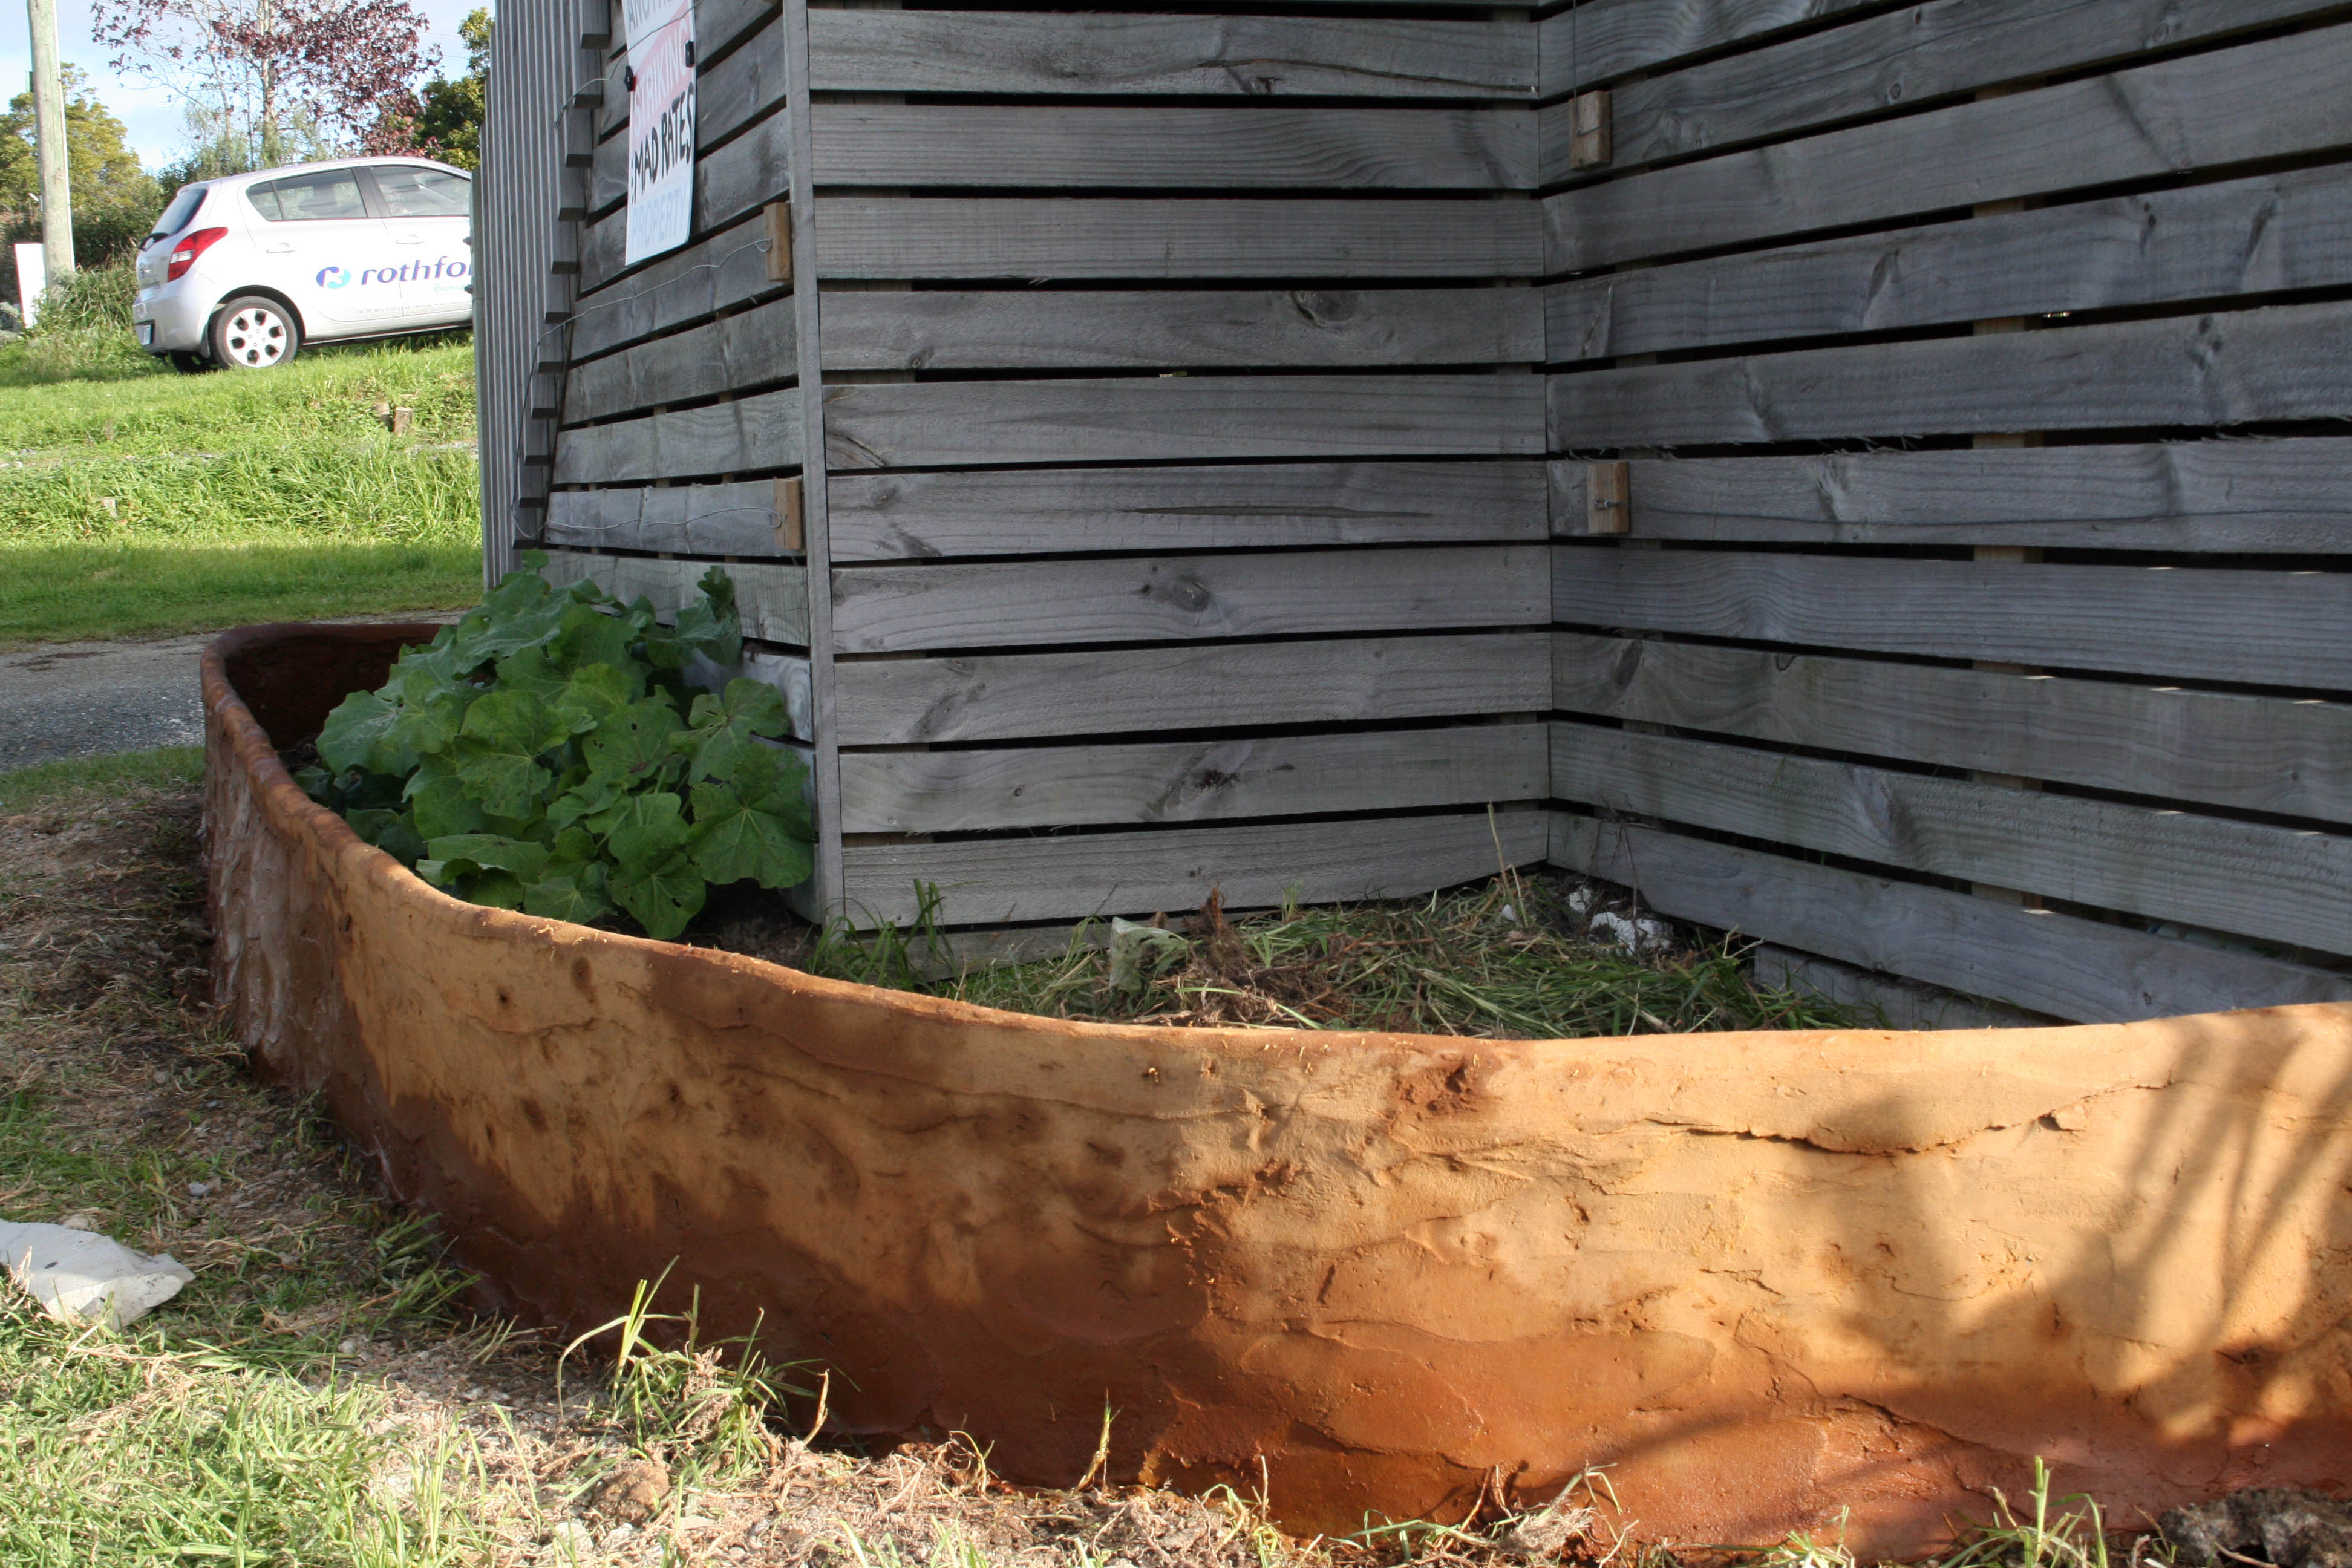
The garden edging took a lot of bending over and joining up 6 metre lengths, but it is very strong. They plan to fill it with smooth pebbles.

20170627_160643


Advertisement

Ferrocement raised beds really are great!

I’ve just done another one at the Story Ark, out the front this time. About 7 metres long, one-sided as it is against the front of the Ark. Framework was minimalist, and one length of 13mm mesh chickenwire folded over it lengthwise, and laced with thin (.7 or somm) tie wire. As per the book fantastic ferrocement of course! Oh and the ends of the framework I stapled onto the wood of the Ark, and plastered right up to the wood. I will line the Ark side of the bed with black plastic to prevent the soil from rotting the wood.

It only took two mixer-loads to plaster it – about 40kg of cement (or two 25kg bags at most), and one coat (round-ended trowel finish) was sufficient. done in an afternoon (by yours truly alone). Then lightly sanded with about 60 grit and stained a couple of days later (can do it same day – it works apparently by chemical reaction with uncured plaster, at least not fully cured) with garden-store-standard iron sulphate, strong solution put on with a rag, two applications to make sure. Apart from keeping under cover for a few days to maximise plaster curing, that’s it!

I grubbed a shallow (maybe 50mm) trench for the framework to discourage the invasive kikuyu grass we have here courtesy of a mad council decades ago…

new raised bed in front of ark


This finish goes darker when wet, as you see in the photo. I suppose I used three quarters of a kilo of the iron sulphate – about NZ $5 depending on the garden store you go to.

The mega-fibre II I used to get for plaster isnt available here now, and I havent sourced the Sika fibre here yet, so I improvised: I chopped up some old polypropylene rope into about 30mm lengths, rubbed it a bit to loosen all the fibres, and added it to the mix. It was coarser than the other but plastered fine, and did the job of helping the thick coat not to sag.

I thoroughly recommend ferrocement for serious raised beds. It’s probably about as quick as wood for the same height, or at least if you count the lifetime cost of wood, which rots in proportion to your success in filling it with a fertile soil bursting with microorganisms! Of course, you can make a wooden one then line it with plastic, but why go there when there’s ferro, which will outlast all wooden outdoor structures…