Making ferrocement arch frames

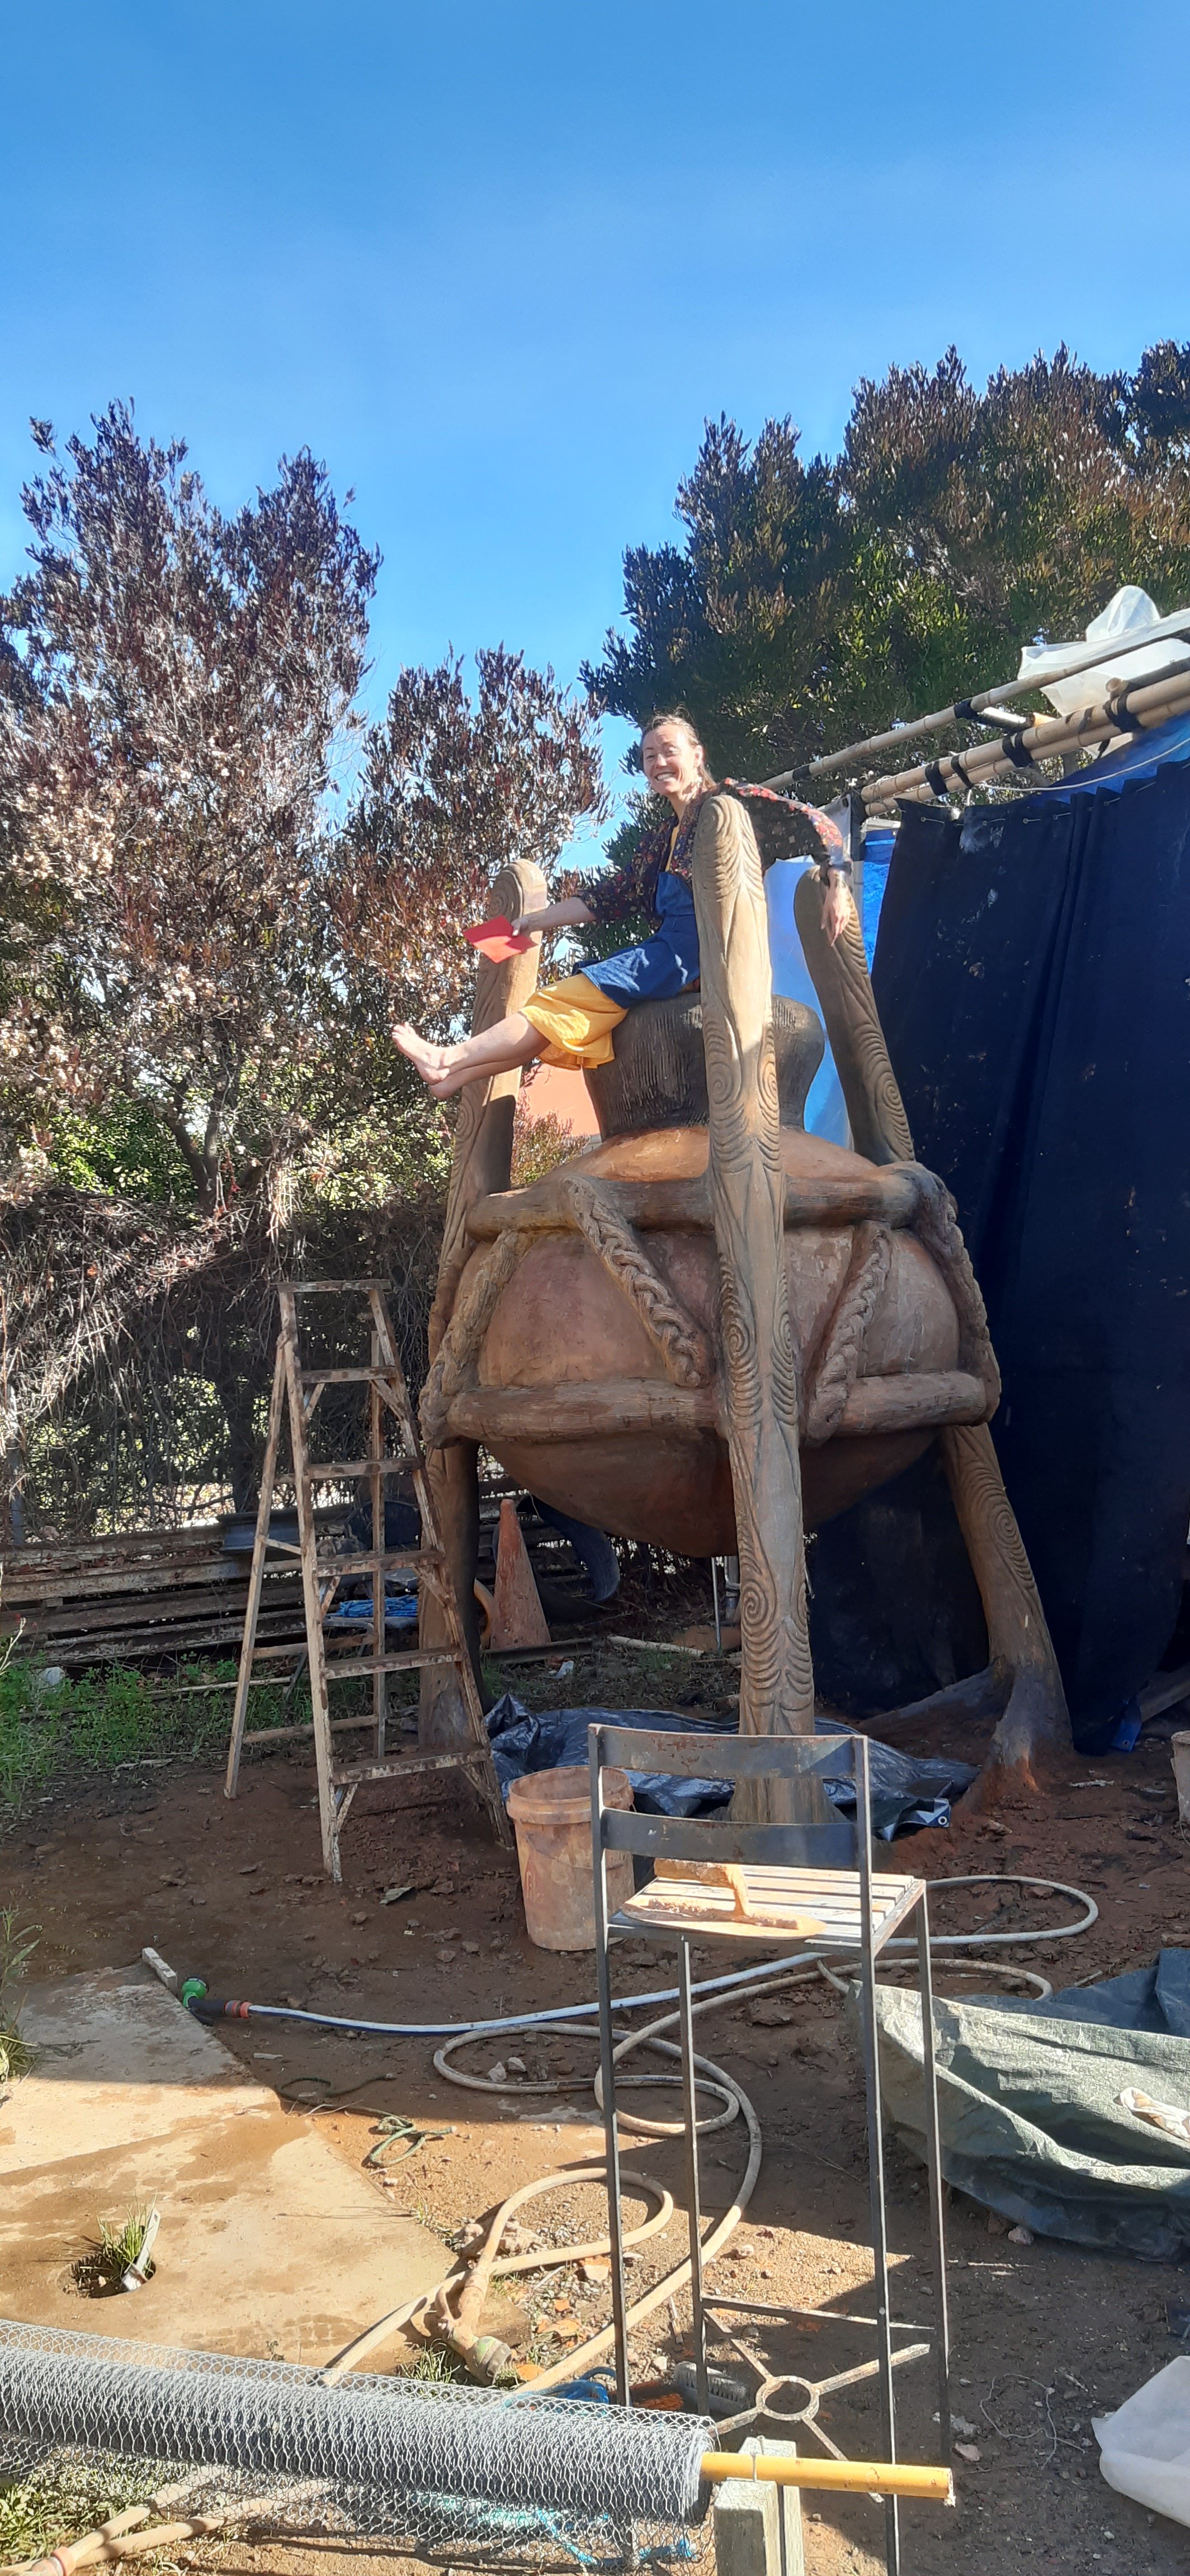
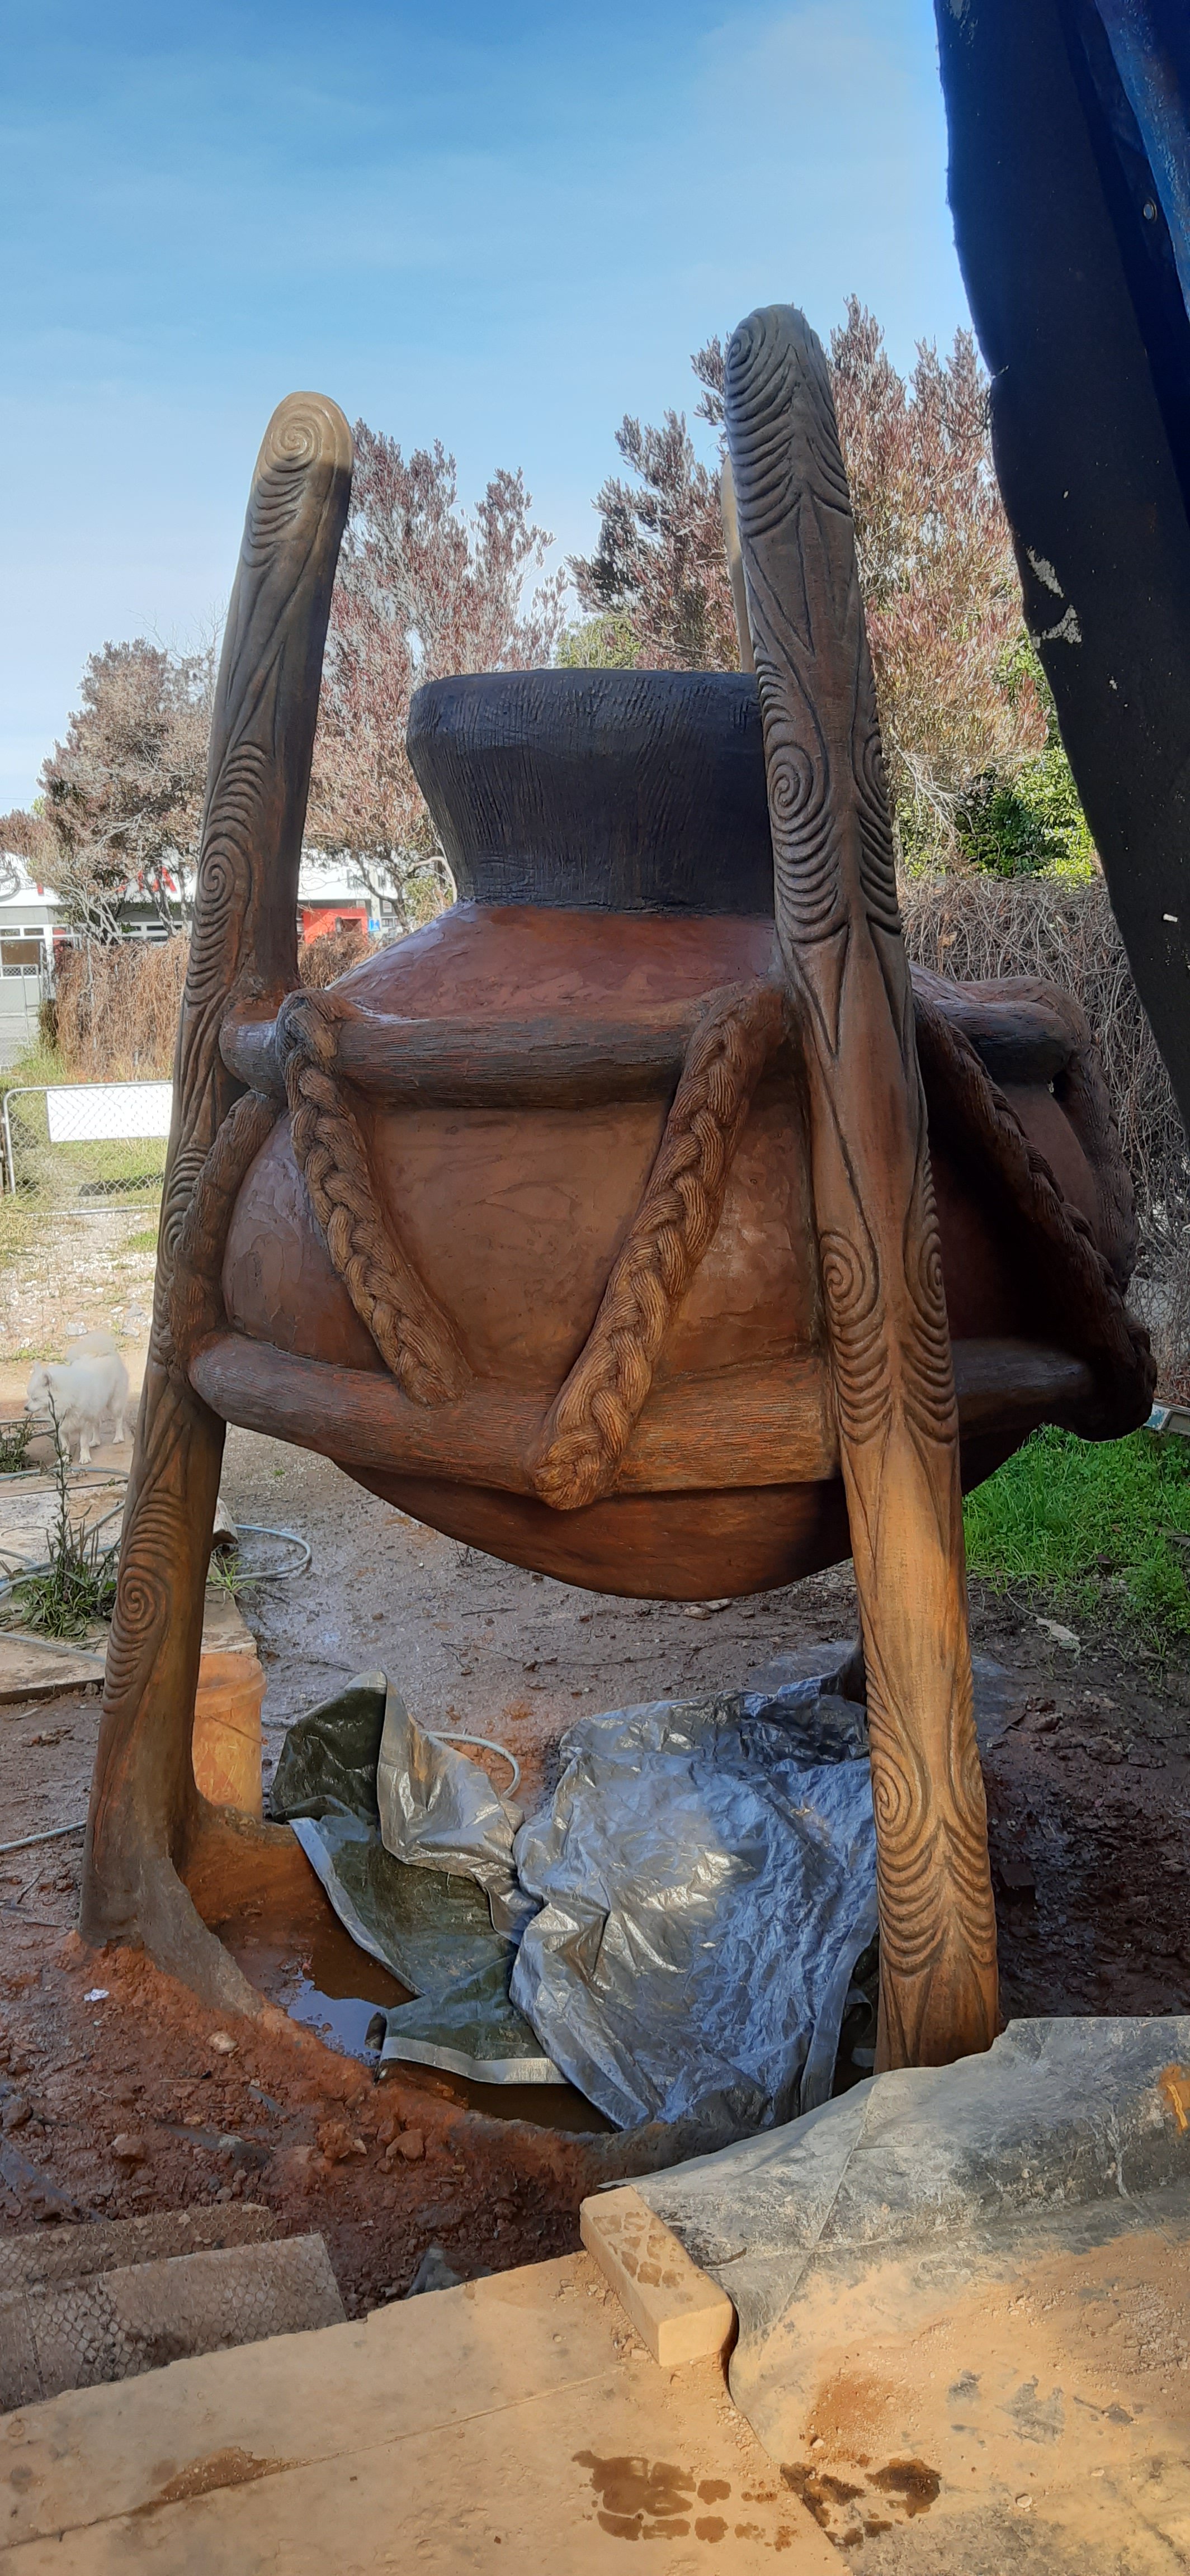
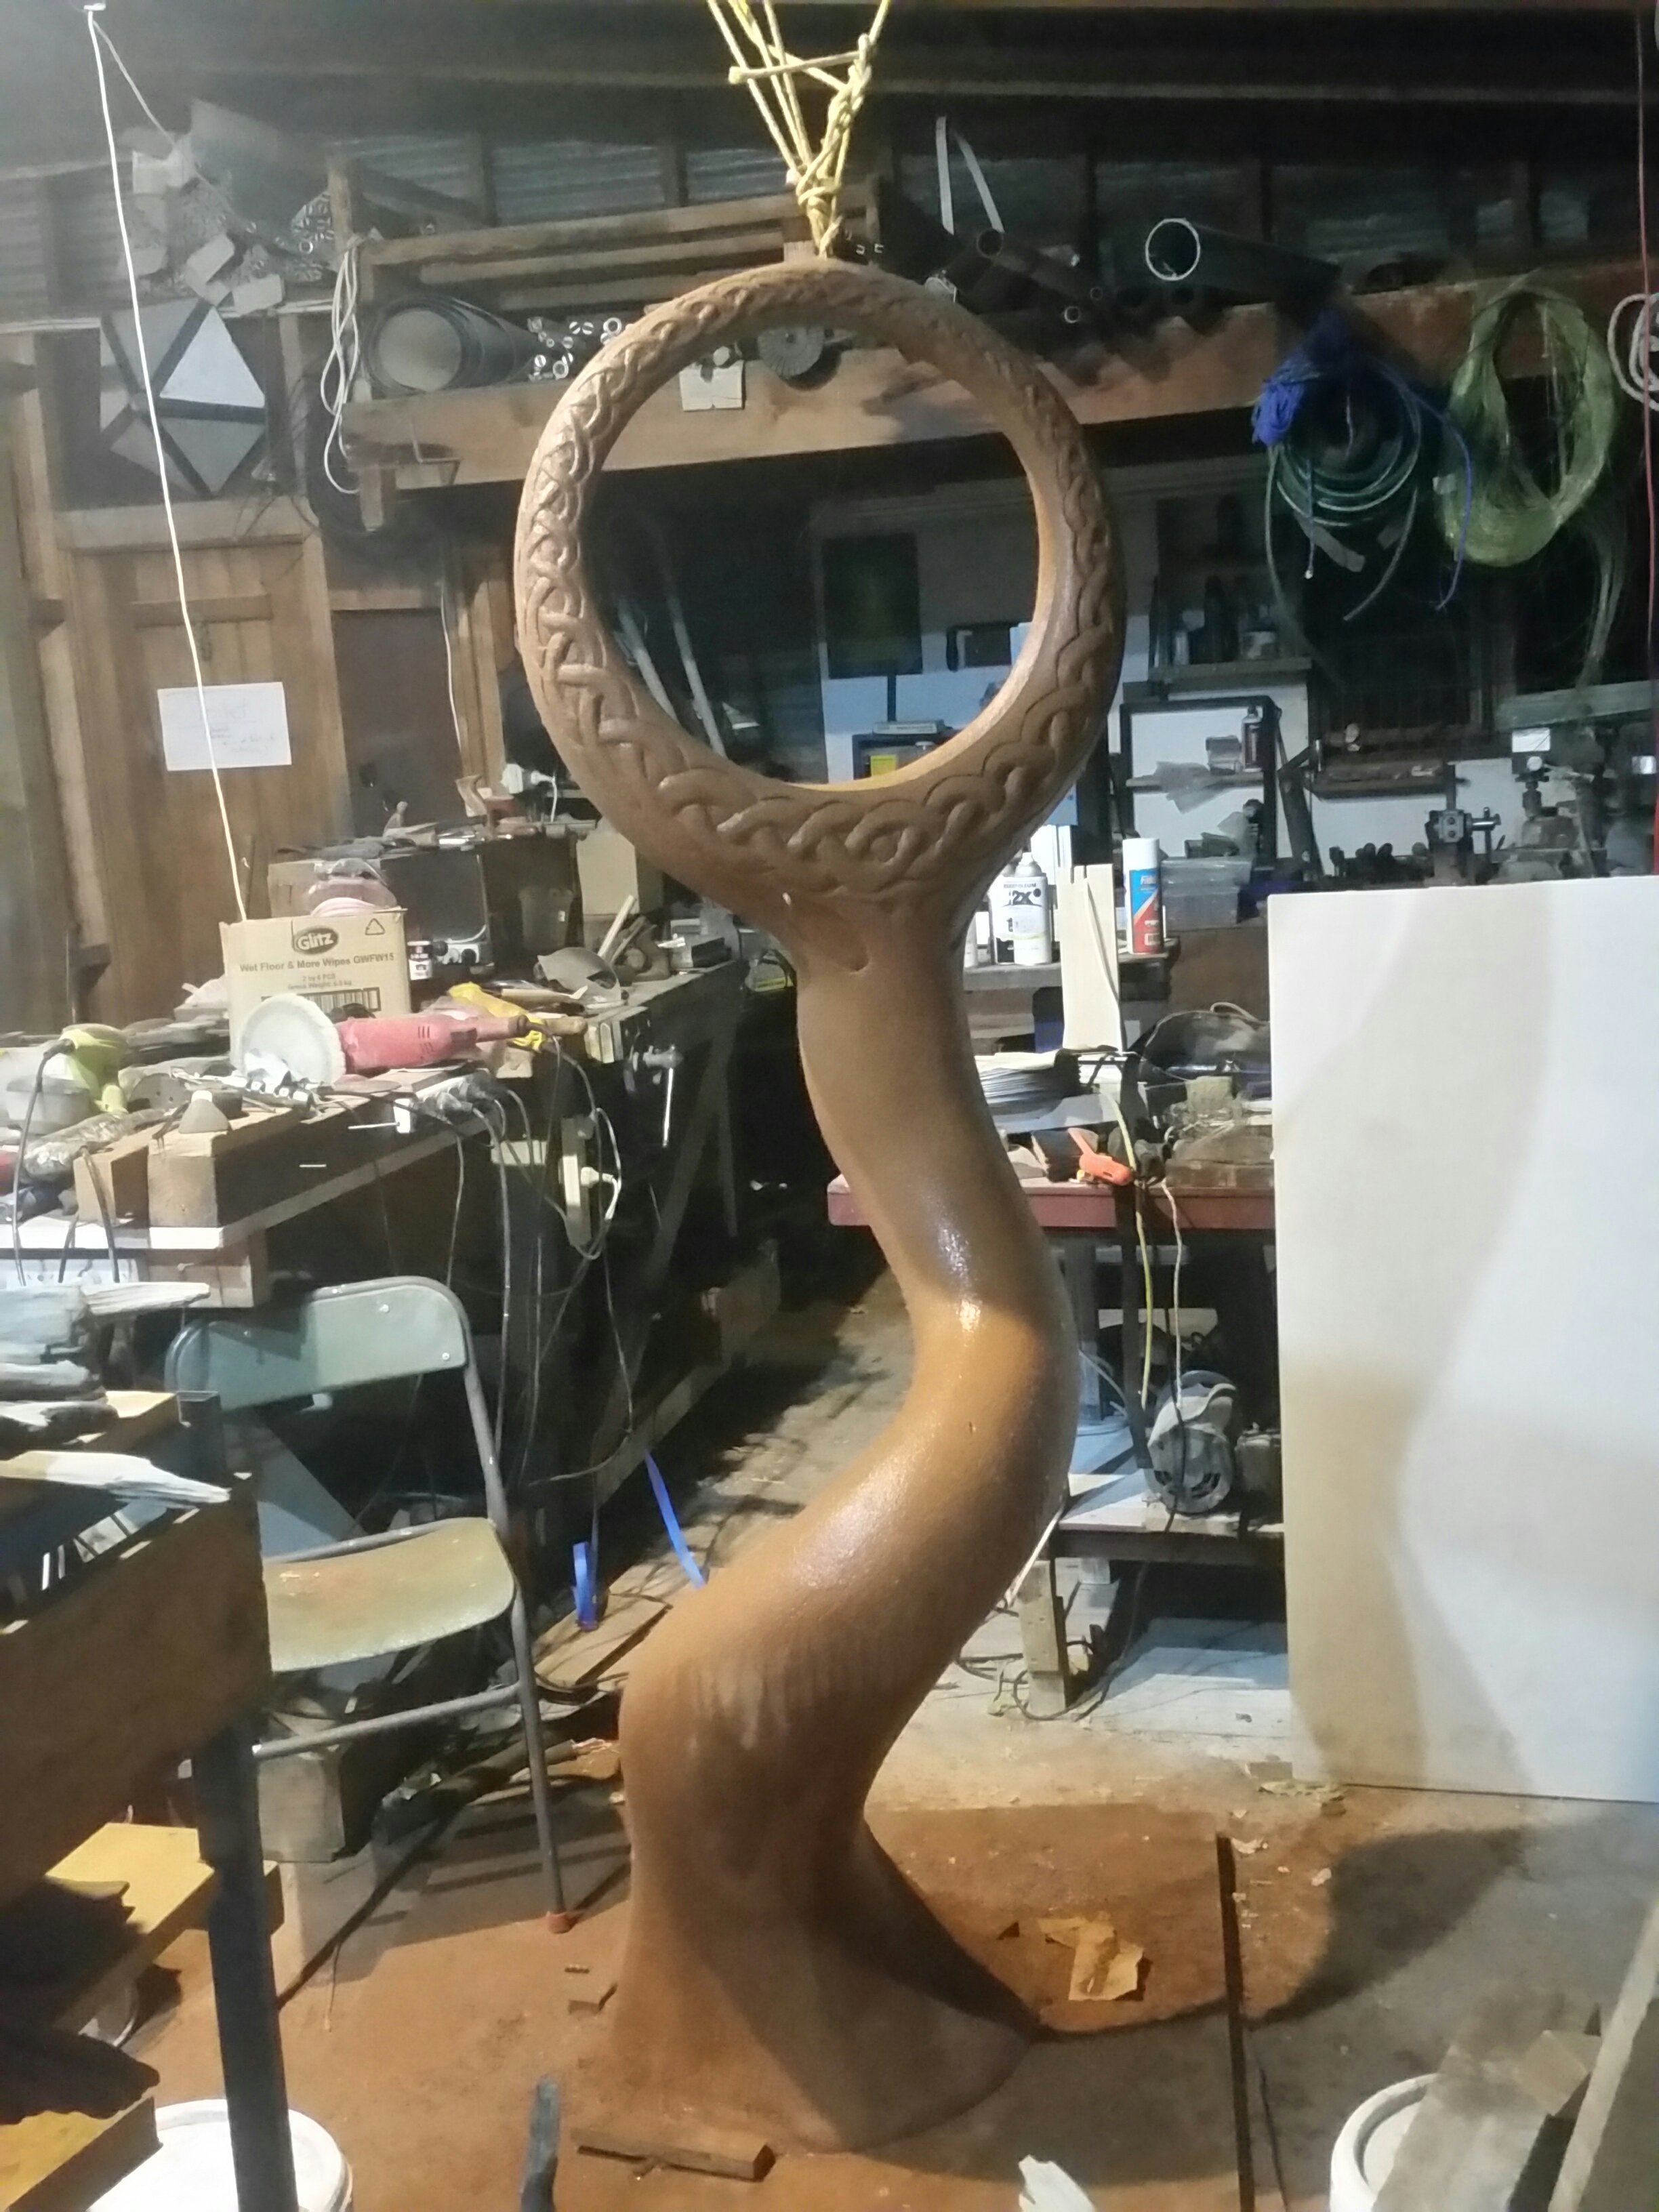
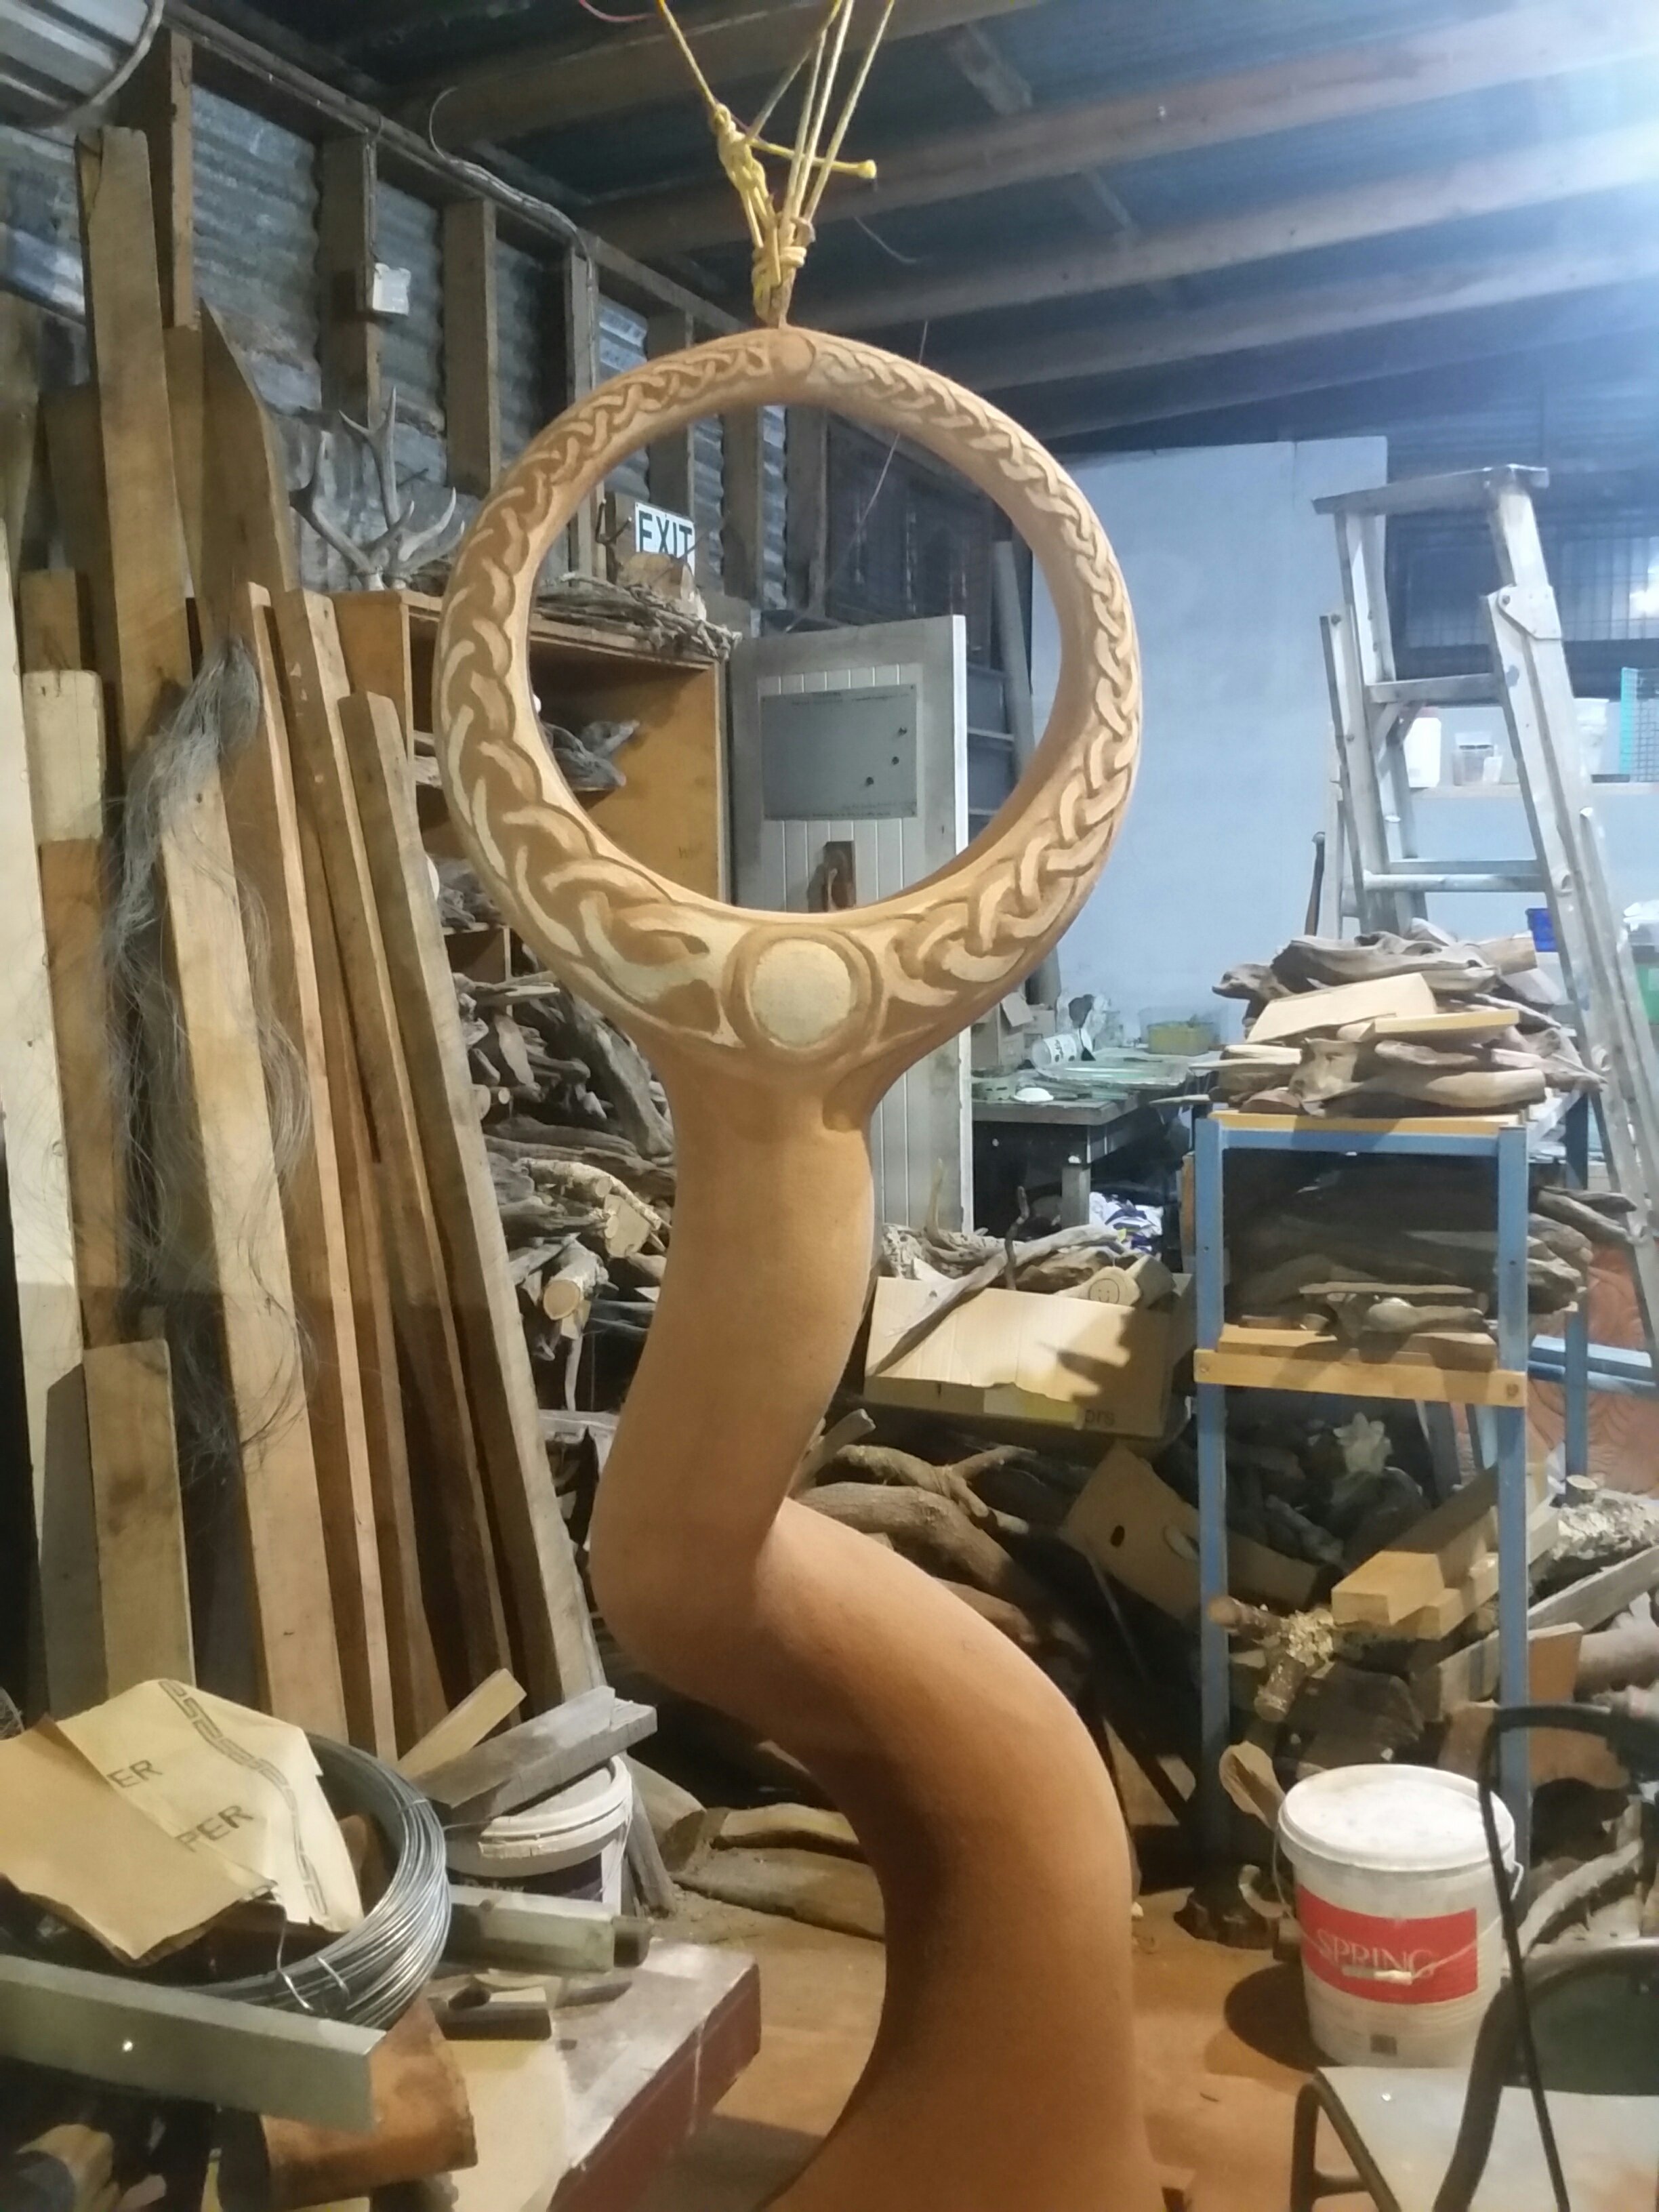
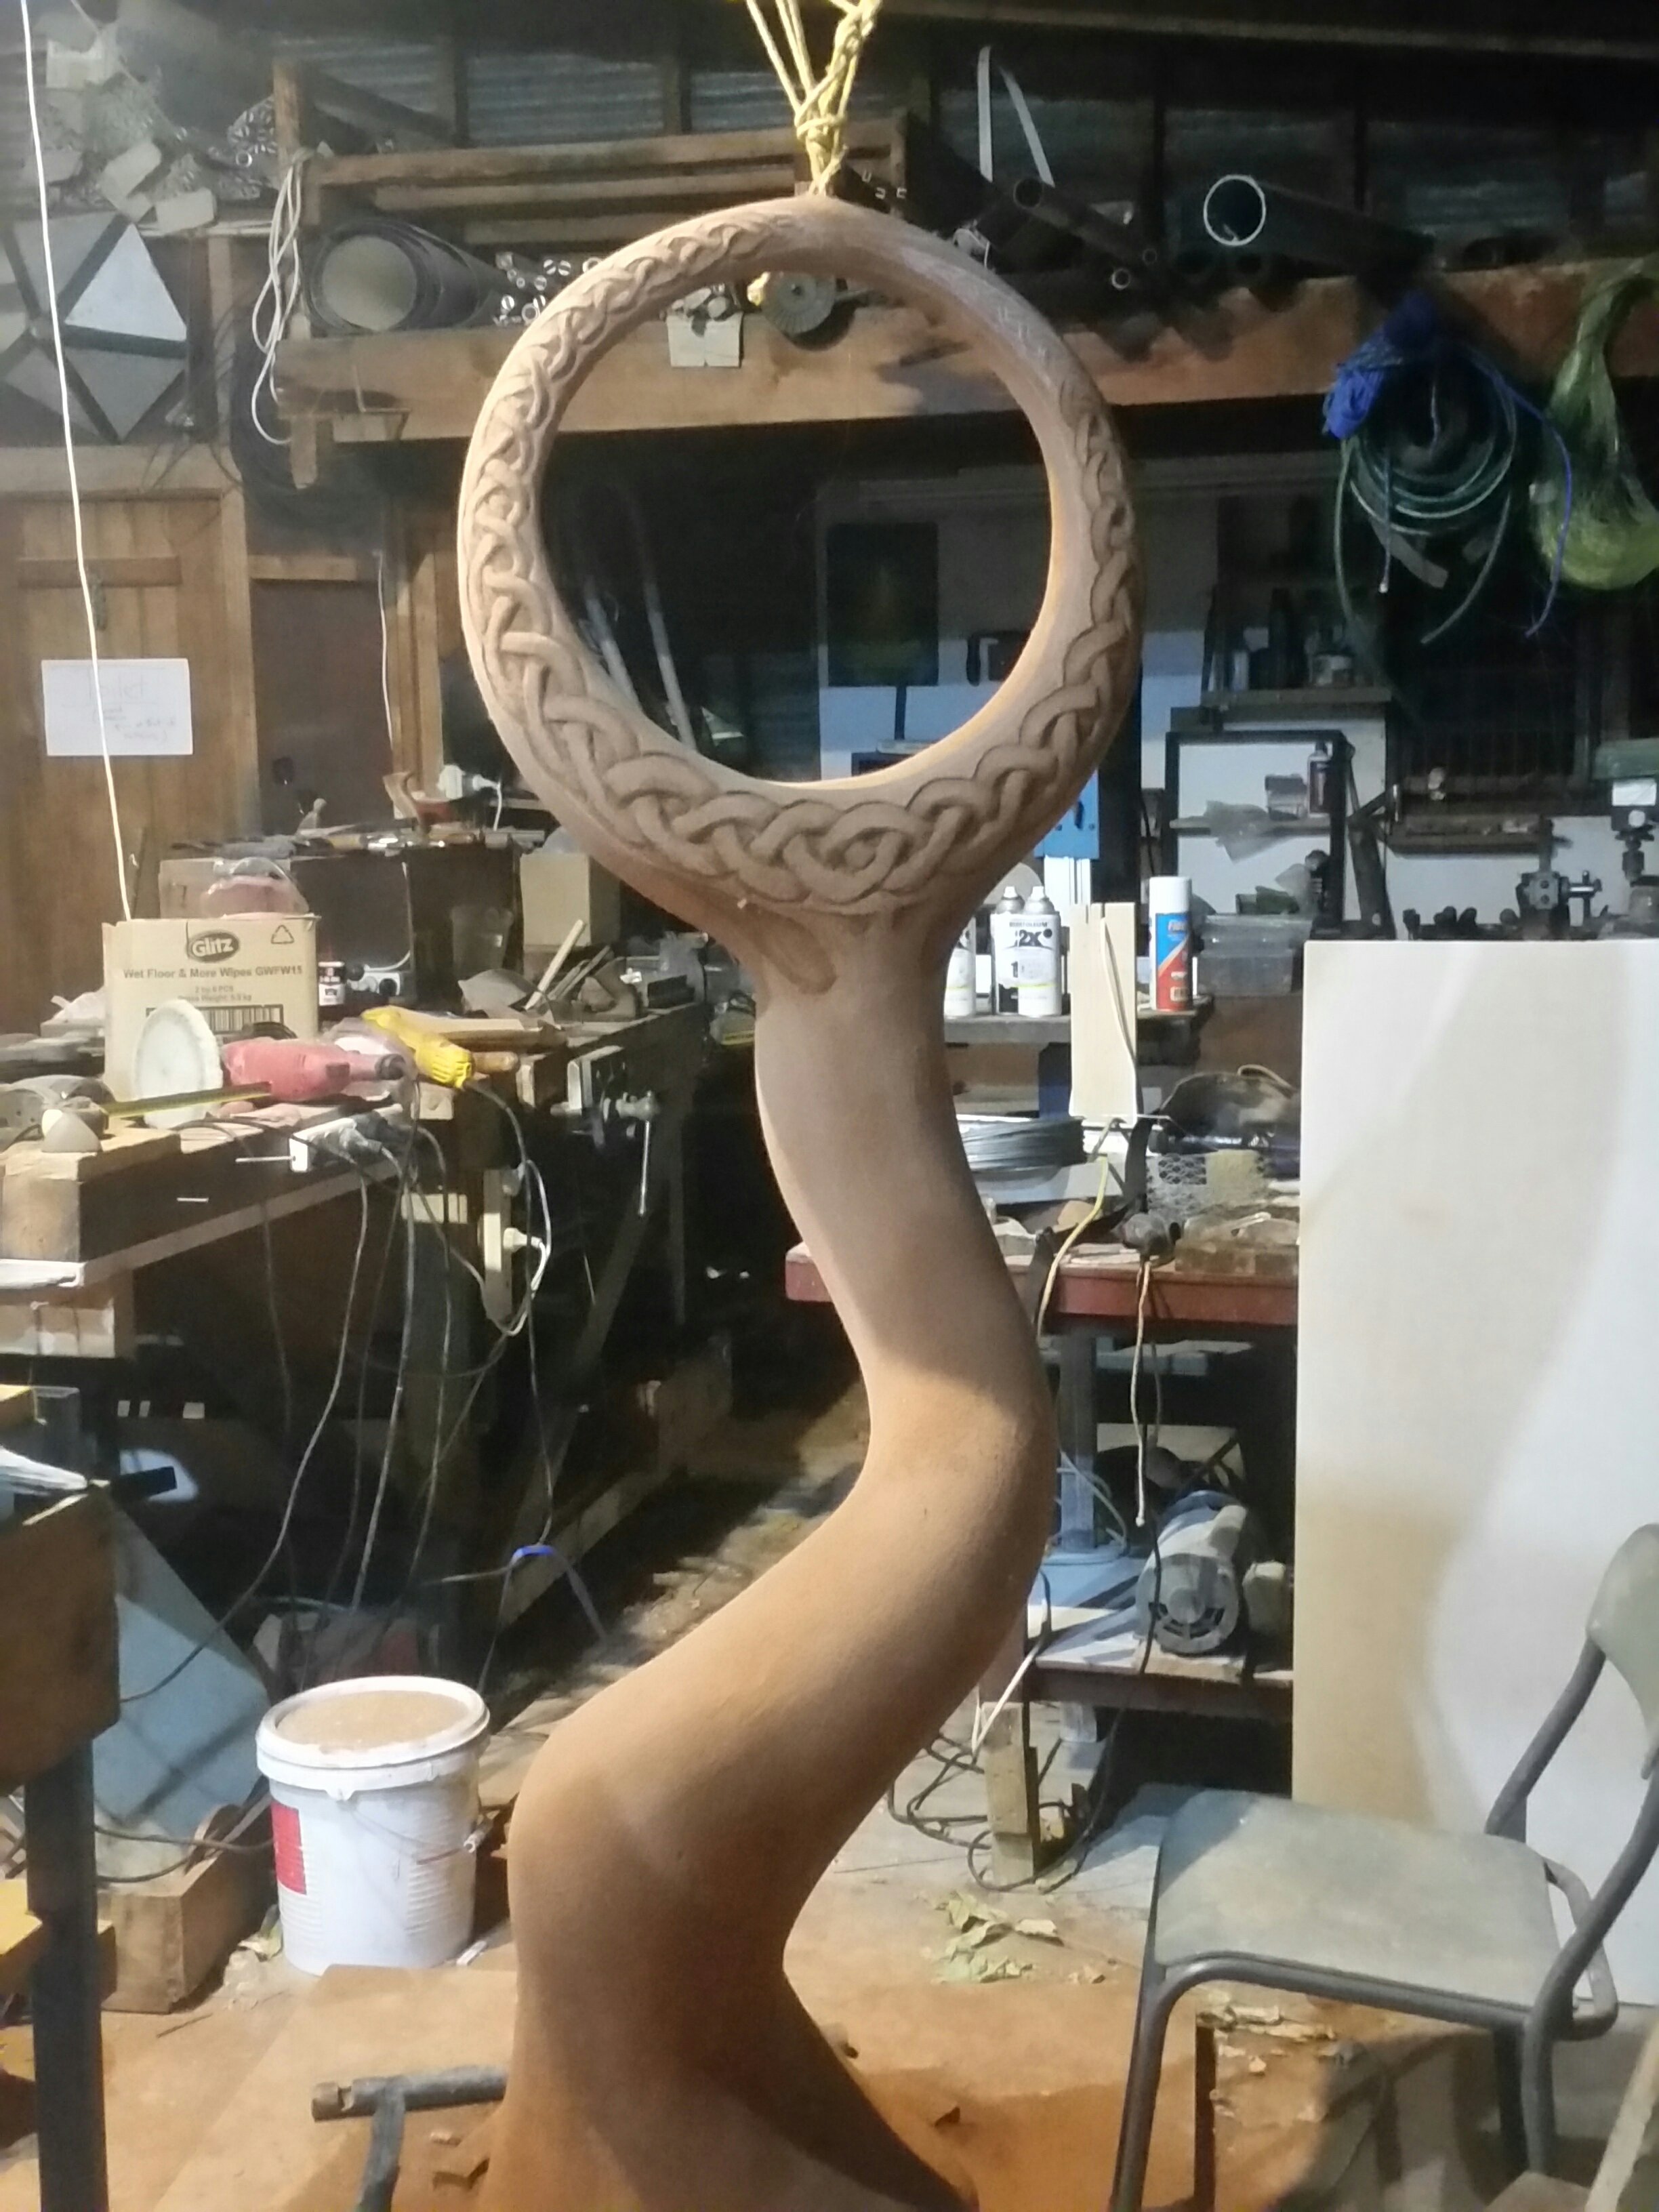
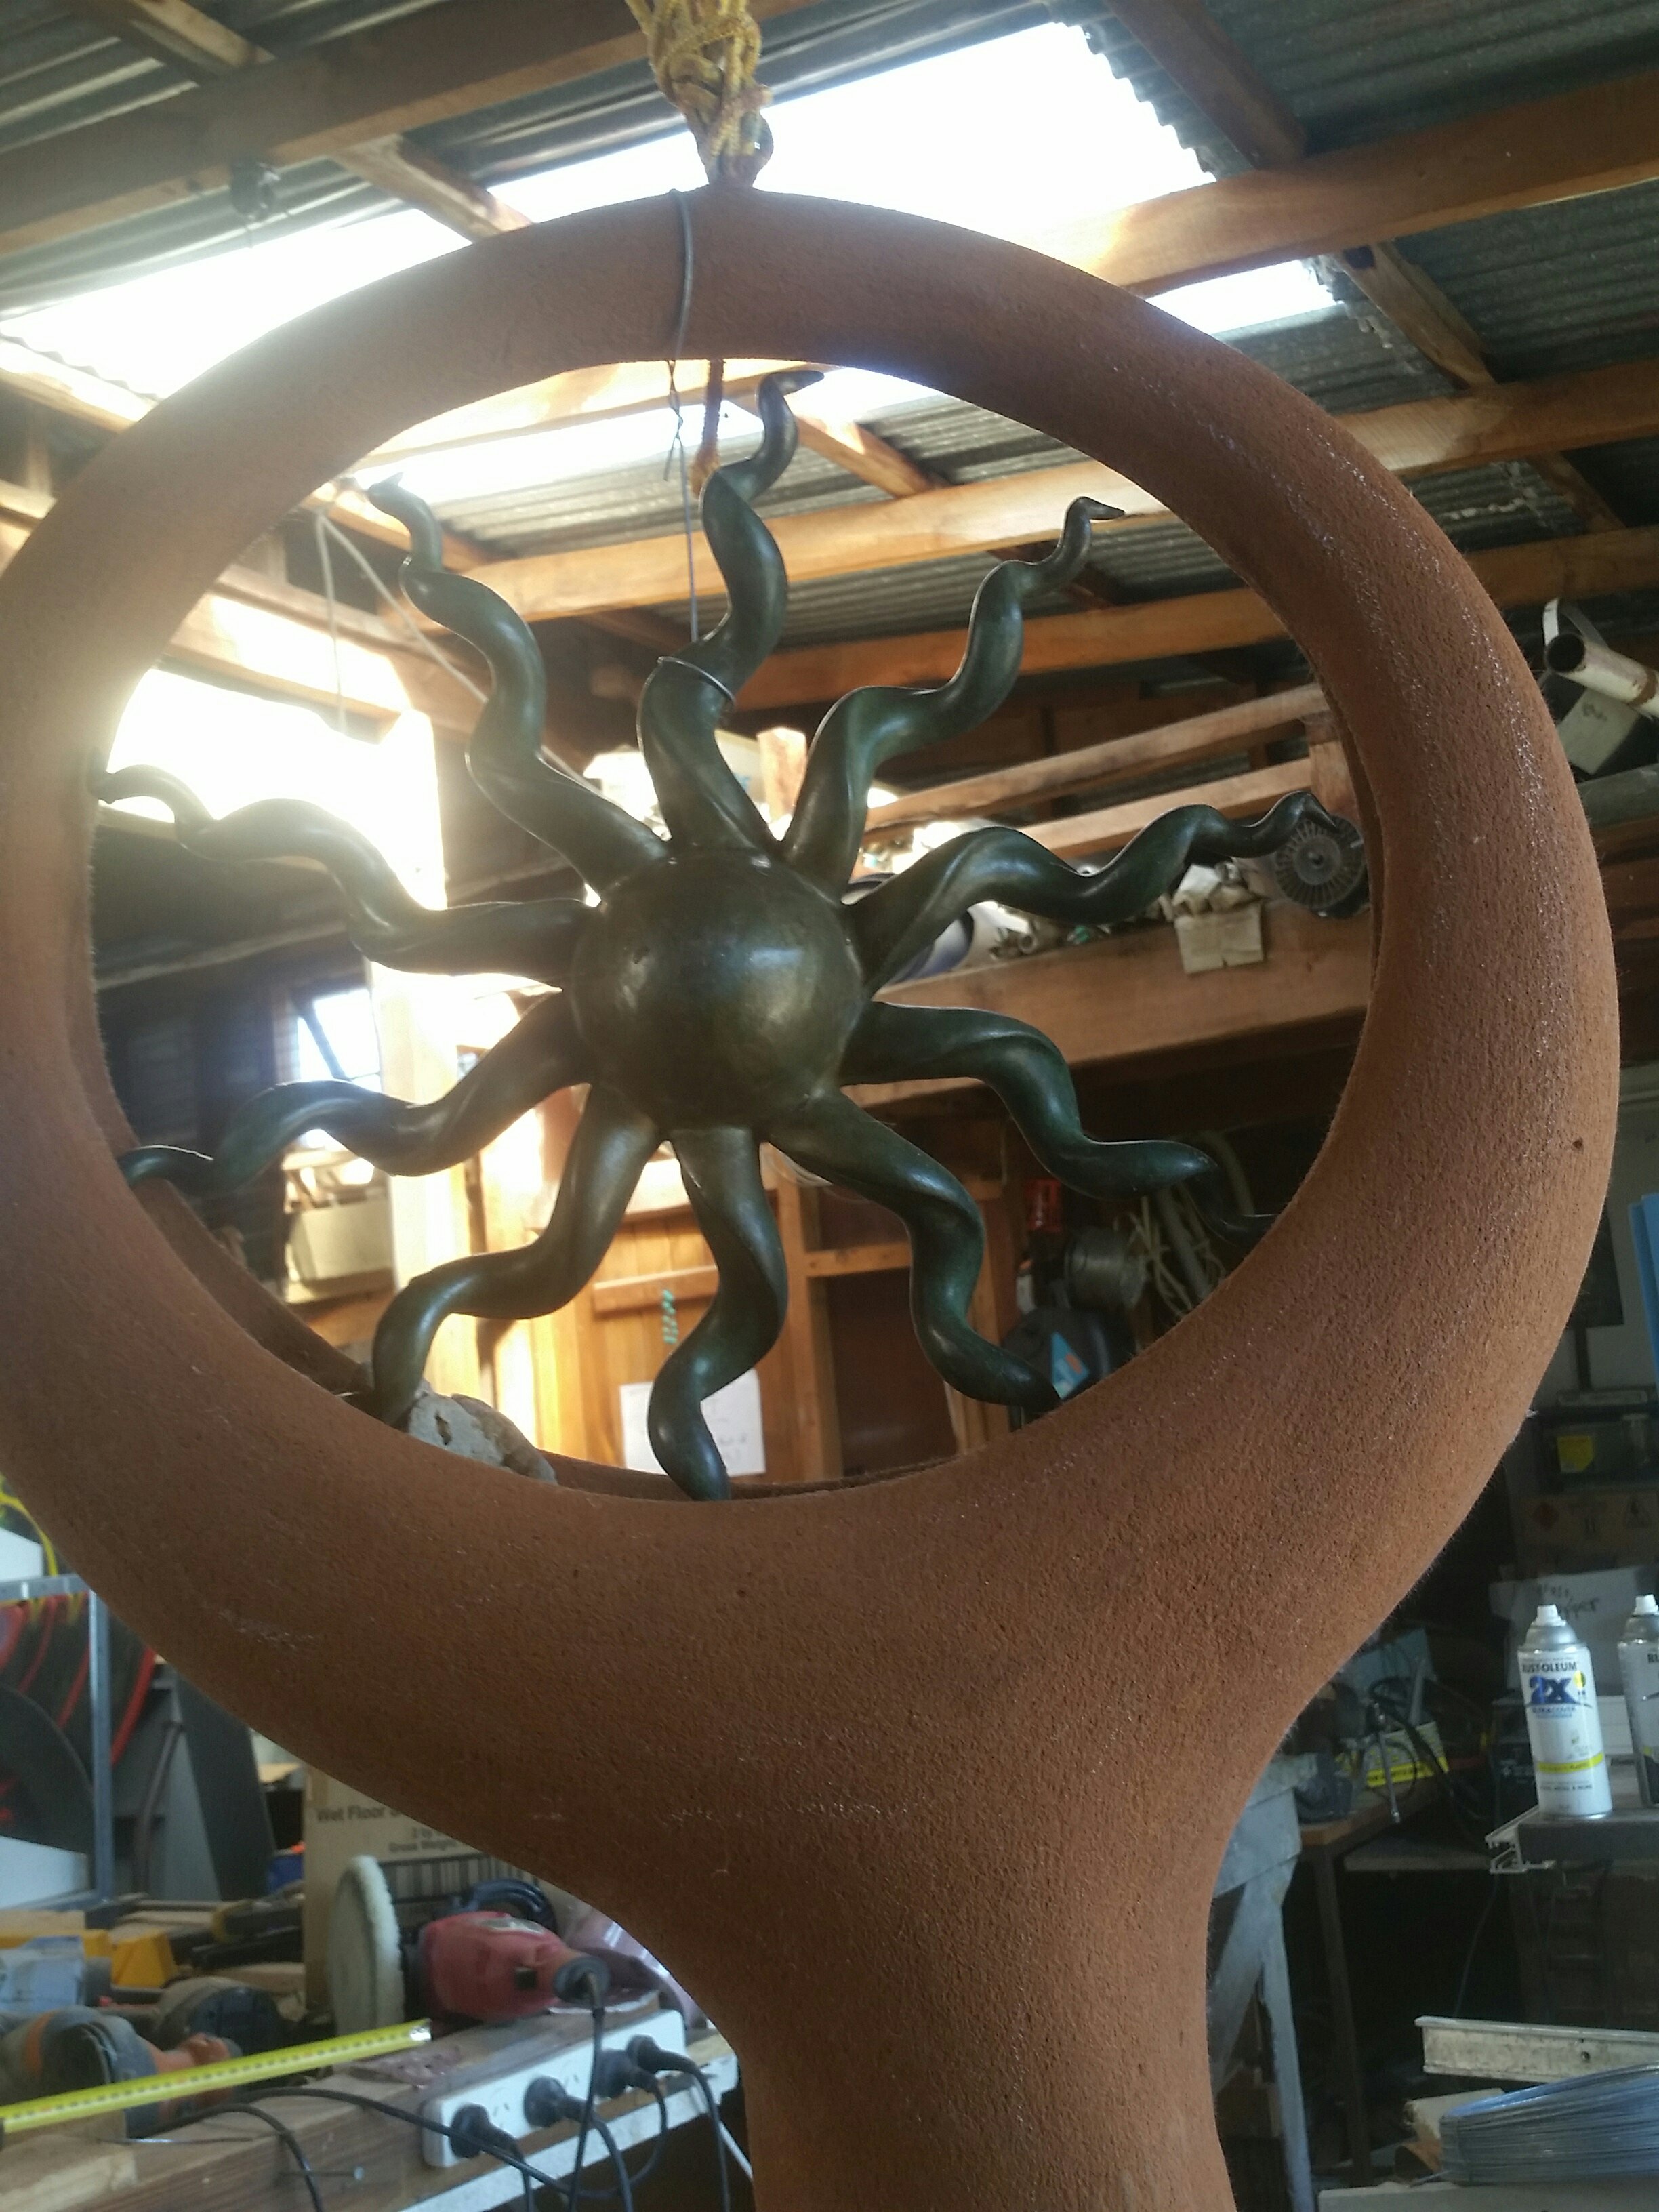
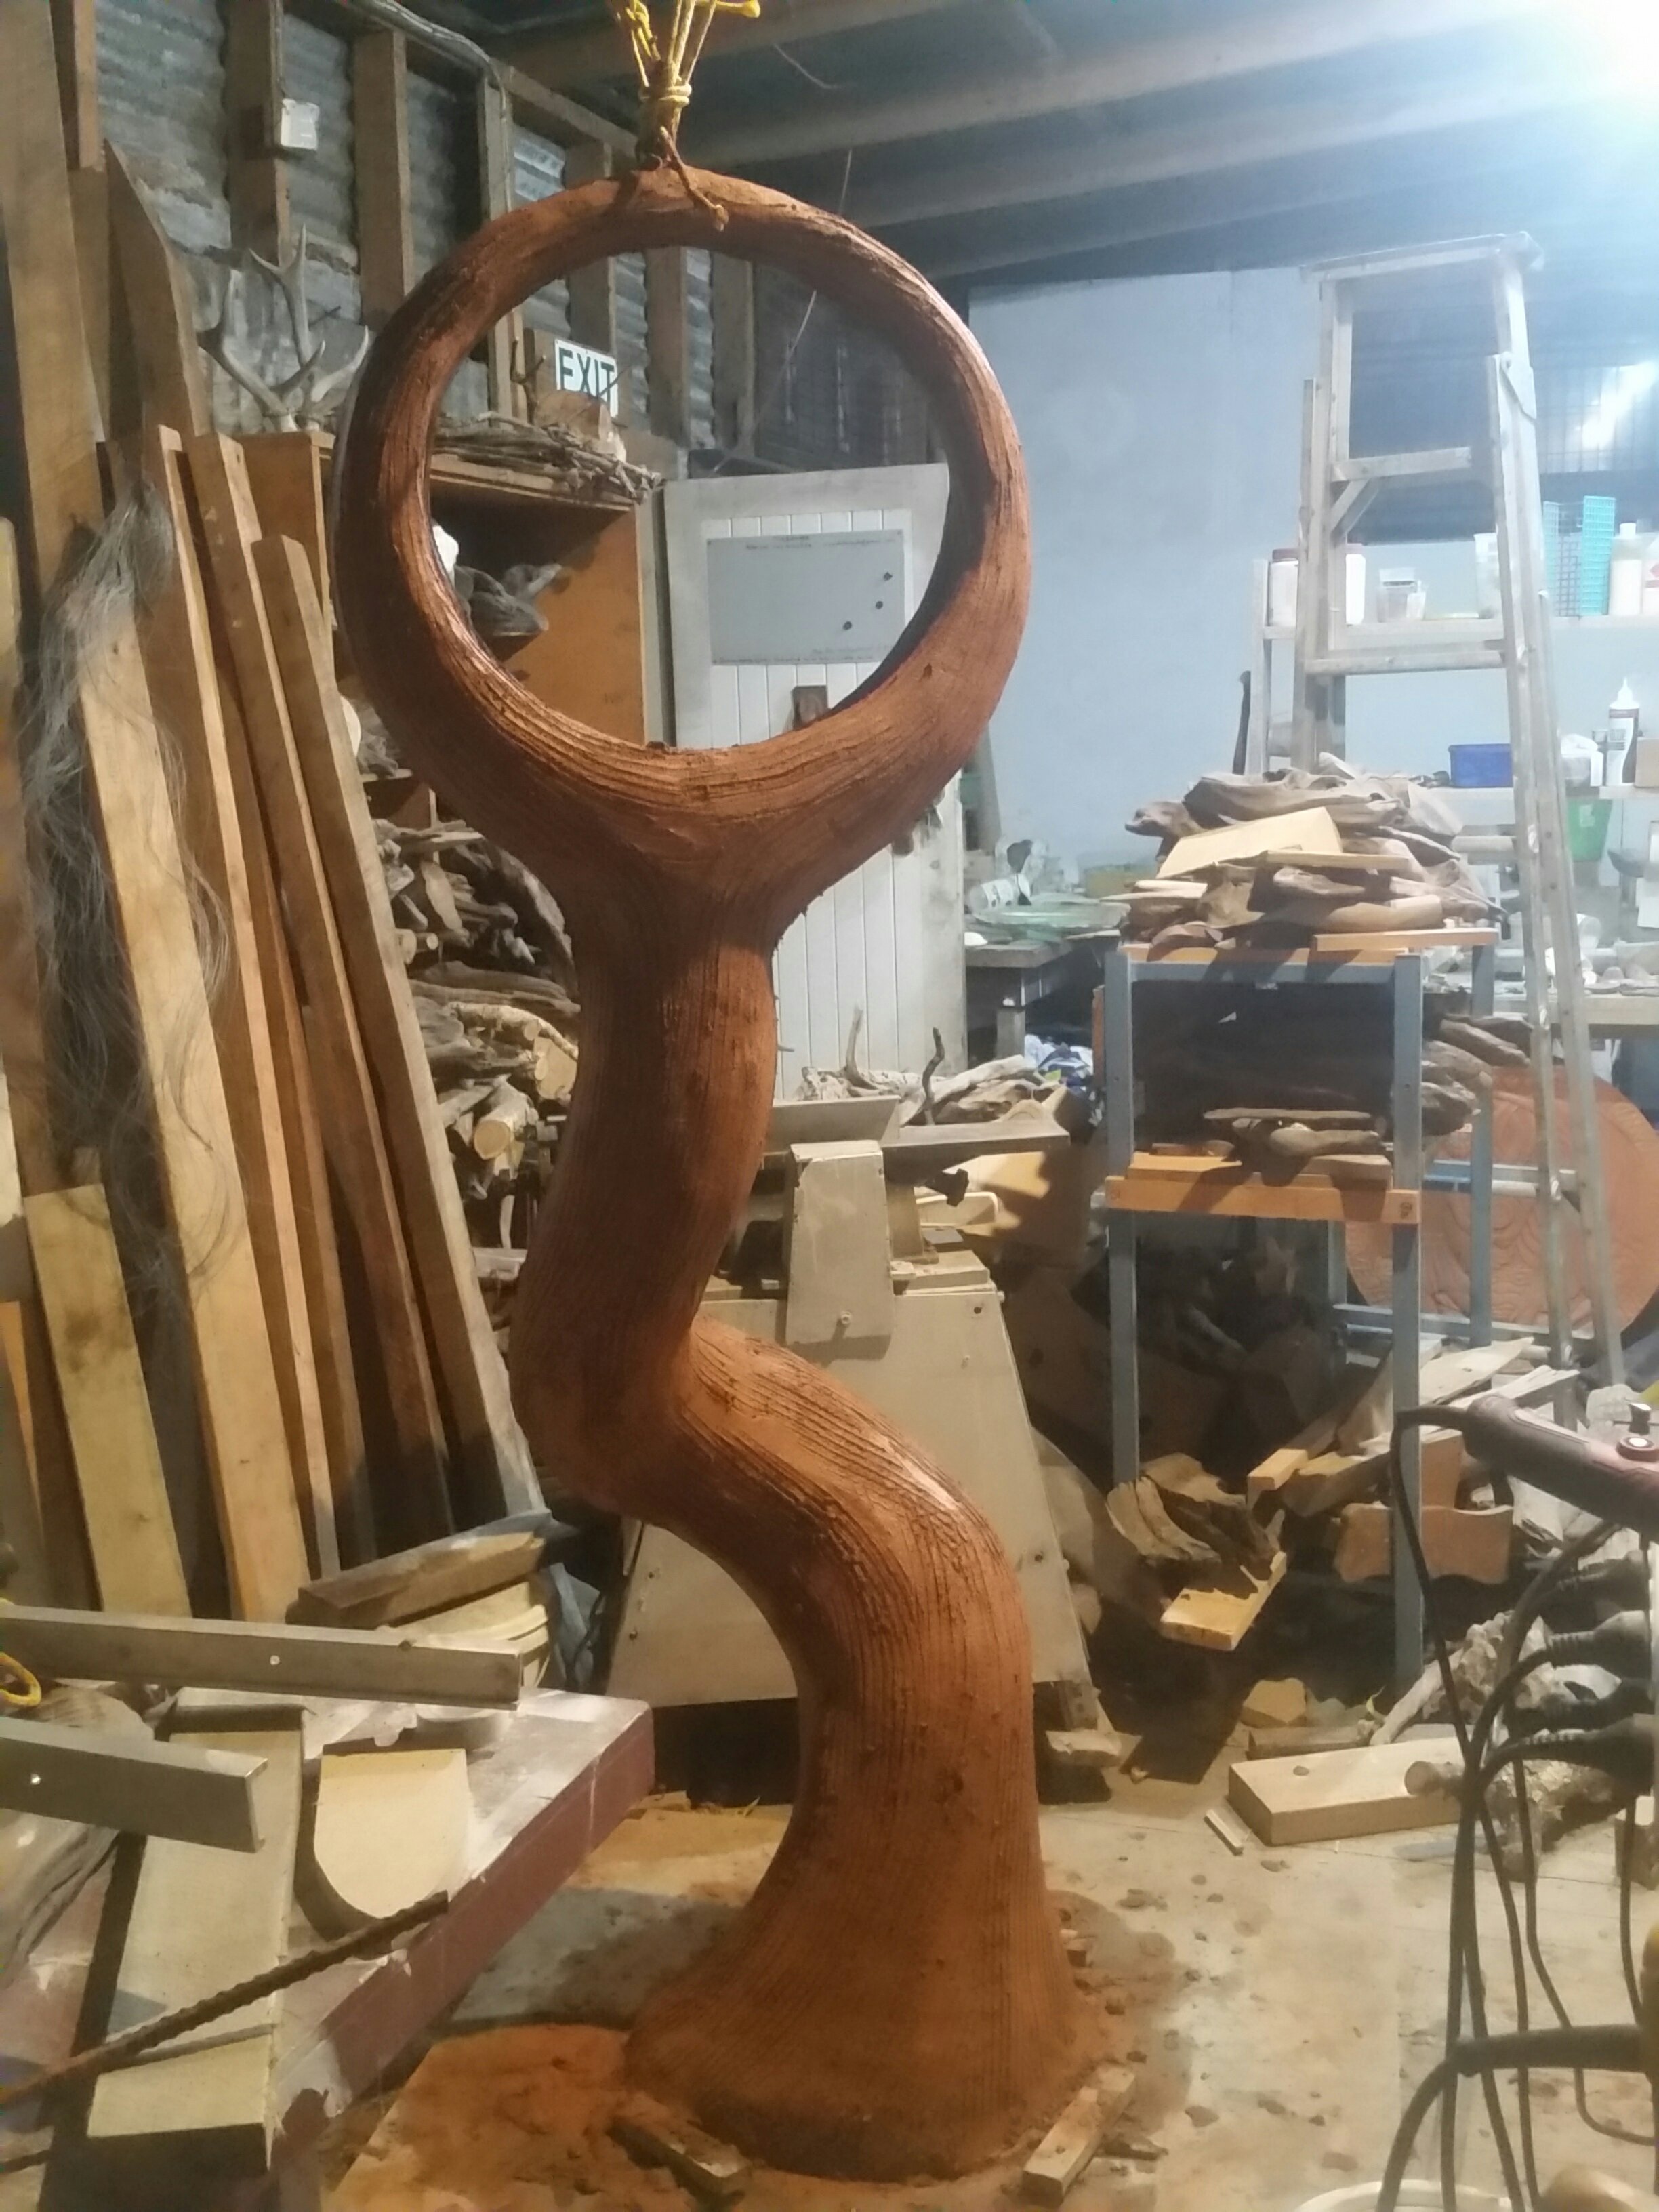
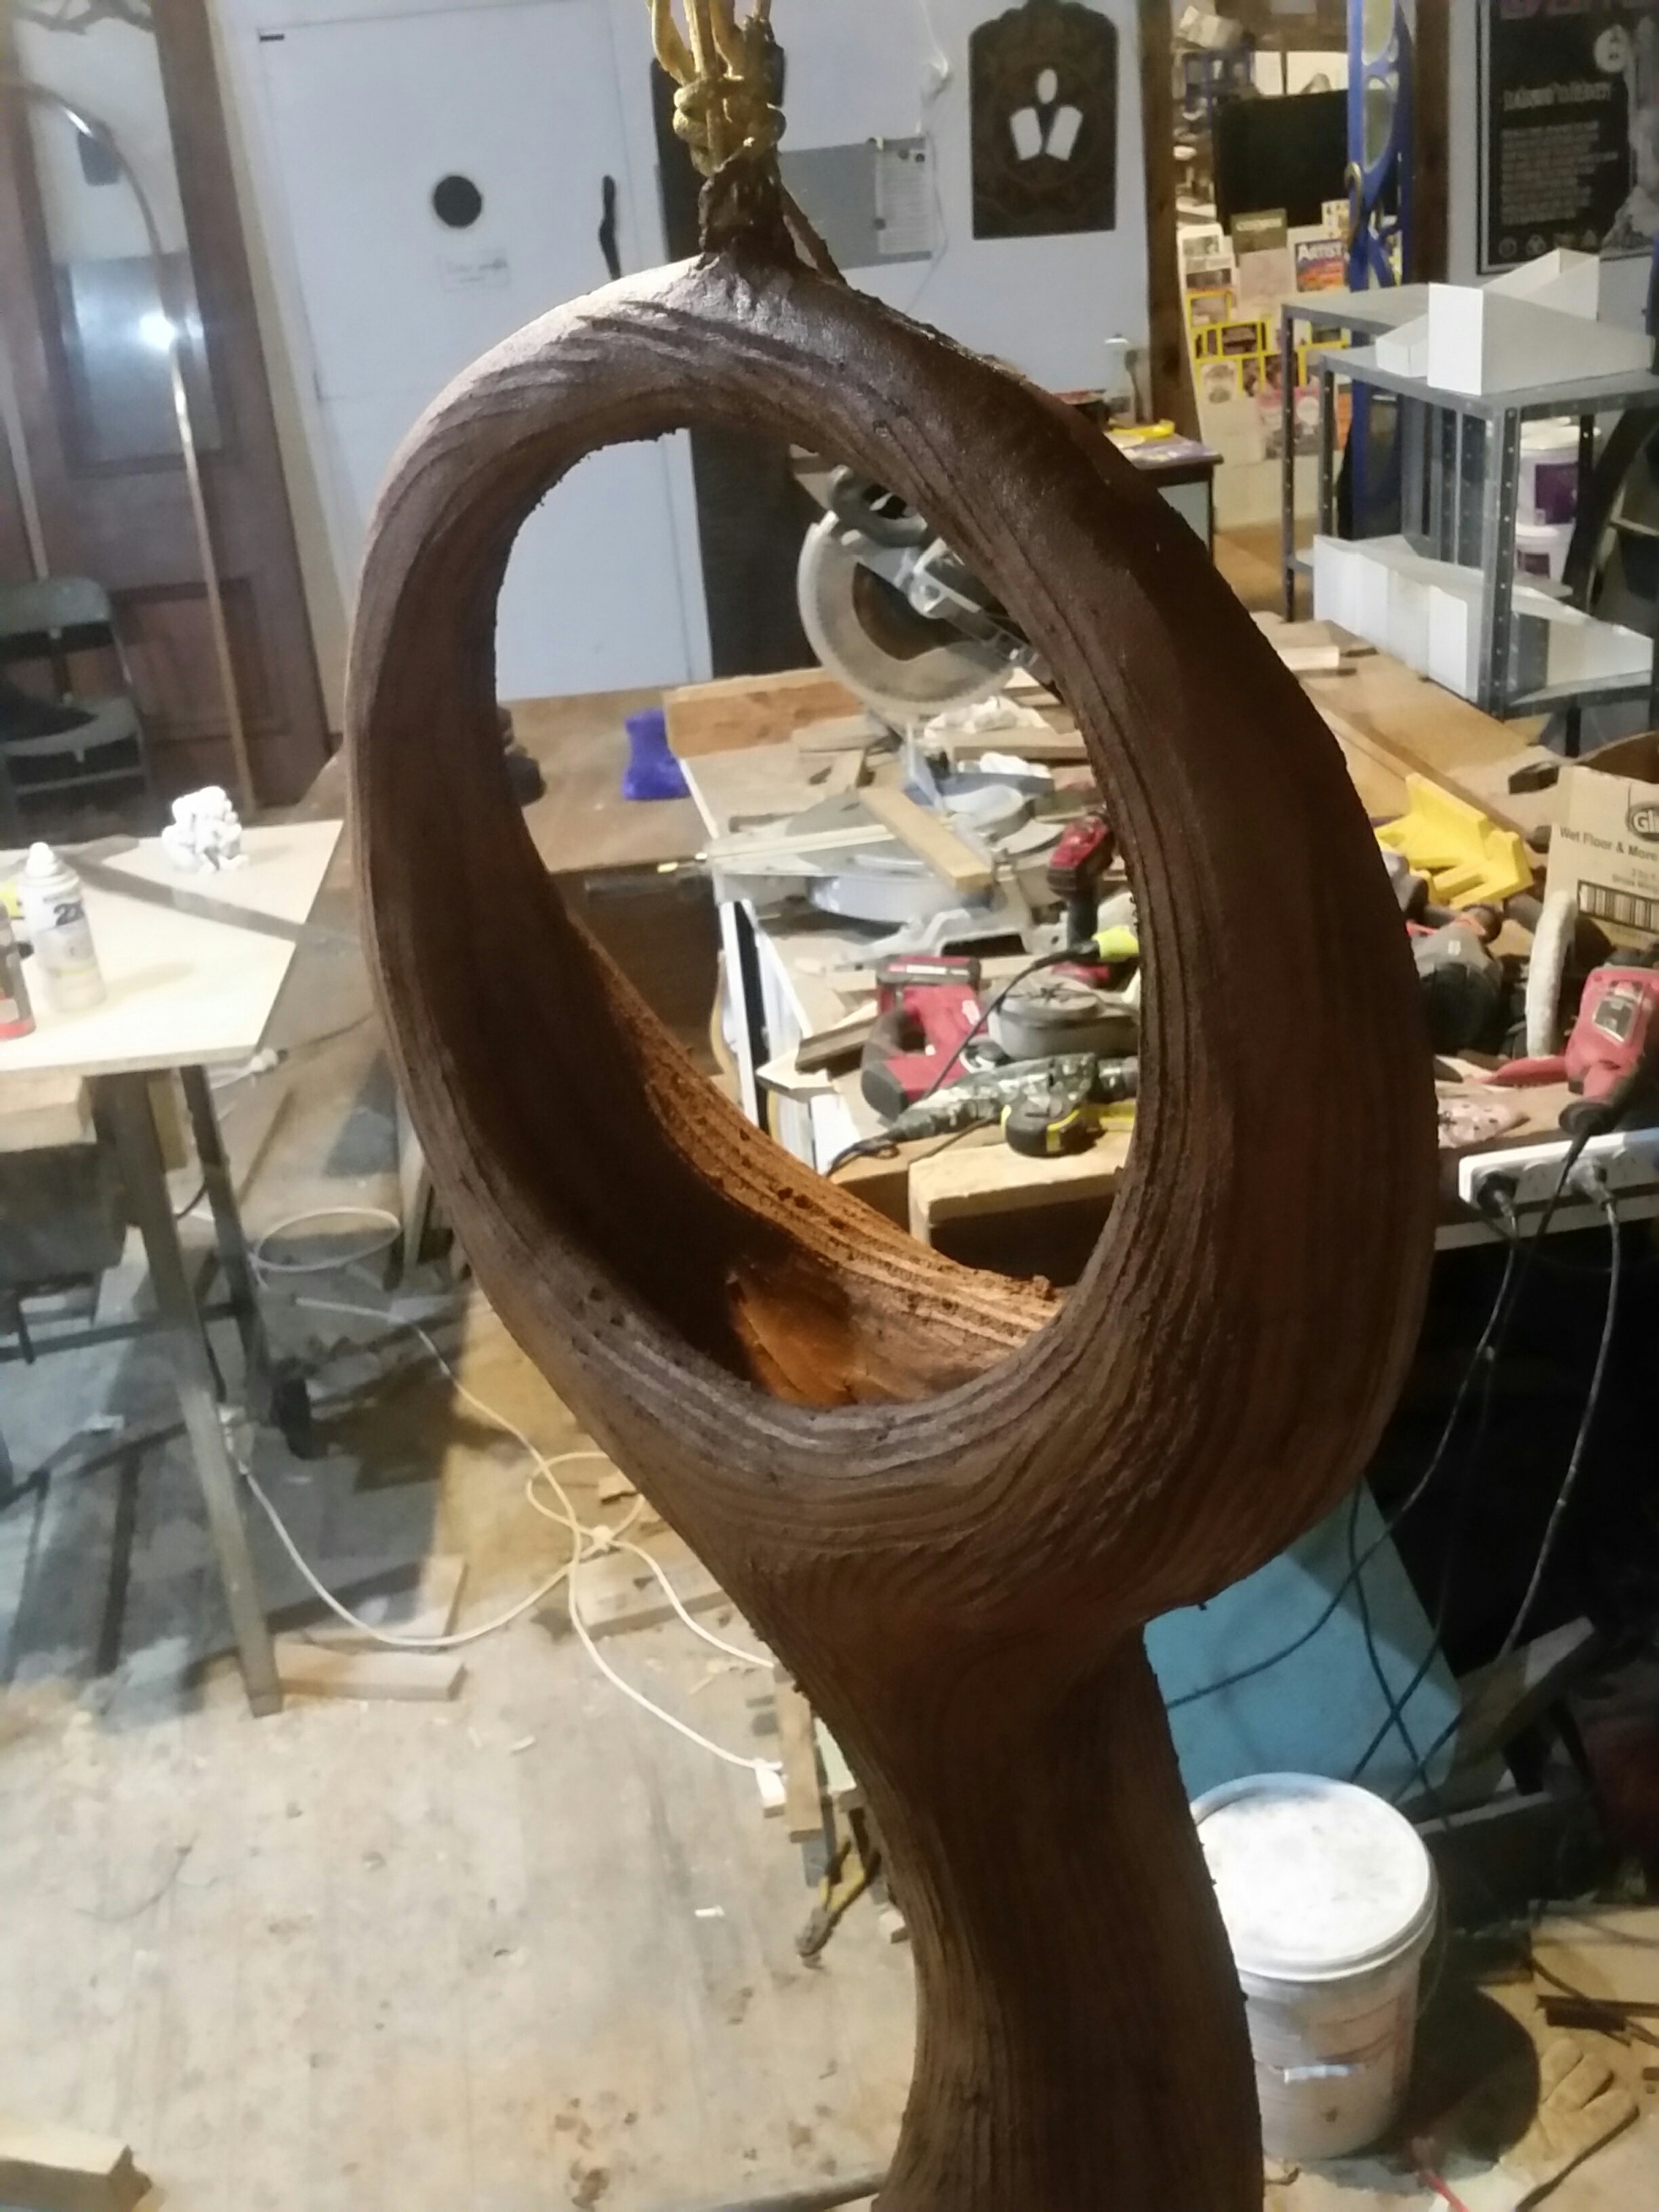
This is a quick, literally back of envelope drawing of how I made a few arches for a hobbit cabin roof (cabin still awaiting completion due to an urgent public sculpture project – the giant gourds – which paid the rent!) A viewer on my Renaissance workshops YouTube channel was asking…

Oh, and to chickenwire arches, i use crosscut strips of chickenwire, wrapped around the rebar arch like a bandage, with plenty of overlap and stretched tight. Use rigger’s gloves…they are comfortable and yet amazingly protective against the cut ends of the chickenwire mesh …leather is so tough..

Rebar Arch frames the easy way

Gourds await the hiab crane

The last one being on tripod of strong ferrocement pillars filled with plaster, and carved, took a lot longer, but we’re happy… I used a thin shading grout to highlight the shapes. See my increasingly frequent howto uploads on my YouTube channel Renaissance Workshops

A bespoke sculpture with hands

A while ago now I did this – a long journey consulting with the parents of the young man who made this ‘sunwheel’ sculpture of radiating goat horns. They had it cast in bronze years later and wanted a support for it to spin in their garden as a memorial for their son. I’ll try to post the photos they took and we took in some sort of logical order…. The plaque I made by etching an aluminium plate then making a mould and casting it in white cement and bronzing it with copper sulphate, as I did with the pedestal and hands…

Footing - 2


FirstCoat - 1


Making gourd shapes – or water tanks?

We have an order for public sculptures of 6 gourds brought by the first Maori to Gisborne.. Two are done and placed in the Captain cook memorial park, and now we are doing the last 4. The shape is suitable for water containers too…

The way I built the frames for these two was pretty quick- I drew the profile on recycled particle board, screwed screws along the profile for bending the vertical ribs to, measured the length, cut nine d10 (10mm deformed ie indented) rebars for the large gourd, 6 for the 900mm one, then bent them to the line of screws. I pre-bent the right angle bends at the base using a bender tool.

Then D10 horizontal ribs, circles (bent around a barrel and a concrete cone cast from a road cone) were tied to the vertical ribs on the inside. Then I wound fencing wire (medium tensile, heavier gauge ‘no.8’ wire) around the outside of the ribs. The ribs of the big gourd were supported by a drum shape bent from 150mm square mesh.

Hayley after stitching the chickenwire all day…
Right angles bent, now bending curve…

How-to ferrocement videos on my YouTube channel Renaissance Workshops

https://youtu.be/GtDQIaWQA-U

Hayley my expert hue helper tying some rebar on our third hue/gourd…

This is the first – just 6 minutes, hopefully a few gems for all…more quick videos hopefully as we make things… currently making more ferrocement ‘hue’ – Maori for gourds. From one metre high to 1.8…

C2 and the Spiral

20180521_092321.jpg

T

he spiral I’ve been chipping away at between other exciting works here at Dreamspace gallery and workshops www.dreamspace.nz is now pretty much like shiny aged bronze…a product I’ve tested from Peter Fell Ltd in Auckland, called C2 hardener and sealer for concrete, seems great…not a paint but a penetrating lithium silicate product which apparently replaces the calcium silicate in the concrete or plaster, making it denser harder and more polishable. ..

Carving the spiral

Just spent most of today doing this, in between visitors… overnight setting but still nice and soft to carve… in a twist of the unfolding it’s now not for the bronze ‘sunwheel’ – clients want a smaller one for that… will buy this one as well for a different site… with whatever feature I come up with… including carving…so I went for a celtic knot plus some branch hints and on one side a medallion probably to have a celtic knot in it too…

Note the tungsten scraper and also the steel ruler which scraped at an angle around the spiral helped true up the curve.. on a boat hull this is I believe called ‘fairing’ the lines. Also for carving the knotwork I found it helpful to paint primer on first so it is easier to draw and see to cut to the lines… More work needed but at least main carving done while plaster is softer. Tomorrow it will be harder. ..but still ok to scrape with tungsten blades.

Moon/sun gate vision concrescing

This is two trial drawings I’ve just done for the moon (/sun) gate (about 8foot…2.4 metres- diameter) I plan to do as soon as humanly possible 🙂 probably will do plaster model/s about a foot high to see how they look in 3d. The bottom one would have the sun opening set back from the knot circle with a short ‘tunnel’ joining them…

Facing out over the Eastern sea perhaps… Comments welcomed!