Harvest and Hugelkultur

Late summer and lots of tomatoes in the raised beds and some grapes on the pergola, and beans and pumpkins… And the arch and extra high raised bed idea seems to be working well – it doubles as a boundary divider and ‘hugelkultur’ raised bed. In hugelkultur you mound up soil over old logs and branches. I thought, why not make extra high beds and mostly fill them with old wood (untreated of course)… The plants seem to be thriving…

Raised beds with anti-snail lips

20171018_103734

Raewyn’s Appletree cottage food gardens now have two raised beds with a new turned-down lip which I’m hoping will turn back snails – or trick the into hibernating when they reach the dry overhang. Then Raewyn can catch them there before they get into her gardens…slugs too with any luck!

The lips are made by bending over the square mesh ends then tying 6mm rod to the ends. A single length of chickenwire folded lengthwise over the framework and tucked into the underside of the turned over part was just wide enough. Plastering was a bit longer but first coat took 2 hours per bed, second coat about the same counting sponge finishing and cleanup. See photos…

Dandelion cappuccino break during filling with 1.7 cubic metres of compost each bed (3.8 metres long by 1.25, 36cm deep). The thrushes and blackbirds loved the worms from the homemade compost Raewyn added to the bought stuff…


A ferrocement pergola with raised beds, benches and firewood storage

20171008_190100

A Home project… part of Appletree Haven’s intensive garden makeover. Finally it’s done! Many sidetracks and weather delays, and a few health delays too! This pergola is quite big – 8 metres by about 3.2 all up.

I continue to refine techniques, especially the making of ferro round section beams… also made a new bender, and got a bigger (125mm) angle grinder with ultrathin cutoff disks for quick cutting of rebar especially all the square mesh I’m using now for all but the fully rounded shapes. I used a spray pack with handpump for applying the iron sulphate solution for the rusty finish stain… way faster than brushing on! Here are some more photos of the final product, followed by some of the building thereof.20171007_123229

20170806_10453320170809_18051320170810_11372720170811_12142320170811_18505320170812_12073320170813_13094820170814_17414220170817_09593820170817_09594220170817_09594720170817_09595220170817_09595720170817_10000020170817_10000920170817_10001420170817_10001820170817_10003720170825_10151220170829_15523220170825_10151220170817_10003720170817_10001820170817_10001420170817_10000920170817_10000020170817_09595720170817_09595220170817_09594720170817_09594220170817_09593820170814_17414220170813_13094820170812_12073320170811_18505320170811_12142320170810_11372720170809_18051320170806_10453320170829_15523220171004_16315620170722_01481020170720_14000420170721_11435320170720_11554720171004_185551


Spiral herb garden progress

Well I’m finally back to ferrocement, in Gisborne now based at Dreamspace gallery and workshops, 61 Carnarvon St. Main focus in the ferro: ‘dreamhavens – cabins you only dreamed of’… see www.dreamhaven.nz  . (formerly hobbithaven – this was lost in cyberspace when my old email peter at eutopia disappeared with eutopia.co.nz – sigh!)

dreamhaven card 26 06 17

The Tairawhiti Environment Centre here asked me to make a herb spiral for them, and a garden path edging. Here are some photos. The spiral was a challenge as it is a complex shape to bend steel to – a spiral of steel rebar becomes a giant spring which needs strong framework to hold it. I put it over a ‘christmas tree’ frame specially made for forming circles and sprirals. But next time I will try welded joins – tied ones slip and the spiral twists… So, welding learning curve next… Also note the colour – hybrid of some ‘marigold’ oxide in the final coat and a wash of iron sulphate (used in lawn care for moss control) within a day of last coat and carving of it. Also note the black non-woven weedmatting for protection while the plaster cures – we got a 4 metre-wide roll of the thick felty stuff from Permathene which works well as it is wettable, doesn’t flap about, and won’t tear or fray like woven does. Raewyn will help fill the spiral and plant it. We are donating it to the cause – good advert I hope!

The garden edging took a lot of bending over and joining up 6 metre lengths, but it is very strong. They plan to fill it with smooth pebbles.

20170627_160643


Raised beds at the barn

We’ve been gradually building these two beds, about 5 metres long by 1.3, by 300mm high. I invented a good way to install hoops removably – pillars made from a rolled up section of chicken wire, wrapped around a plastic disposable drink cup filled with a weak mix of plaster of paris and sand just to give the cup rigidity. The cup is dug out later when the ferro plaster has hardened. Then 32mm black polythene (‘Alkathene’) pipe is cut and placed in the holes. I have set some hoops in plaster of paris to try – but could just sit them in i guess… tests will go on. Plastic covers in winter will make beds into large cloches.

Puppies loved playing in in the bare soil as it gets wheelbarrowed in…

433

raised beds at barn

From the mezzanine  window… Some soil up to final level, already planted out by Raewyn! Note how the far bed isn’t as darkly stained – the first was brushed over a bit more and maybe the solution of iron sulphate was a bit stronger?We were rushing away and i may have been inconsistent… Haste makes waste. However my sister prefers to paint the beds red to match her barn, so I’ve left it until a month or so when it will take acrylic paint. We painted some of our raised beds in Kaiwaka years ago and the paint is as good as new still…

Overall, the work of making these permanent beds was not too much at all. Only one coat on these beds, and one strip of chicken wire, folded once lengthwise and rolled over at the top by about 120 mm.

You just have to plod and do it… Then it’s there for good, as a garden bed should be – long after we are gone!

Ferrocement raised beds really are great!

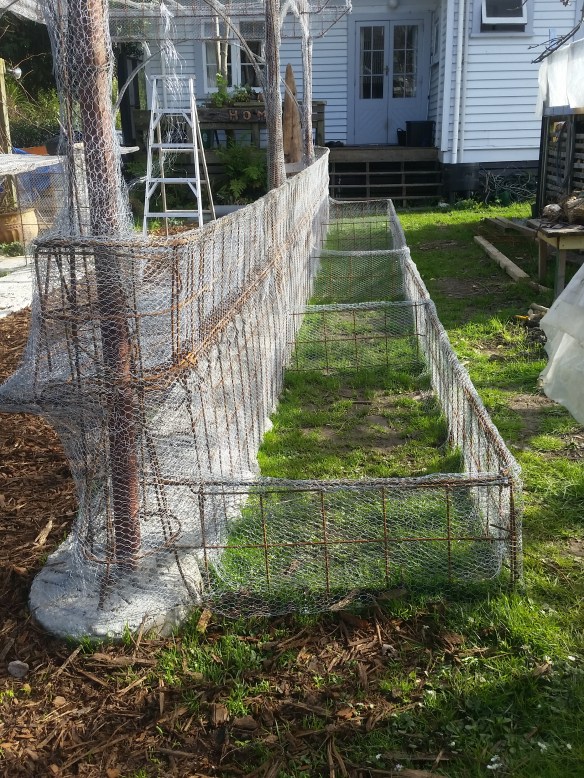
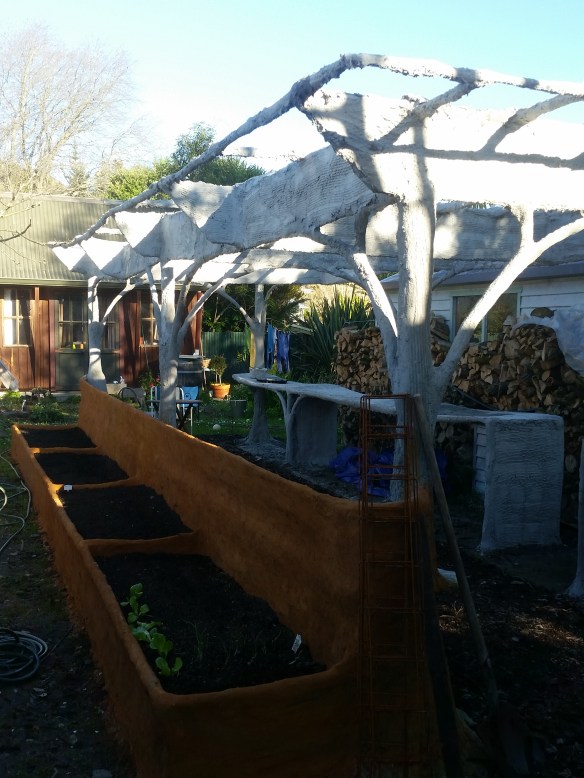
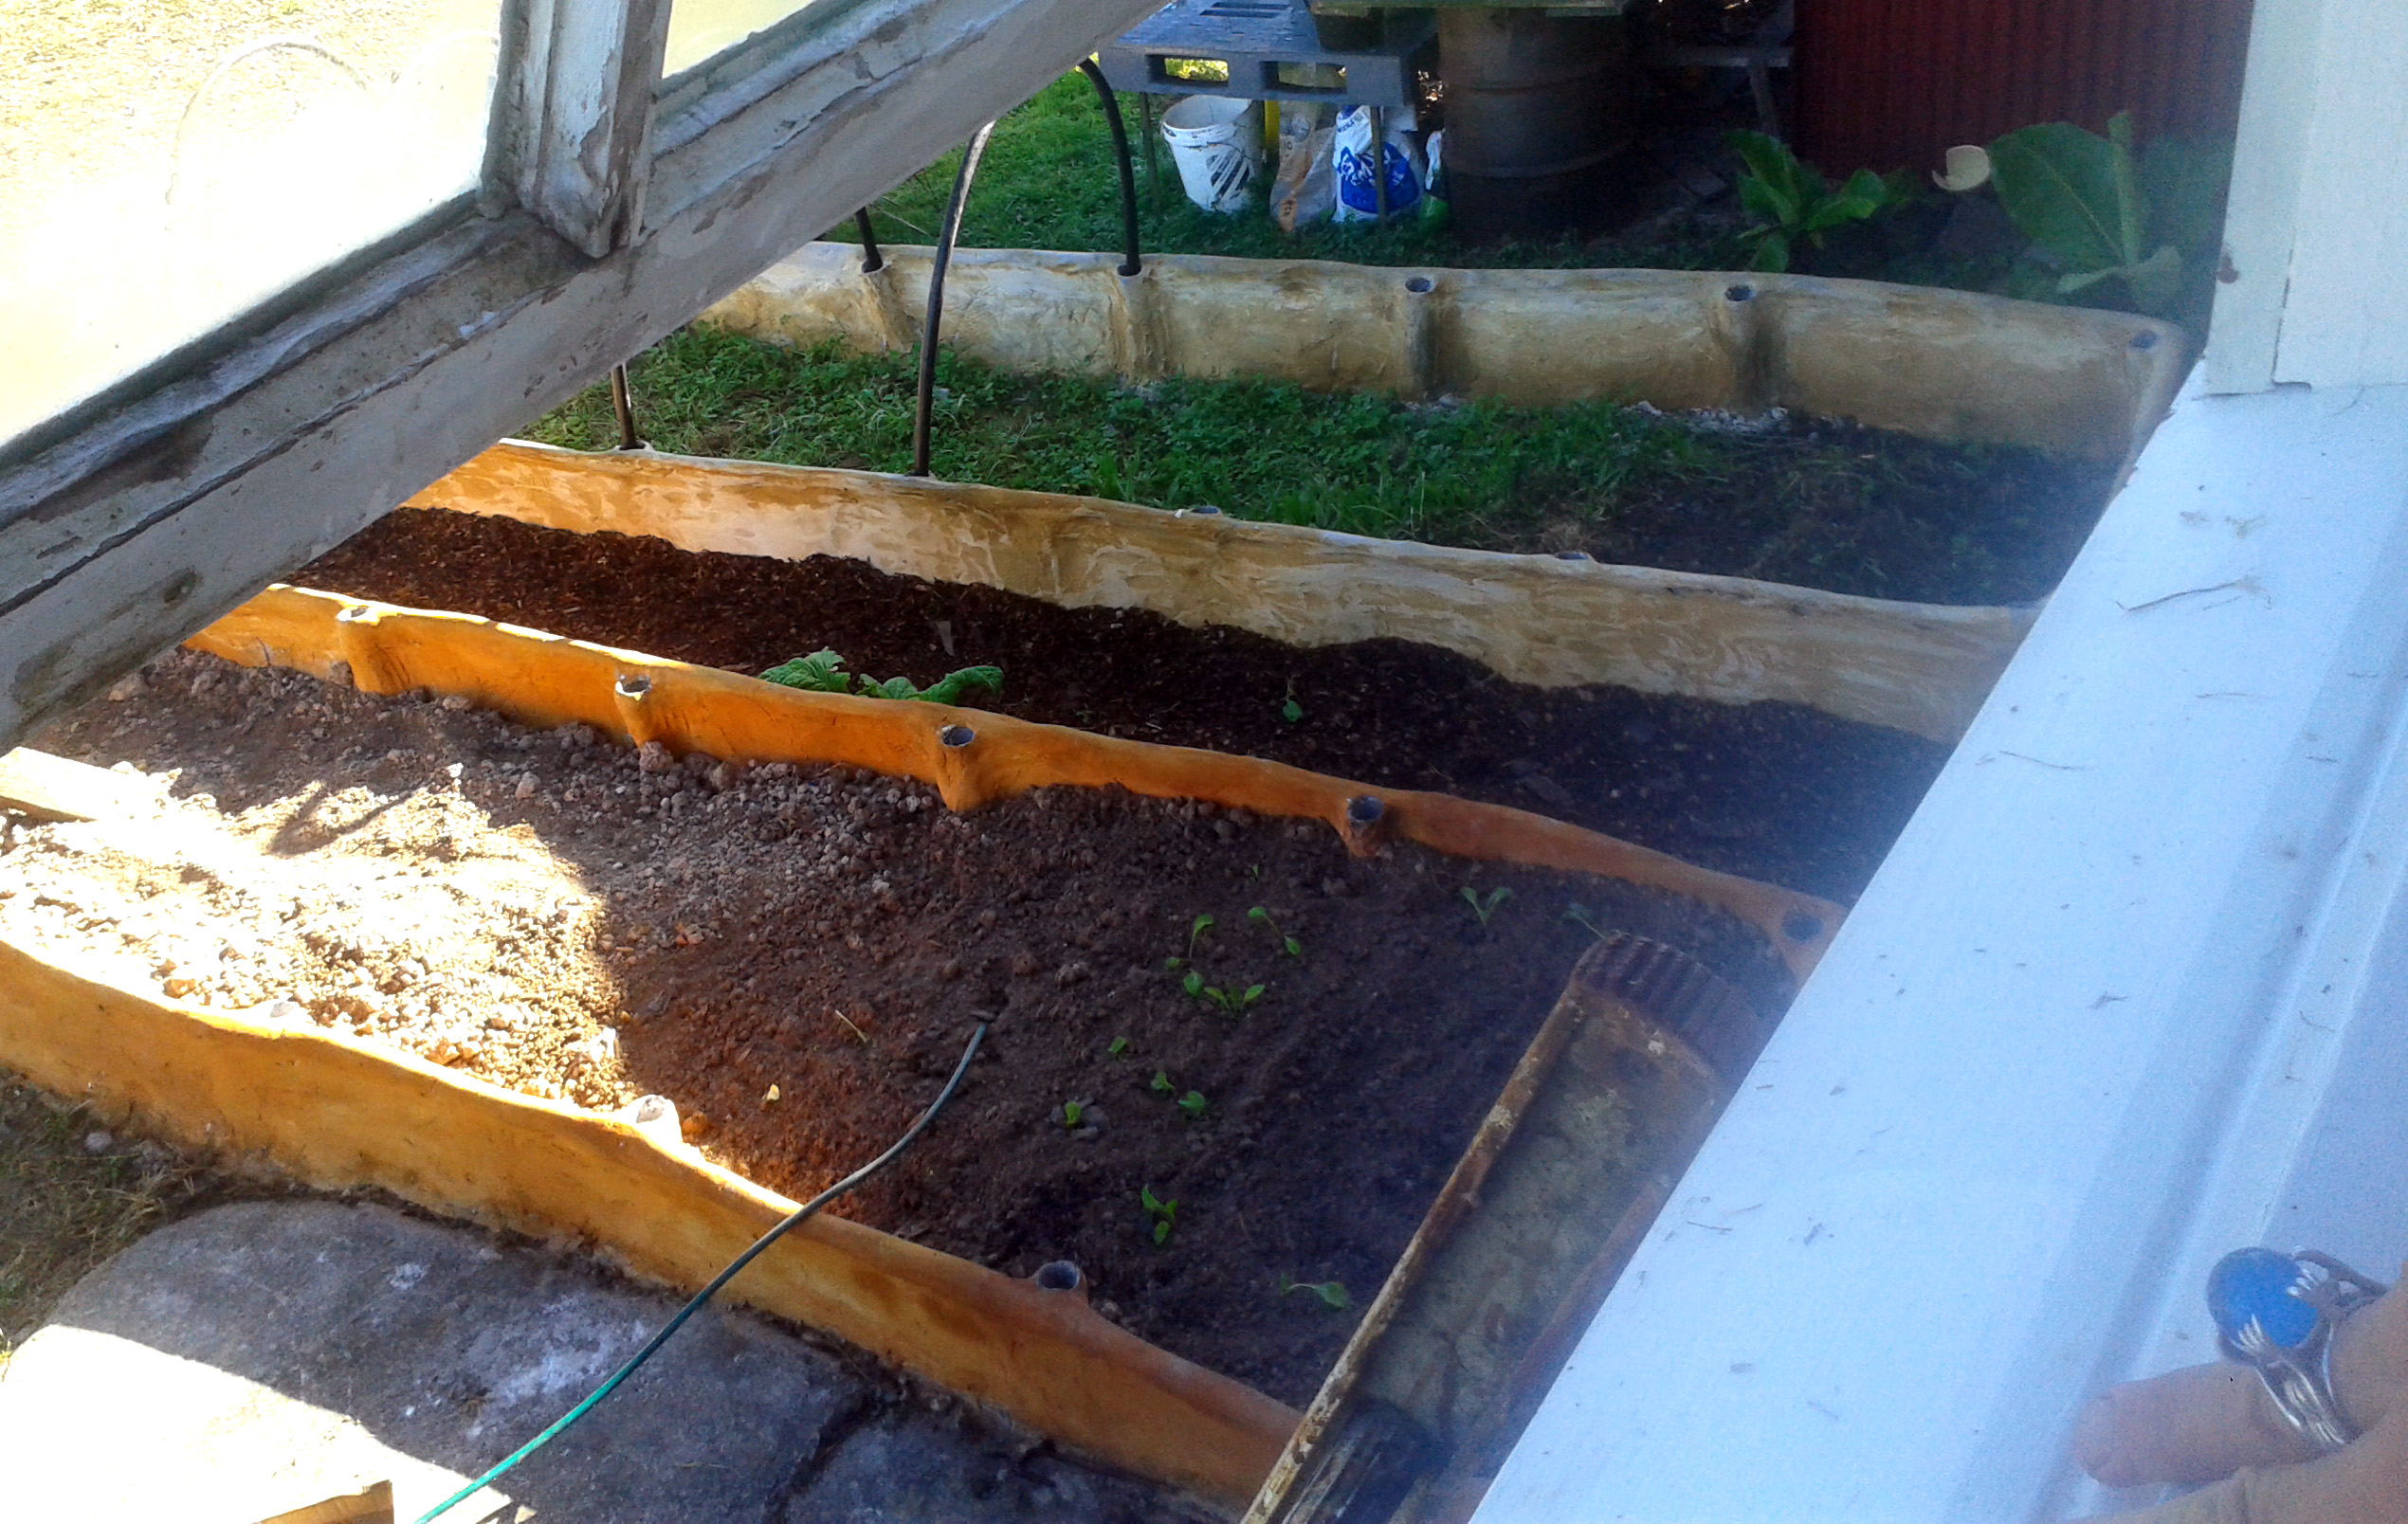
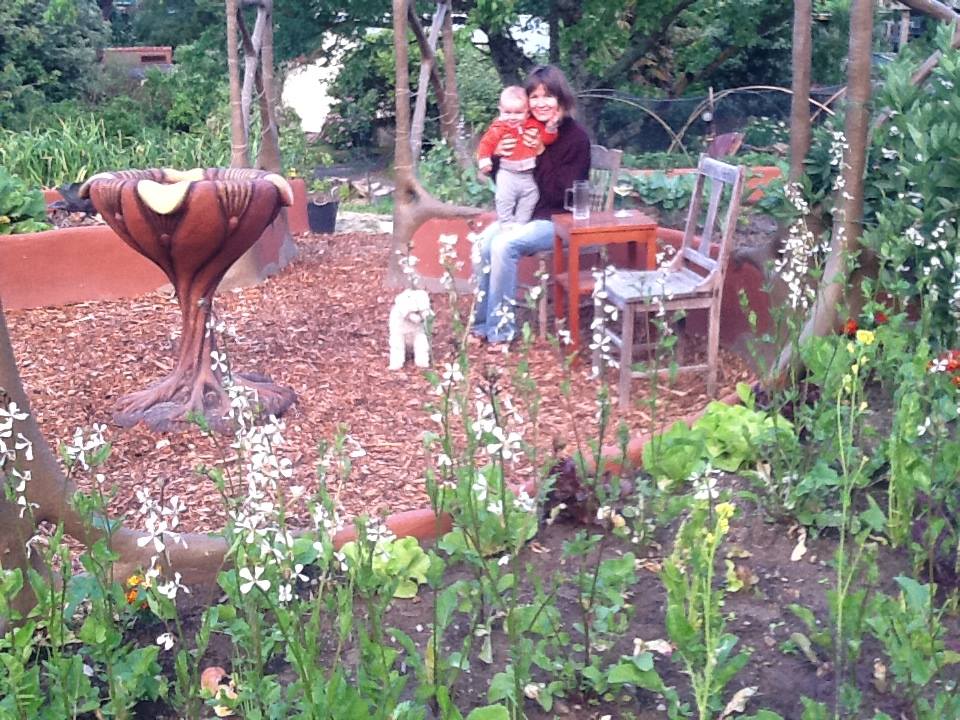
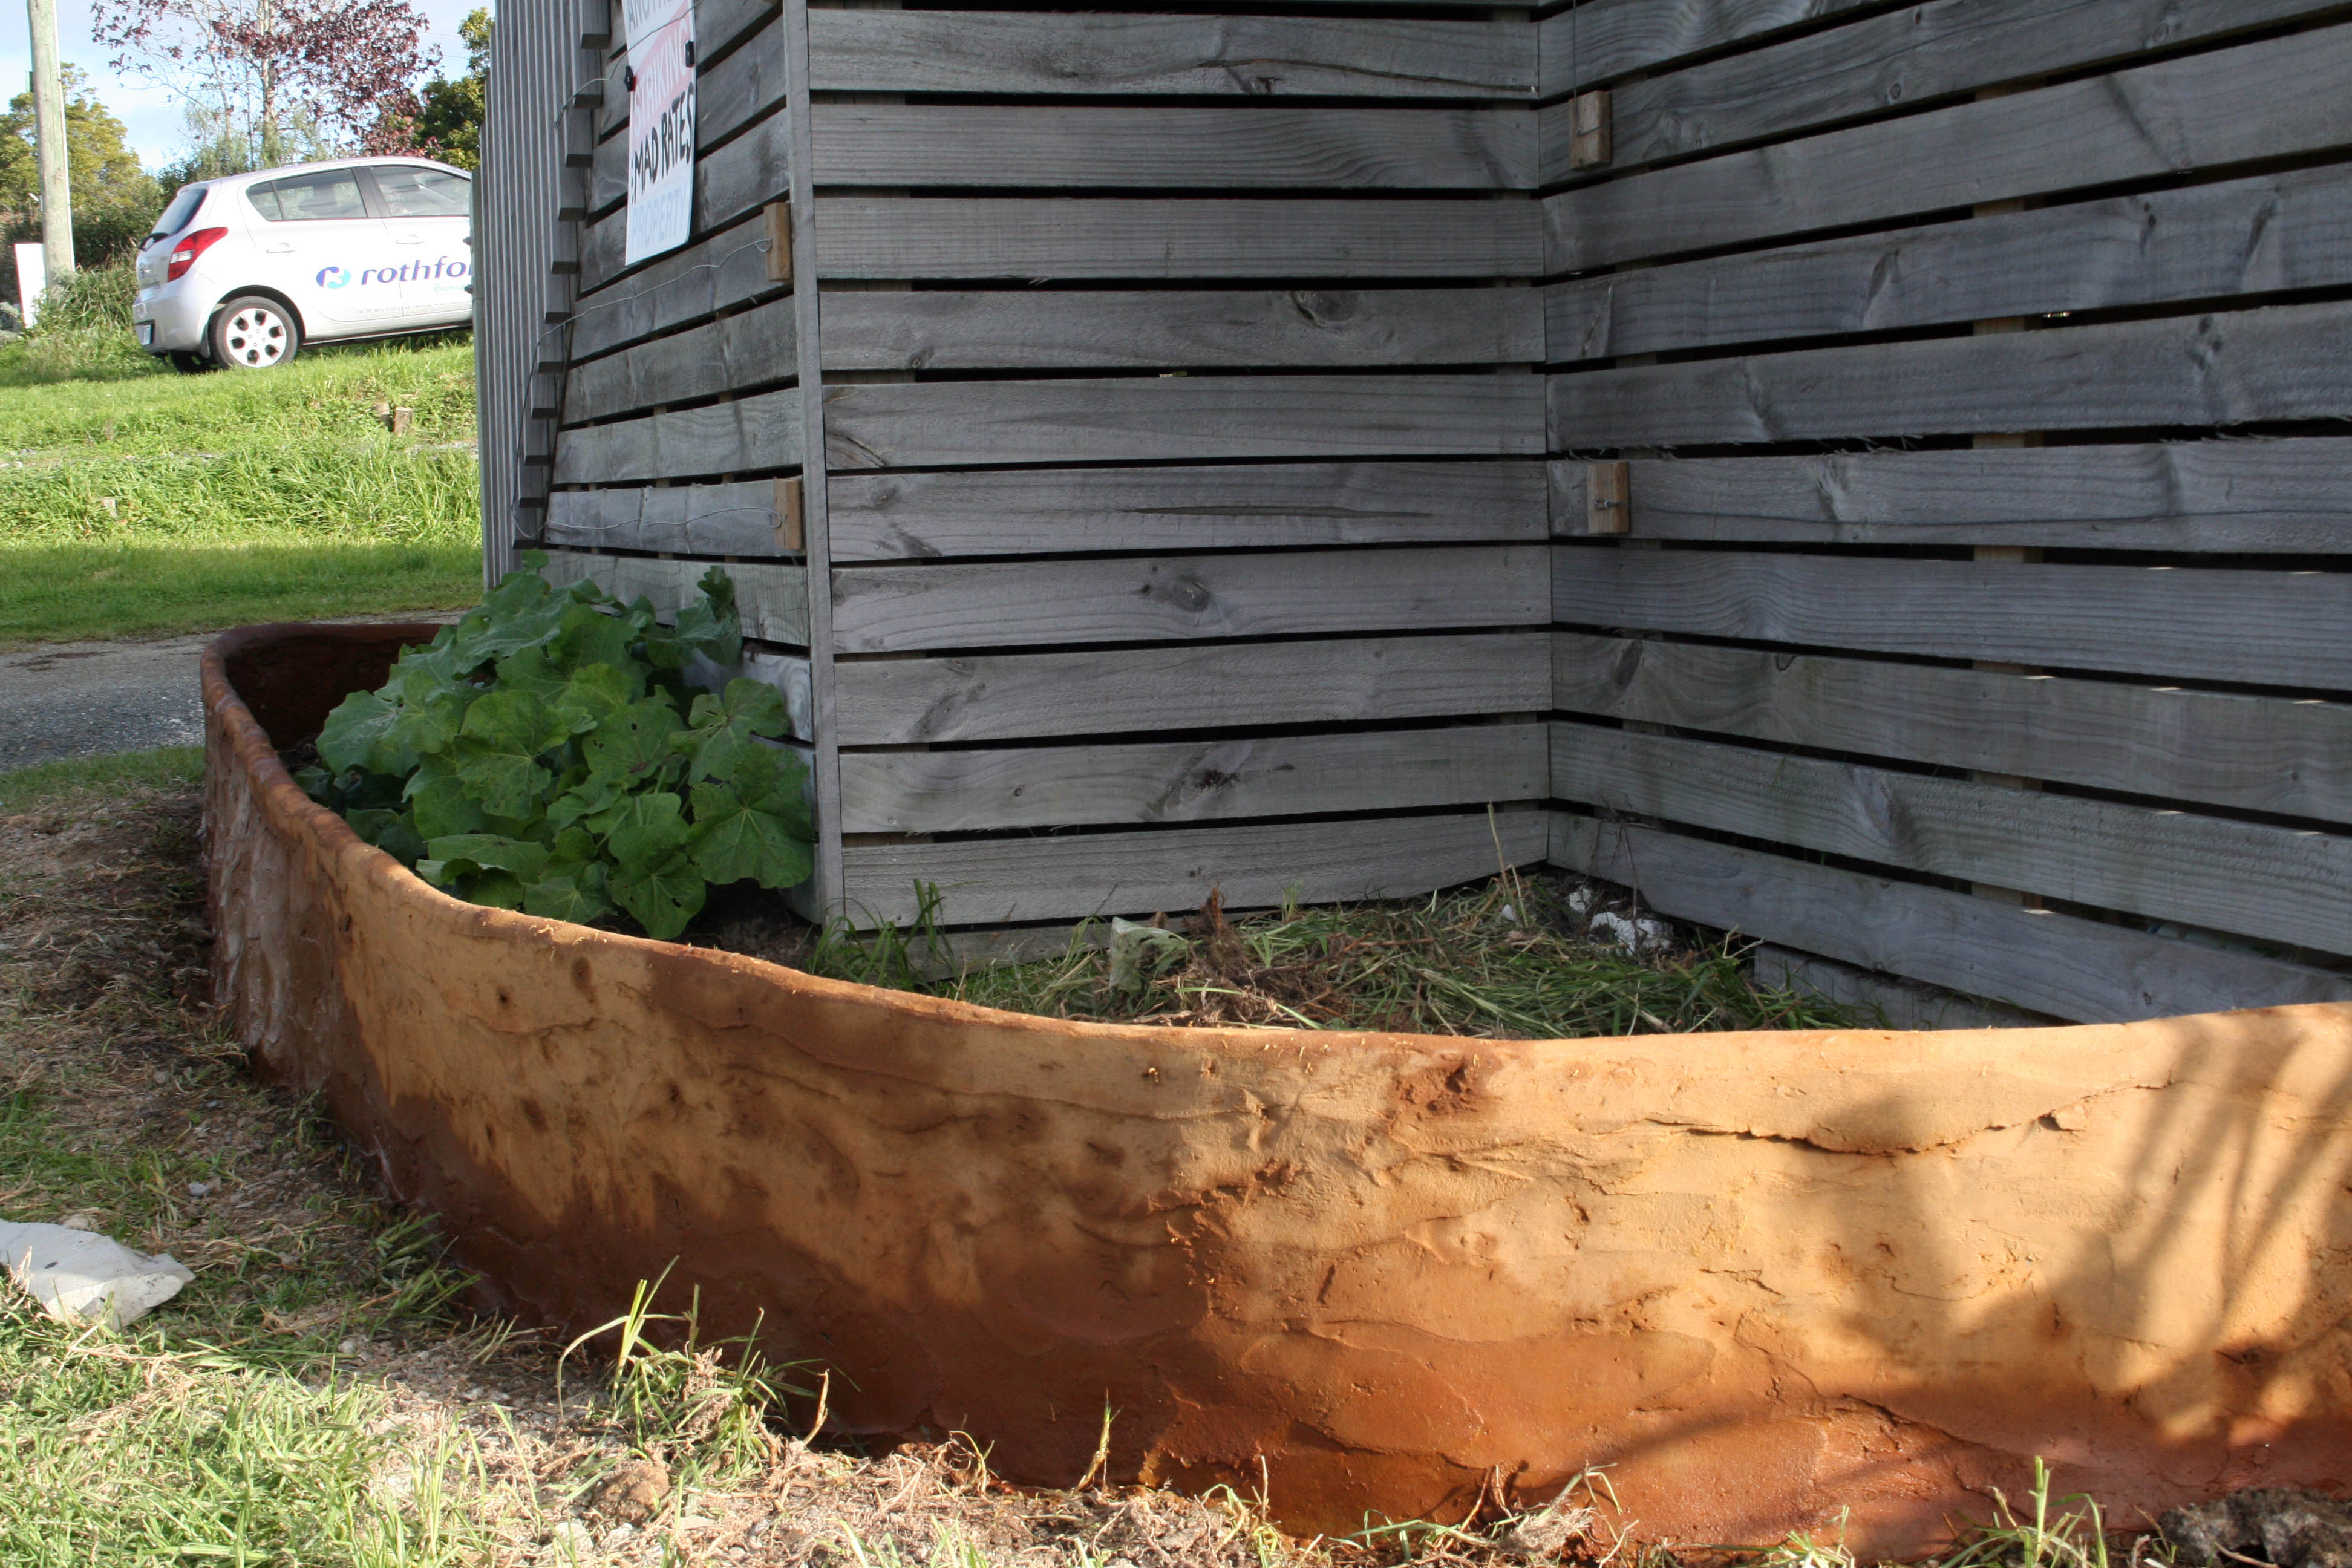
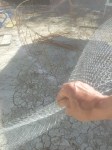
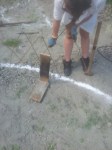
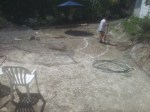
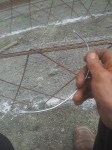
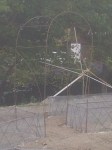
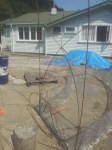
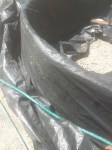
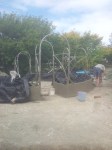
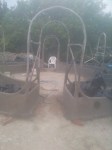
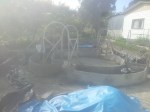
I’ve just done another one at the Story Ark, out the front this time. About 7 metres long, one-sided as it is against the front of the Ark. Framework was minimalist, and one length of 13mm mesh chickenwire folded over it lengthwise, and laced with thin (.7 or somm) tie wire. As per the book fantastic ferrocement of course! Oh and the ends of the framework I stapled onto the wood of the Ark, and plastered right up to the wood. I will line the Ark side of the bed with black plastic to prevent the soil from rotting the wood.

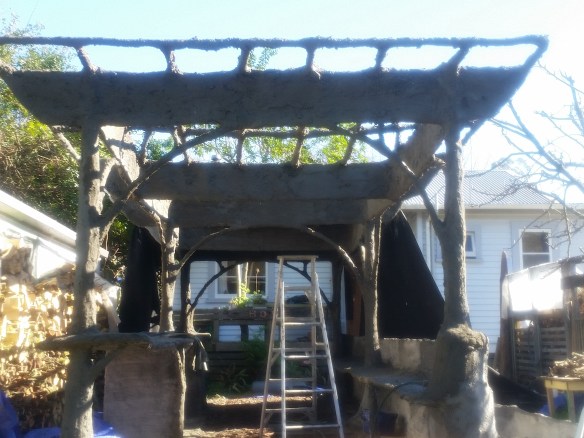
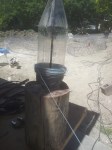
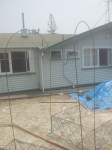
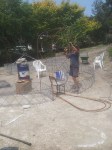
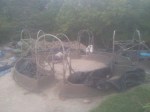
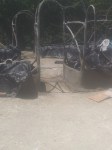
It only took two mixer-loads to plaster it – about 40kg of cement (or two 25kg bags at most), and one coat (round-ended trowel finish) was sufficient. done in an afternoon (by yours truly alone). Then lightly sanded with about 60 grit and stained a couple of days later (can do it same day – it works apparently by chemical reaction with uncured plaster, at least not fully cured) with garden-store-standard iron sulphate, strong solution put on with a rag, two applications to make sure. Apart from keeping under cover for a few days to maximise plaster curing, that’s it!

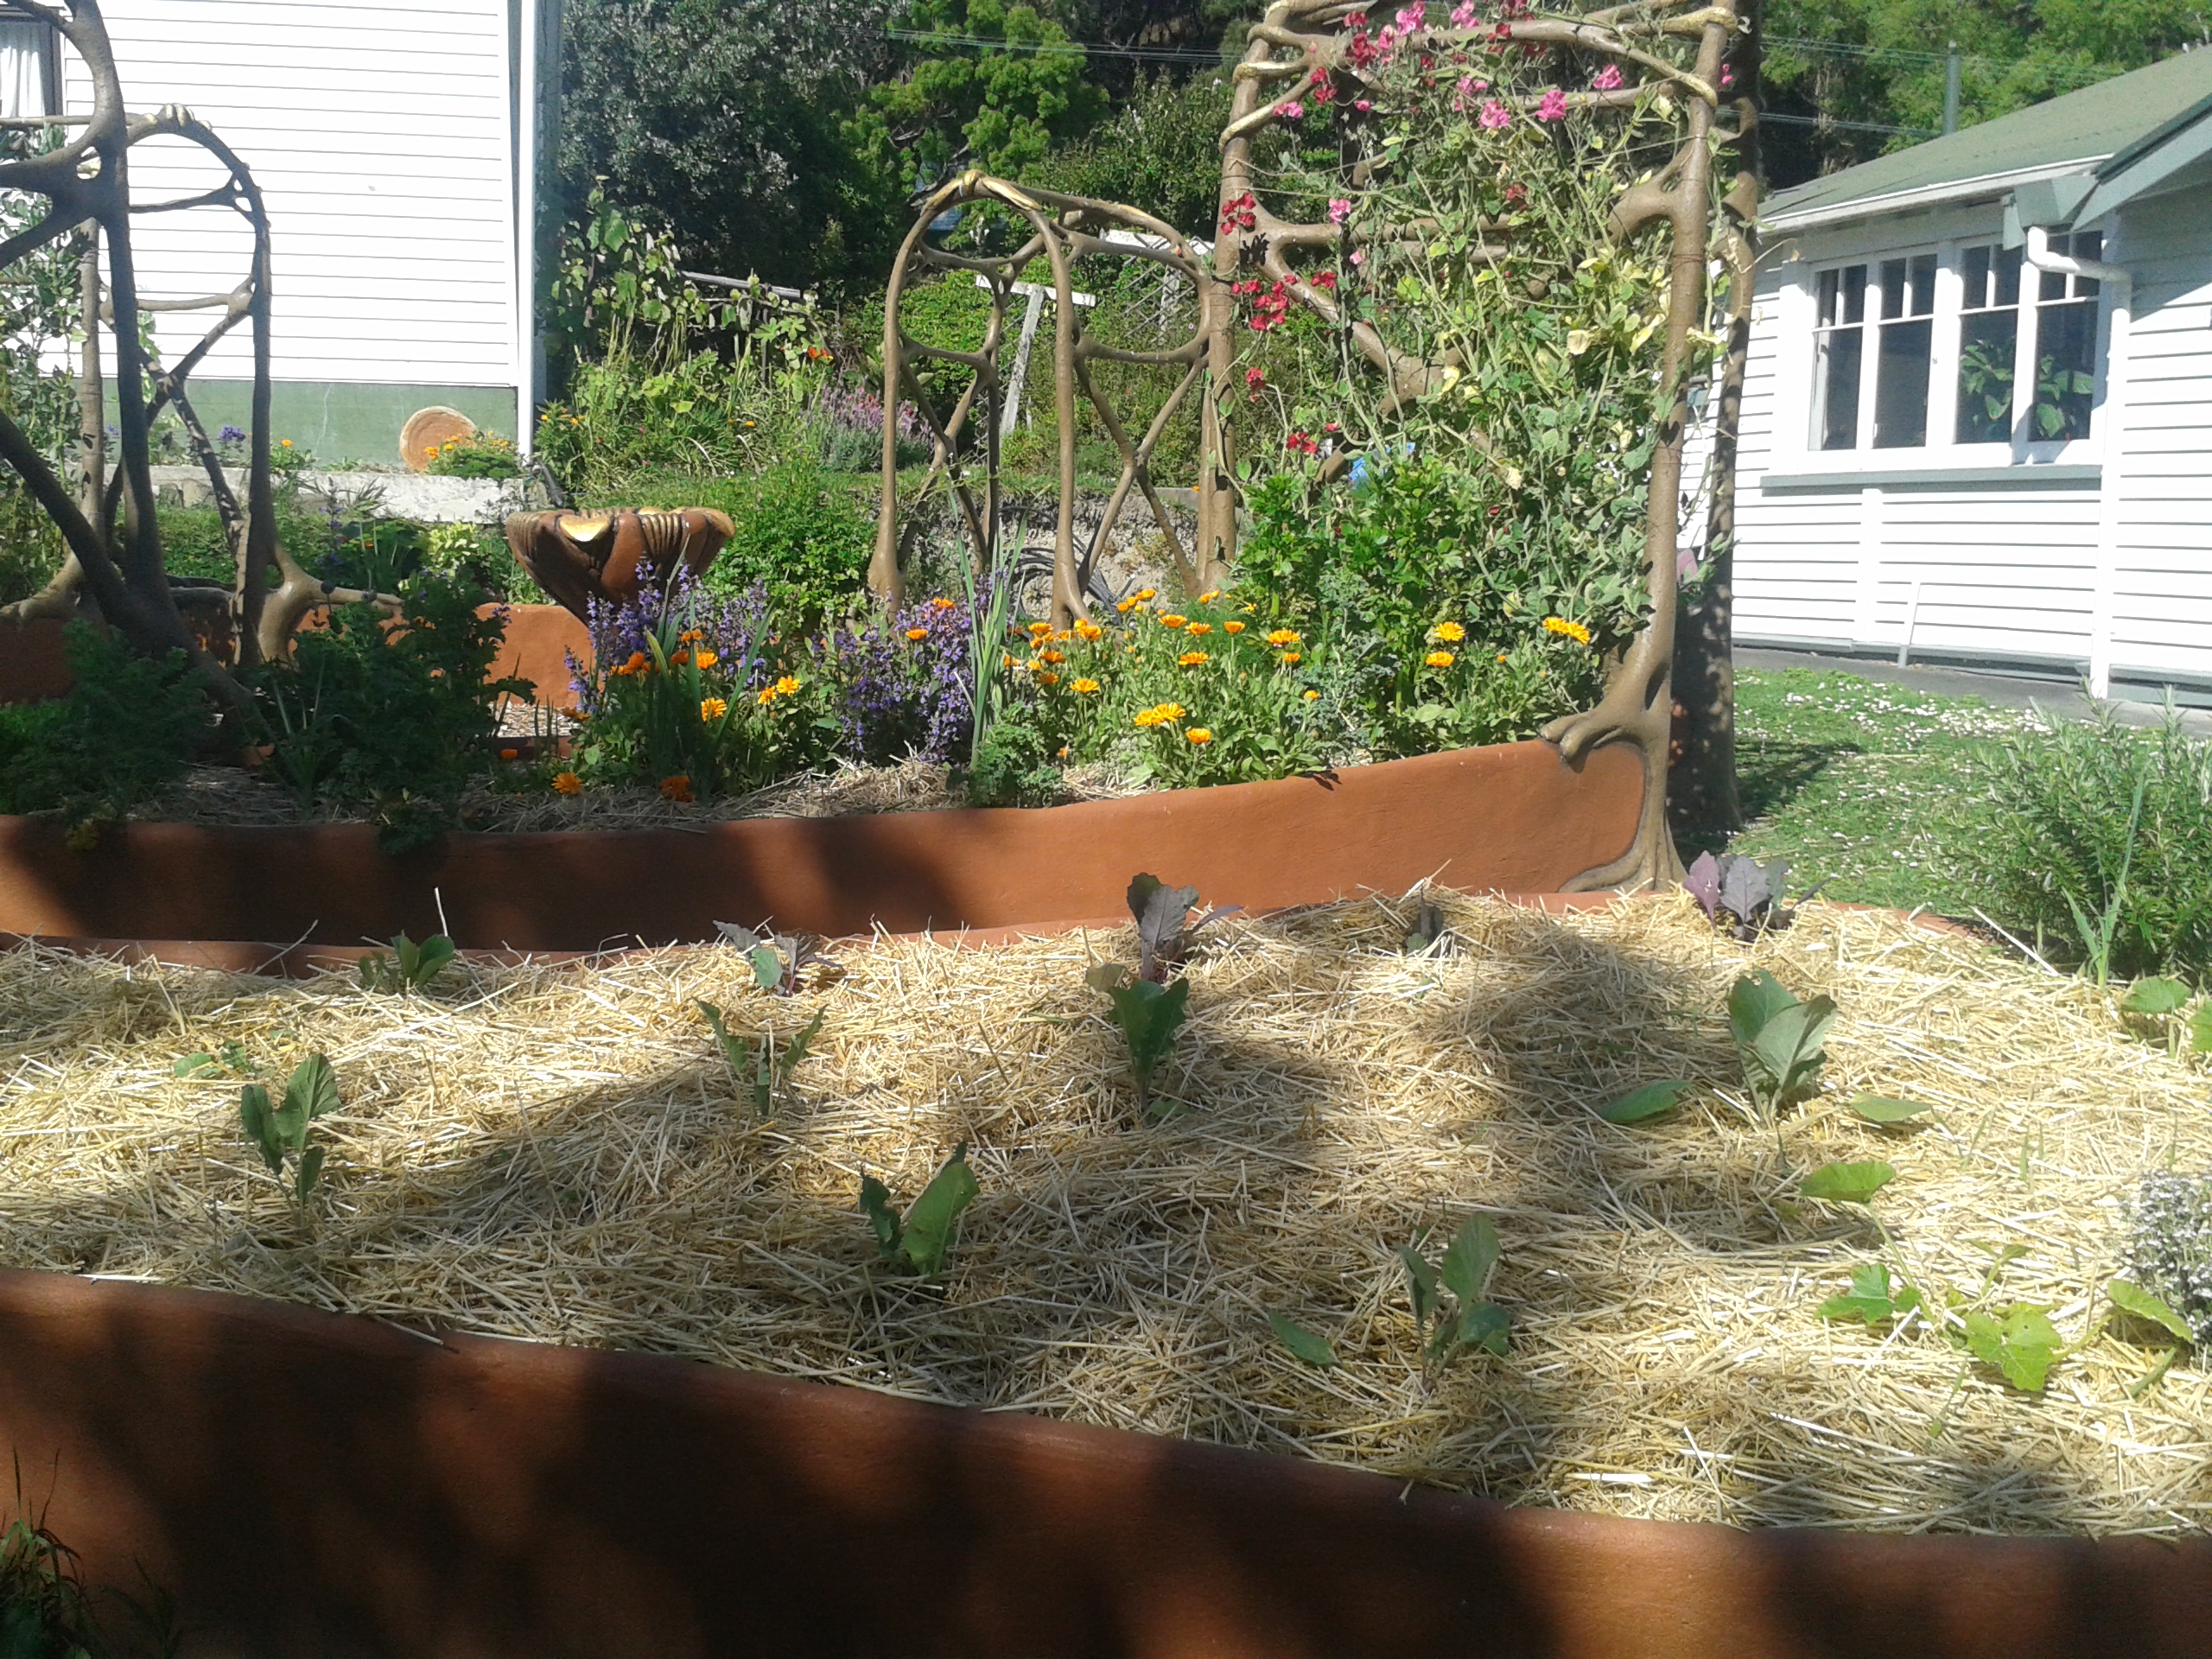
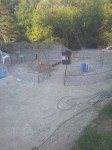
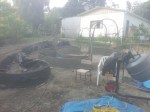
I grubbed a shallow (maybe 50mm) trench for the framework to discourage the invasive kikuyu grass we have here courtesy of a mad council decades ago…

new raised bed in front of ark


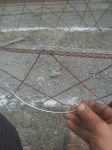
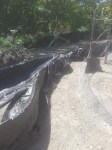
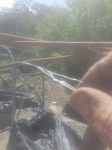
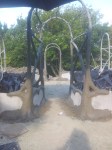
This finish goes darker when wet, as you see in the photo. I suppose I used three quarters of a kilo of the iron sulphate – about NZ $5 depending on the garden store you go to.

The mega-fibre II I used to get for plaster isnt available here now, and I havent sourced the Sika fibre here yet, so I improvised: I chopped up some old polypropylene rope into about 30mm lengths, rubbed it a bit to loosen all the fibres, and added it to the mix. It was coarser than the other but plastered fine, and did the job of helping the thick coat not to sag.

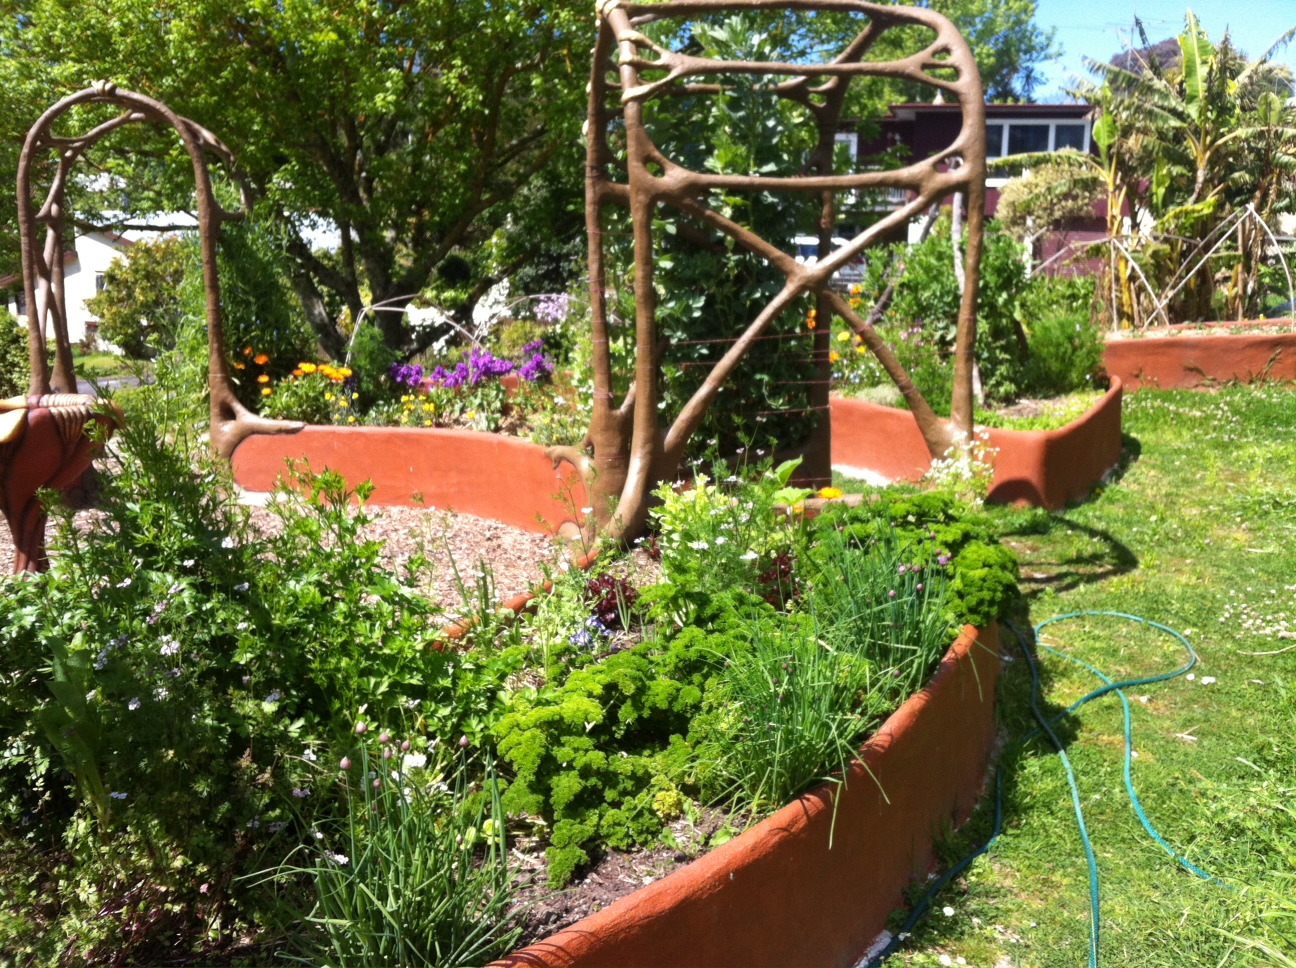
I thoroughly recommend ferrocement for serious raised beds. It’s probably about as quick as wood for the same height, or at least if you count the lifetime cost of wood, which rots in proportion to your success in filling it with a fertile soil bursting with microorganisms! Of course, you can make a wooden one then line it with plastic, but why go there when there’s ferro, which will outlast all wooden outdoor structures…

An Elven arched raised bed garden in Gisborne

I’ve been recovering from an intensive two weeks making this (I’ll let the photos do most of the talking, but it is at my daughter Anna’s partner’s house on the hill. The doglet is our Poppy’s pup, Honey. She kept up a constant ‘throw the ball for me’ routine every evening when Anna came home. The cappuccino maker was good, and the weather mostly kind, though the heat and the drying out of fresh plaster was a problem). Overall I think it worked really well. I had to fly back before the scraping and carving was all done, and the sealing and painting. Marco is apparently doing all that as I write. Will upload photos of painted and planted gardens when i get them!