Making ferrocement arch frames

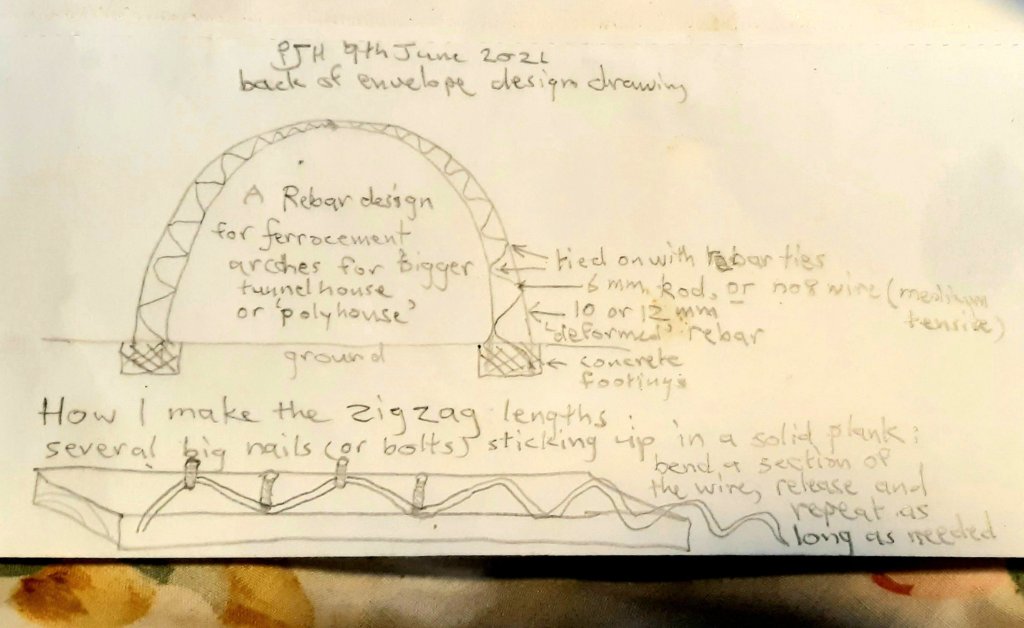
This is a quick, literally back of envelope drawing of how I made a few arches for a hobbit cabin roof (cabin still awaiting completion due to an urgent public sculpture project – the giant gourds – which paid the rent!) A viewer on my Renaissance workshops YouTube channel was asking…

Oh, and to chickenwire arches, i use crosscut strips of chickenwire, wrapped around the rebar arch like a bandage, with plenty of overlap and stretched tight. Use rigger’s gloves…they are comfortable and yet amazingly protective against the cut ends of the chickenwire mesh …leather is so tough..

Rebar Arch frames the easy way

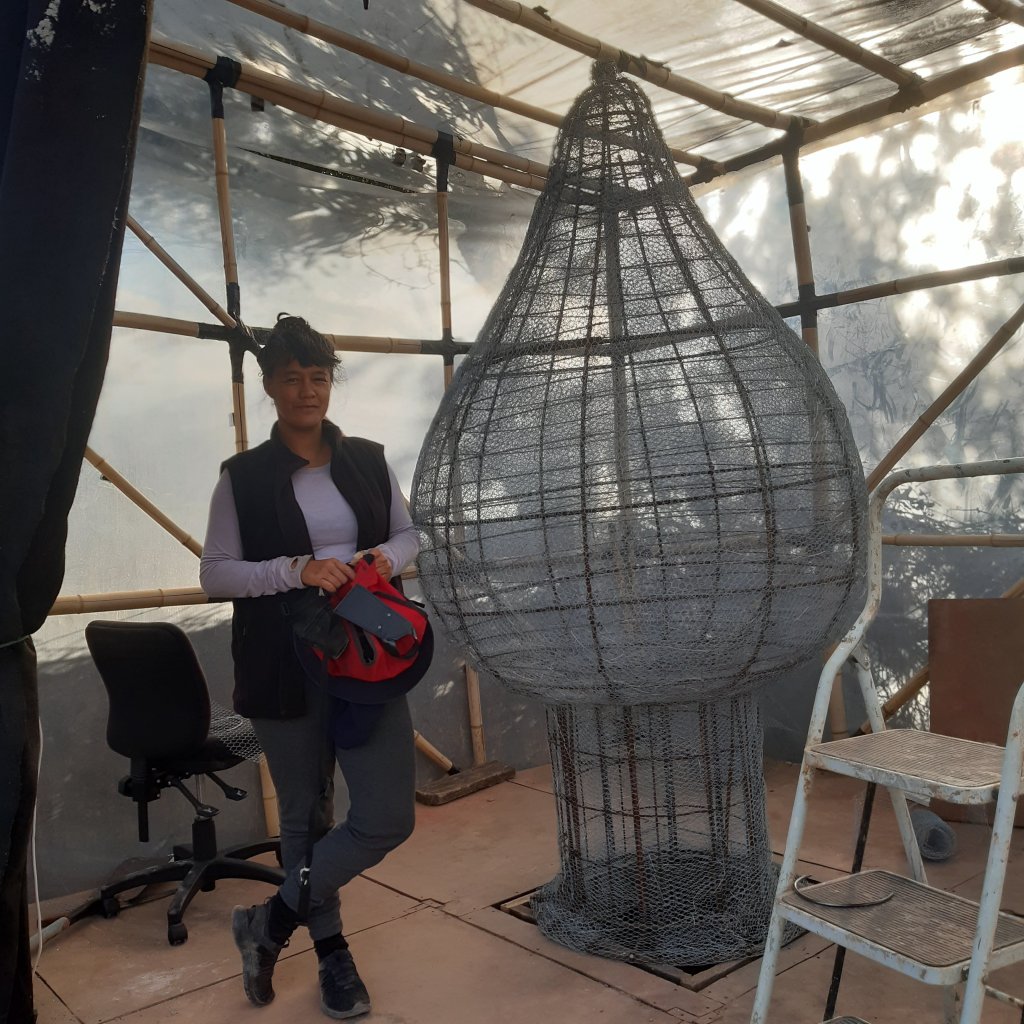
Gourds await the hiab crane

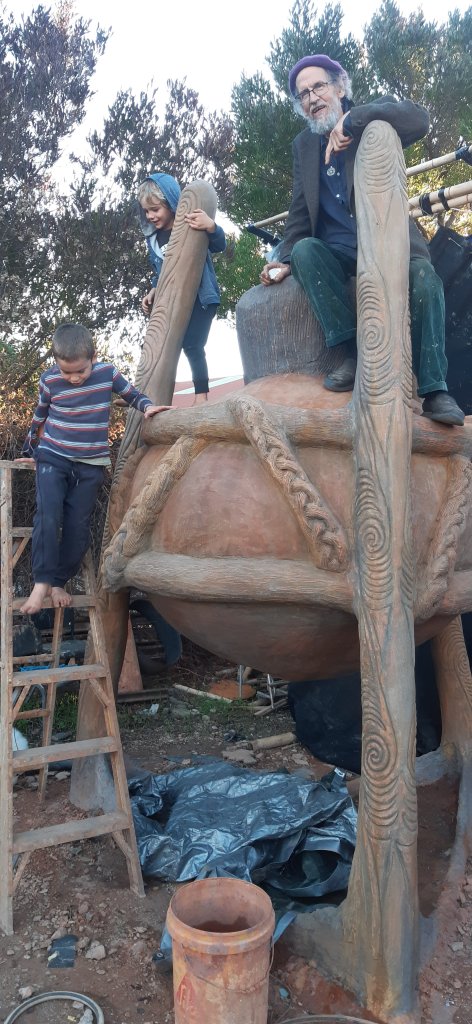
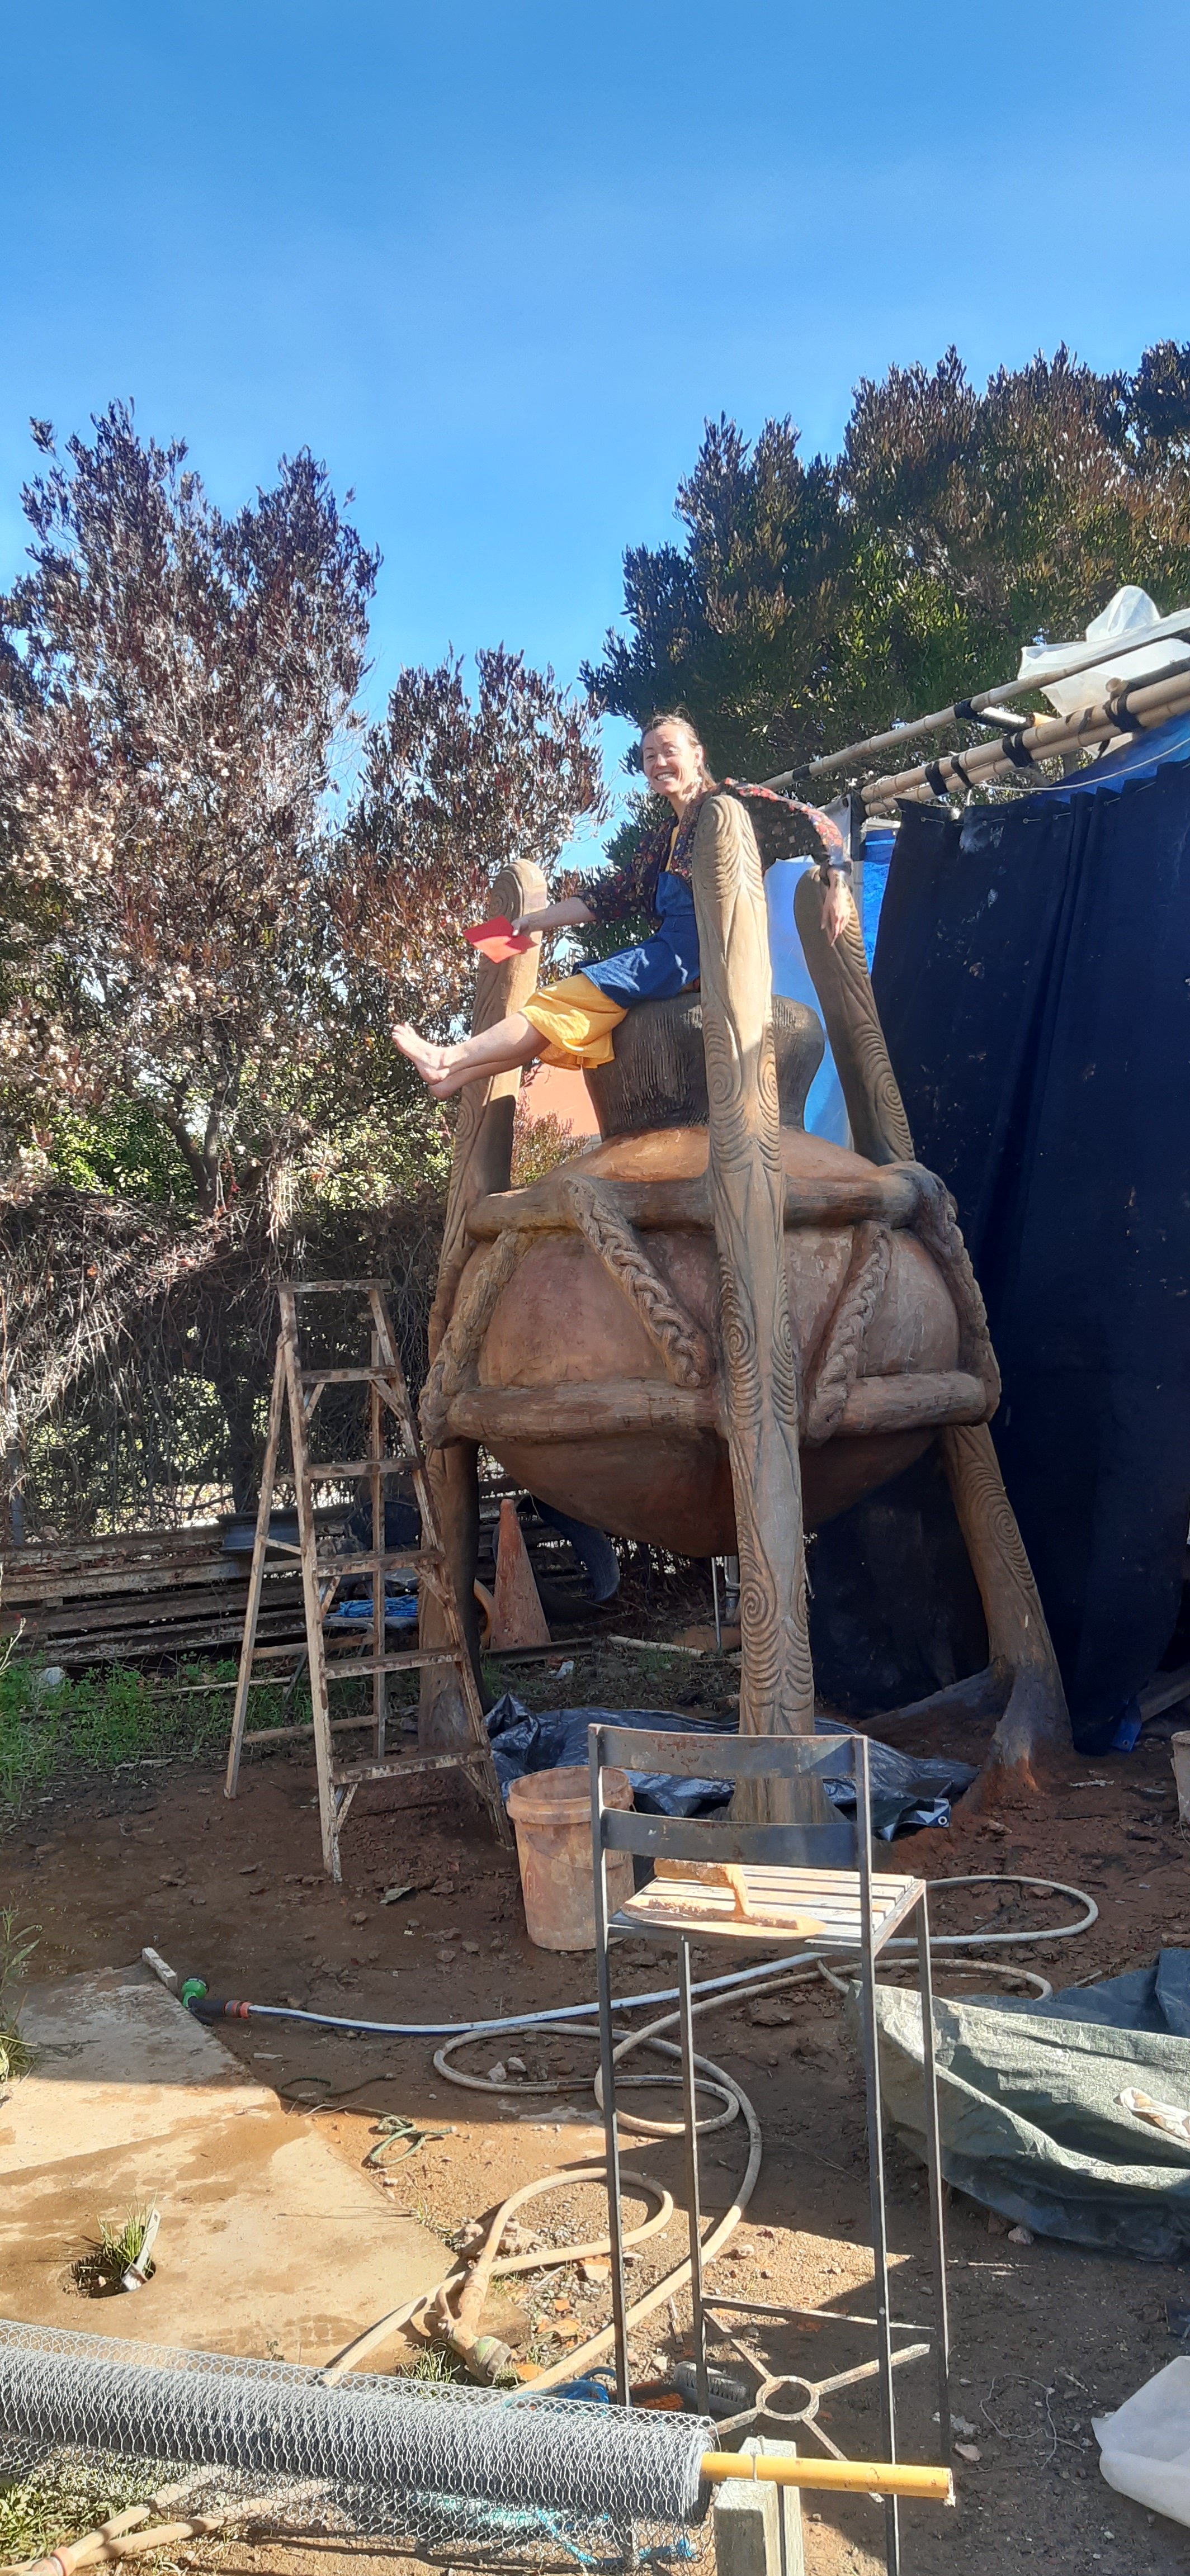
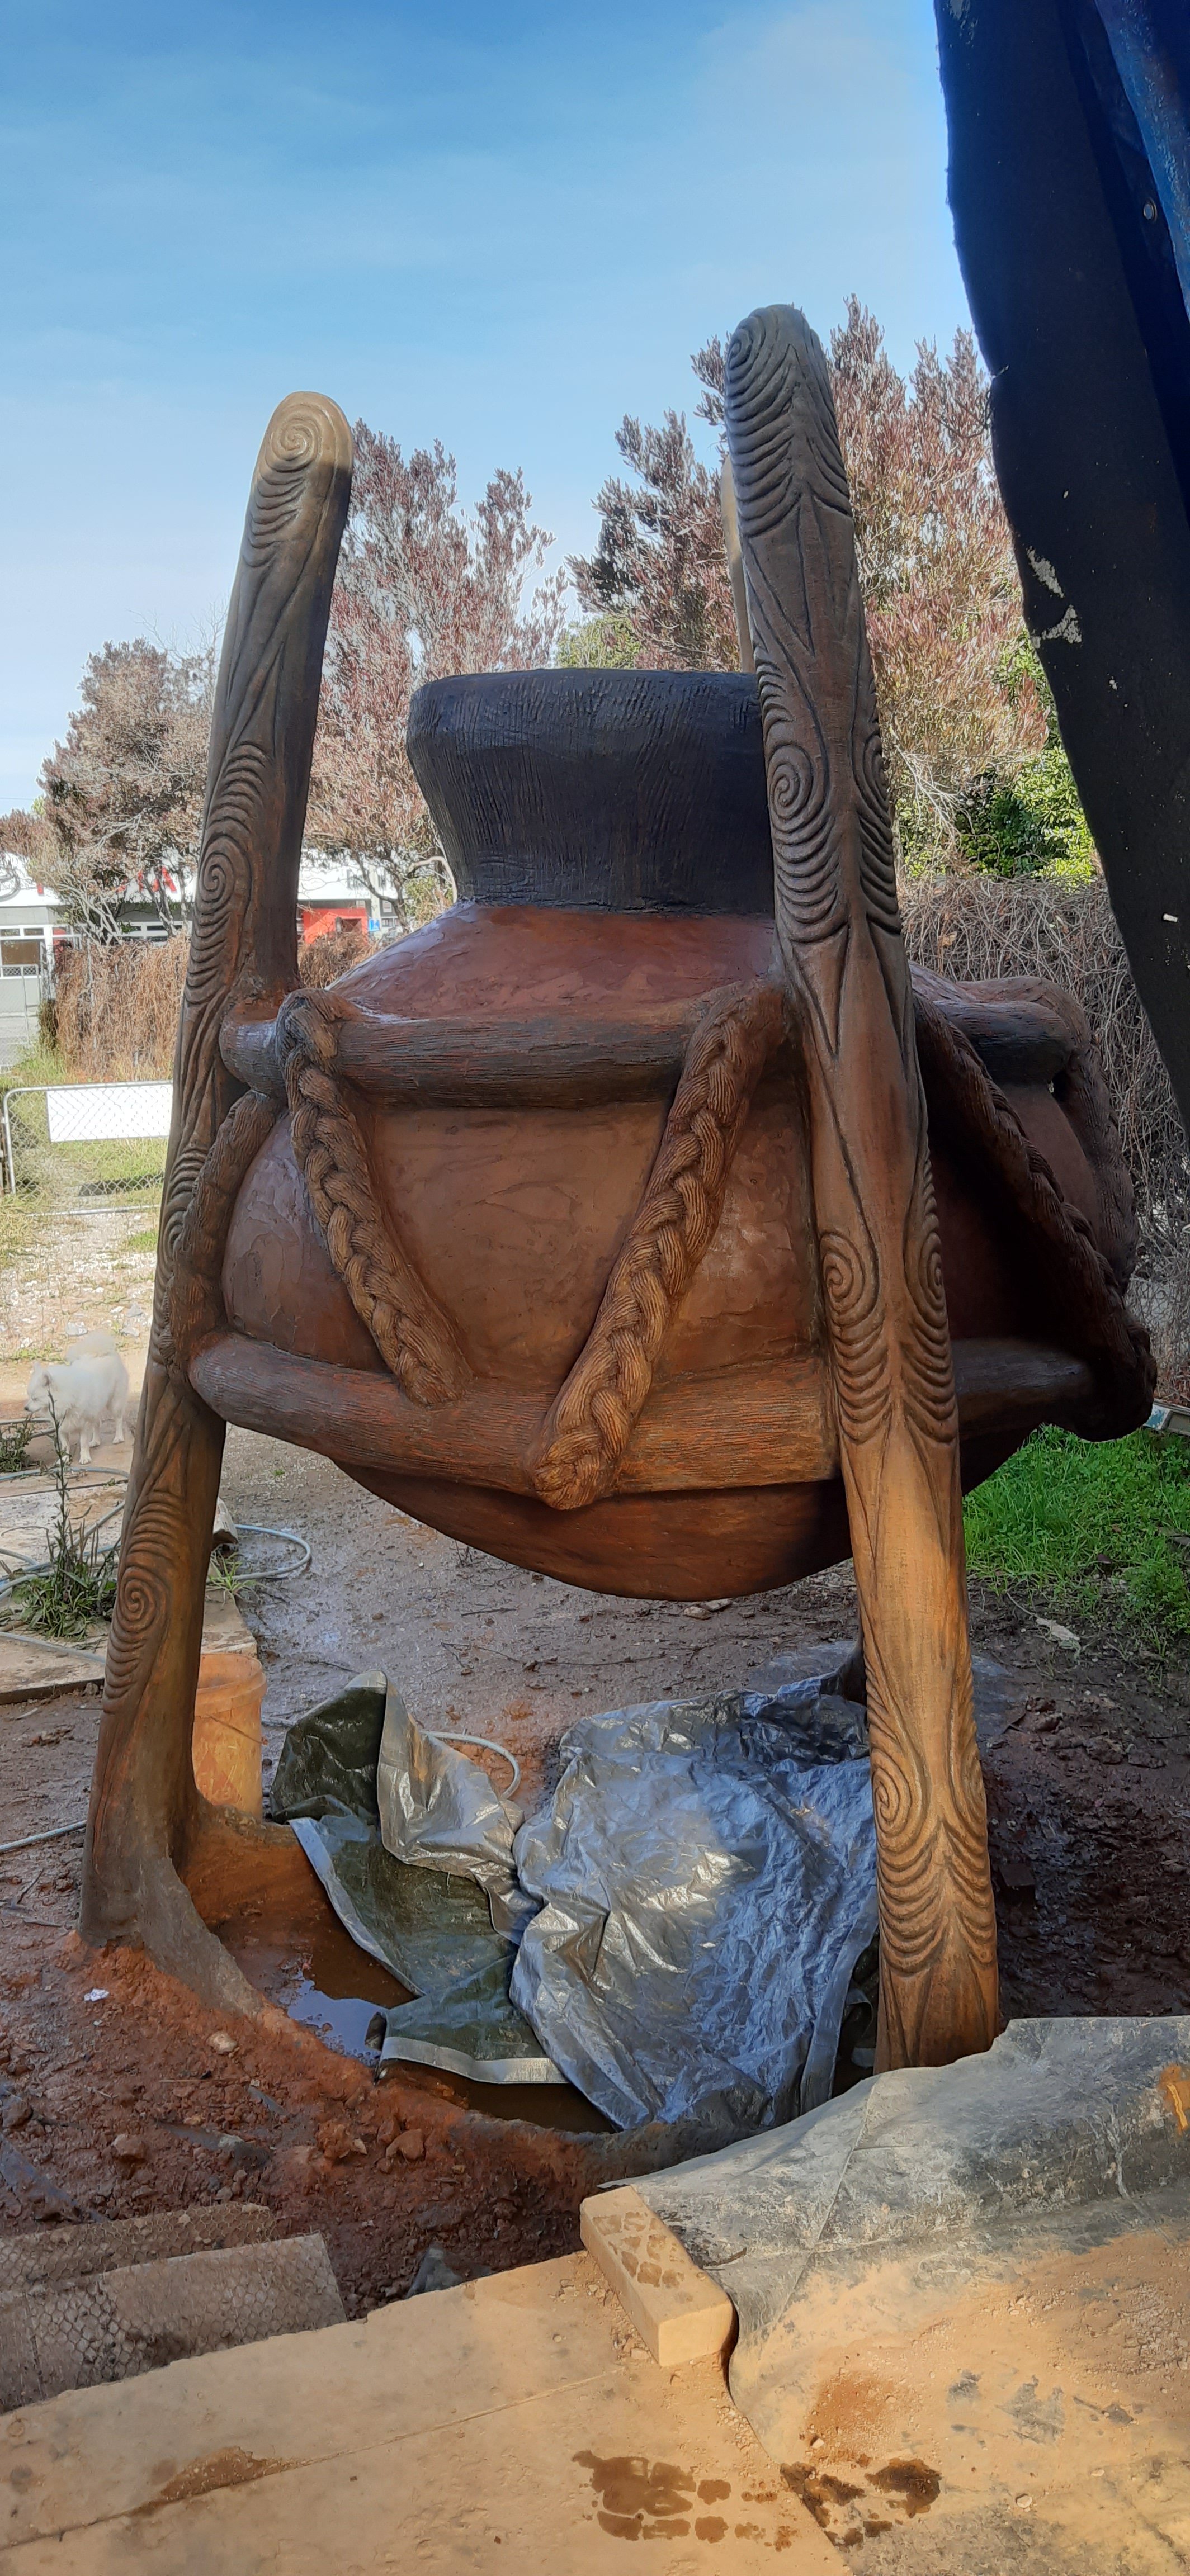
The last one being on tripod of strong ferrocement pillars filled with plaster, and carved, took a lot longer, but we’re happy… I used a thin shading grout to highlight the shapes. See my increasingly frequent howto uploads on my YouTube channel Renaissance Workshops

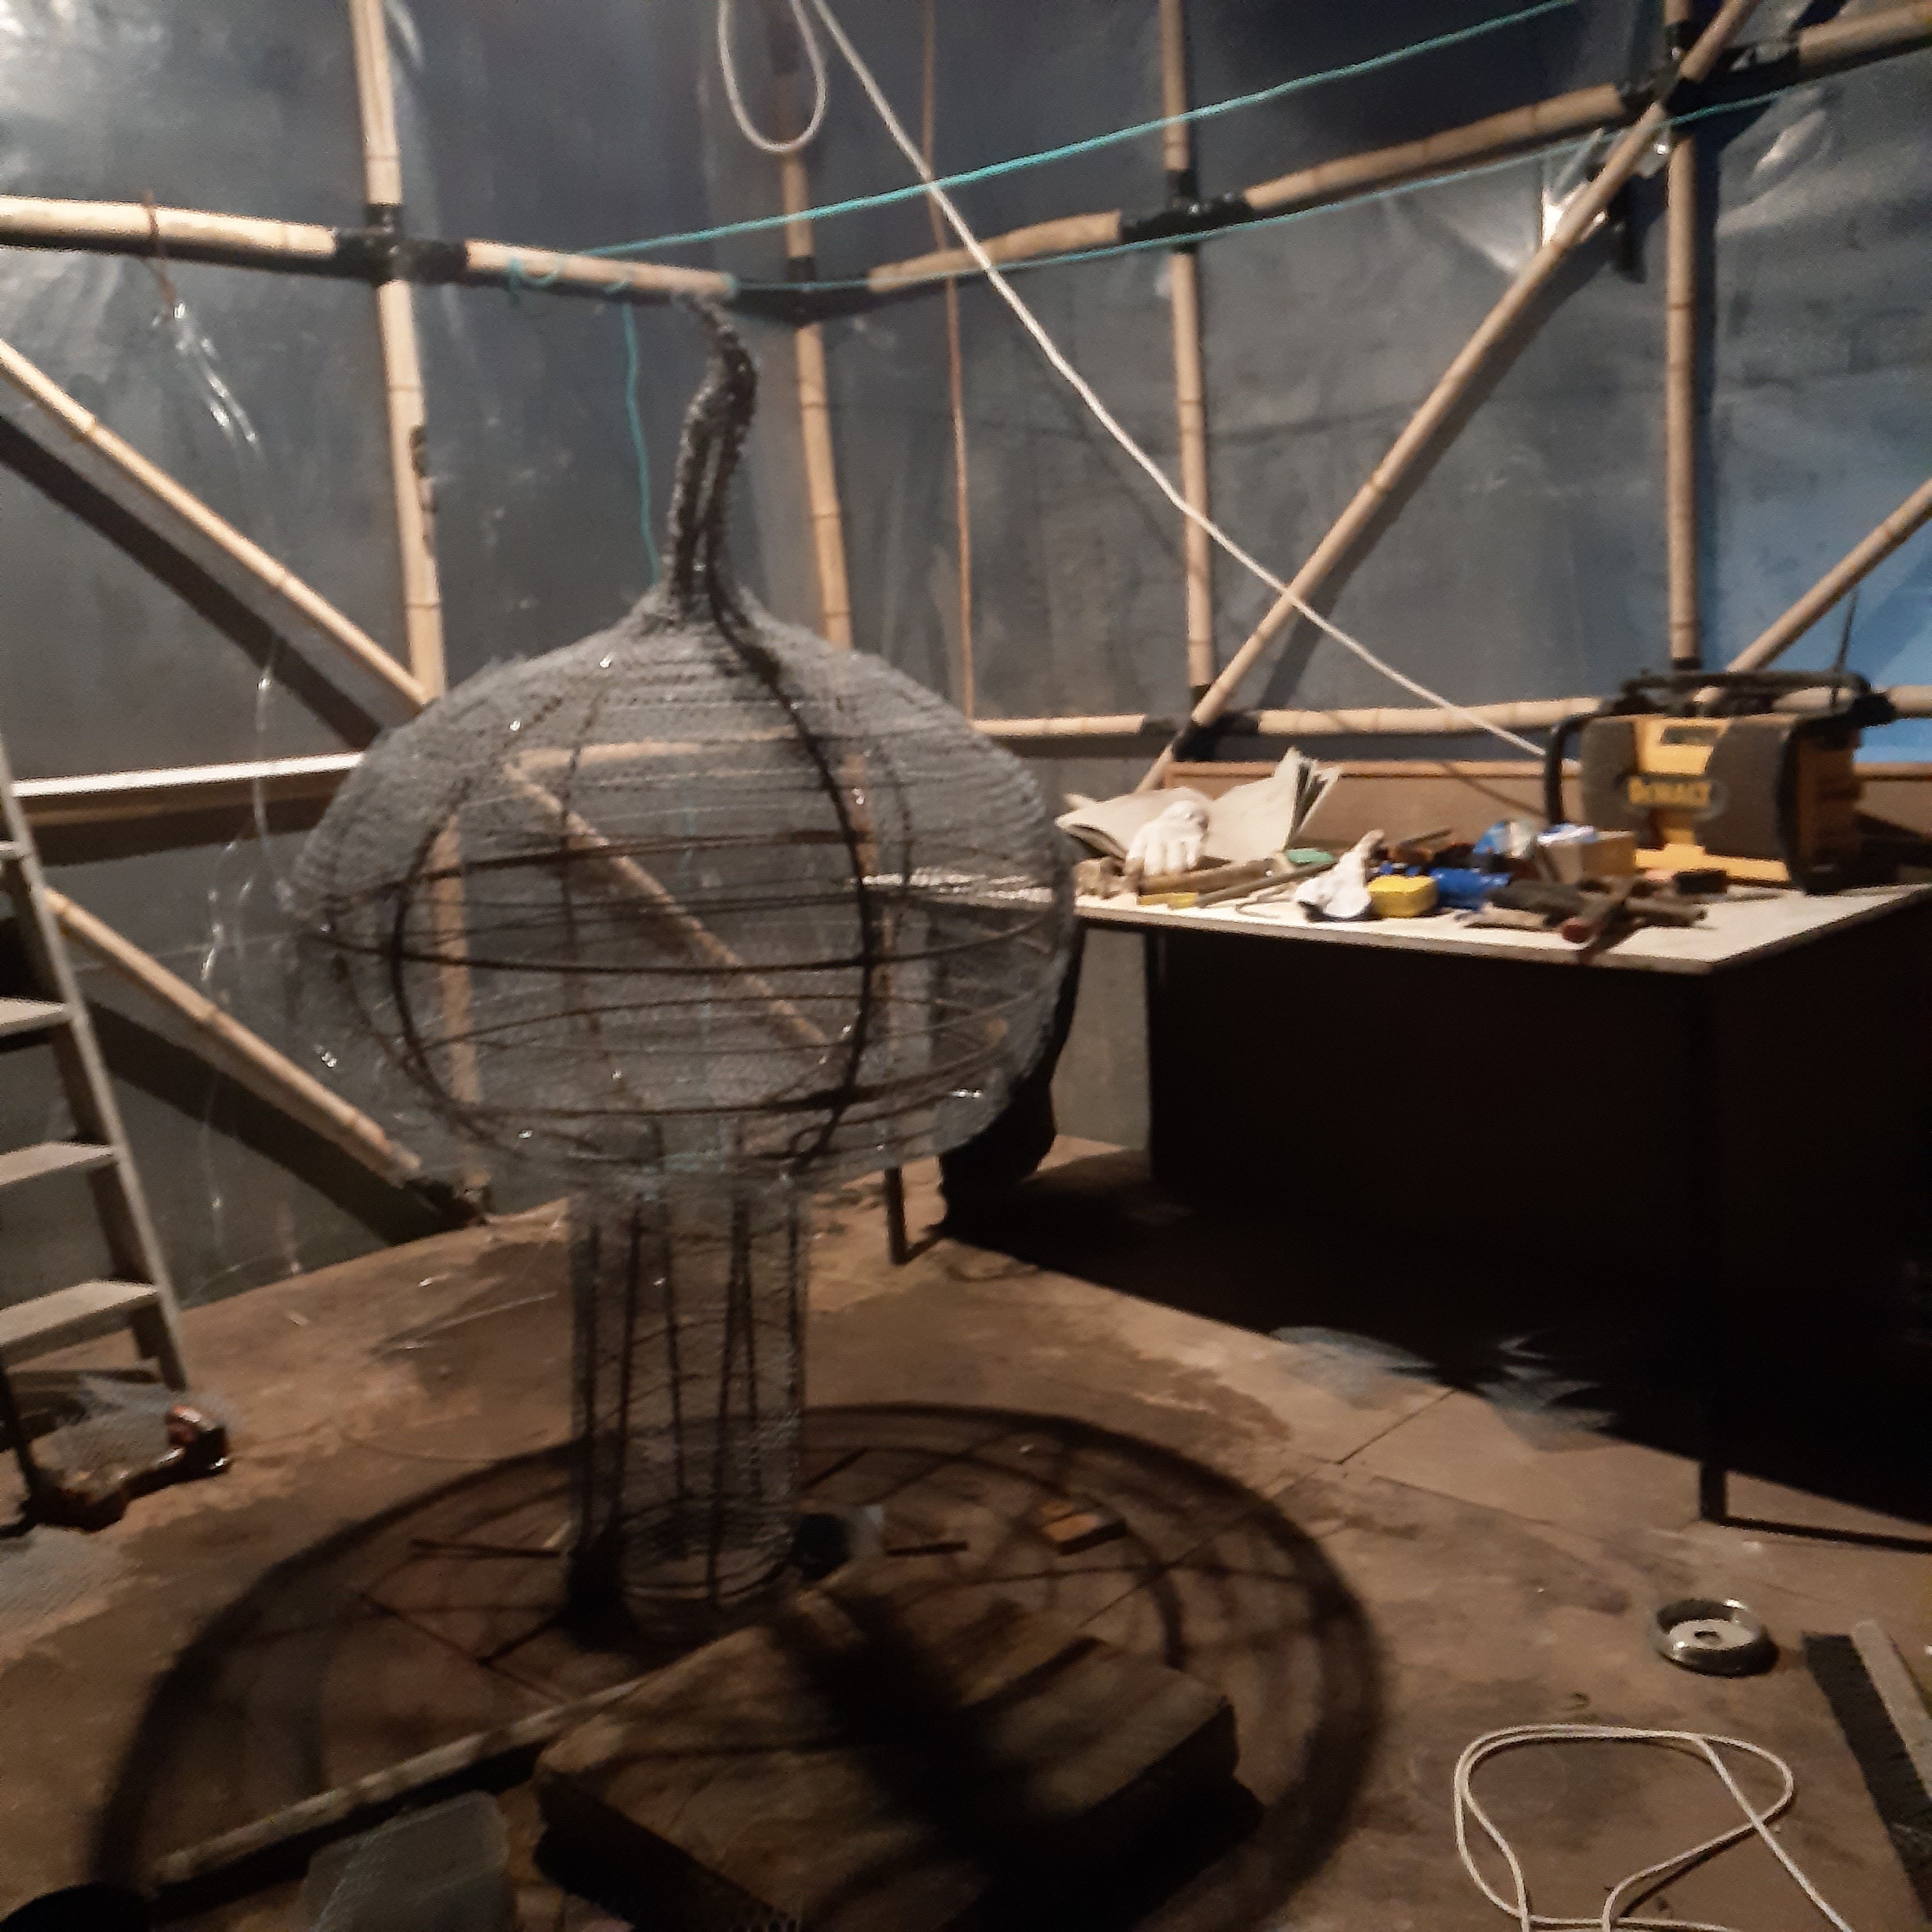
Making gourd shapes – or water tanks?

We have an order for public sculptures of 6 gourds brought by the first Maori to Gisborne.. Two are done and placed in the Captain cook memorial park, and now we are doing the last 4. The shape is suitable for water containers too…

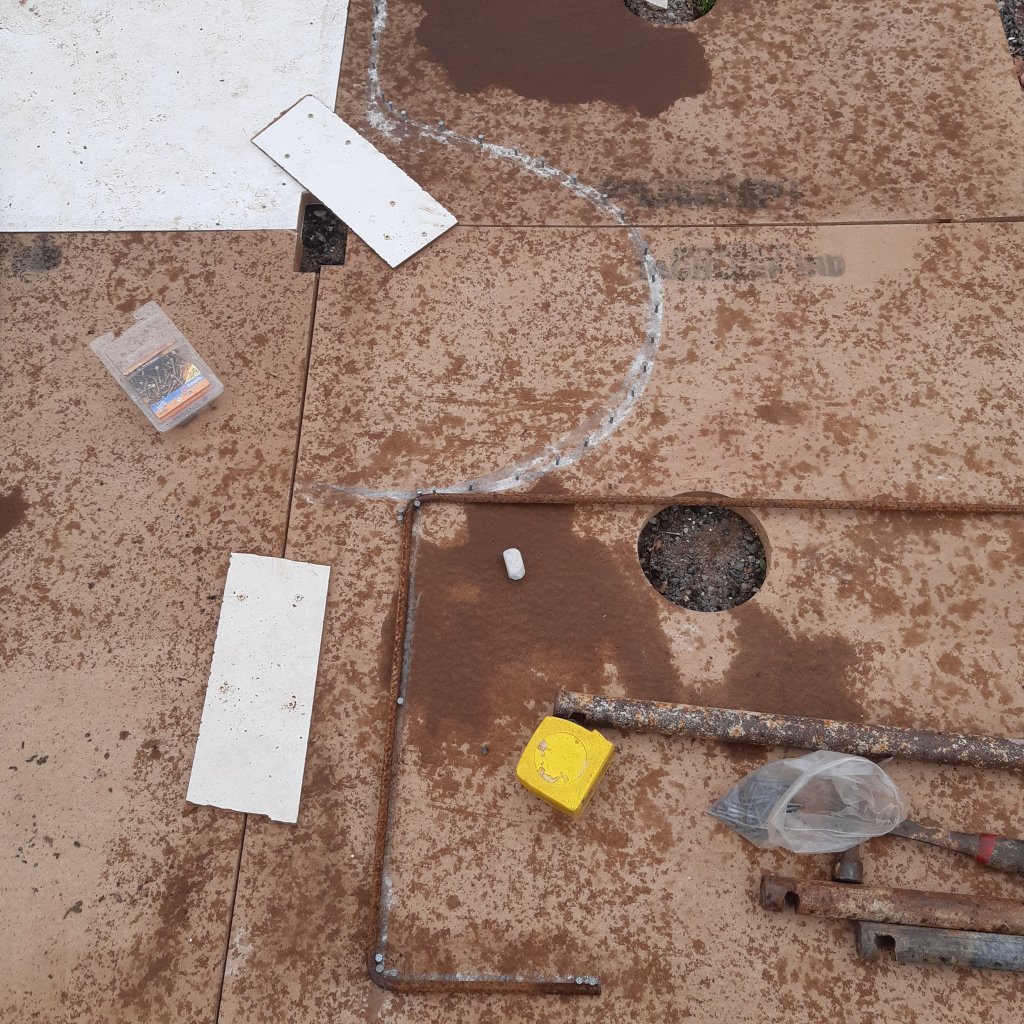
The way I built the frames for these two was pretty quick- I drew the profile on recycled particle board, screwed screws along the profile for bending the vertical ribs to, measured the length, cut nine d10 (10mm deformed ie indented) rebars for the large gourd, 6 for the 900mm one, then bent them to the line of screws. I pre-bent the right angle bends at the base using a bender tool.

Then D10 horizontal ribs, circles (bent around a barrel and a concrete cone cast from a road cone) were tied to the vertical ribs on the inside. Then I wound fencing wire (medium tensile, heavier gauge ‘no.8’ wire) around the outside of the ribs. The ribs of the big gourd were supported by a drum shape bent from 150mm square mesh.

Hayley after stitching the chickenwire all day…
Right angles bent, now bending curve…

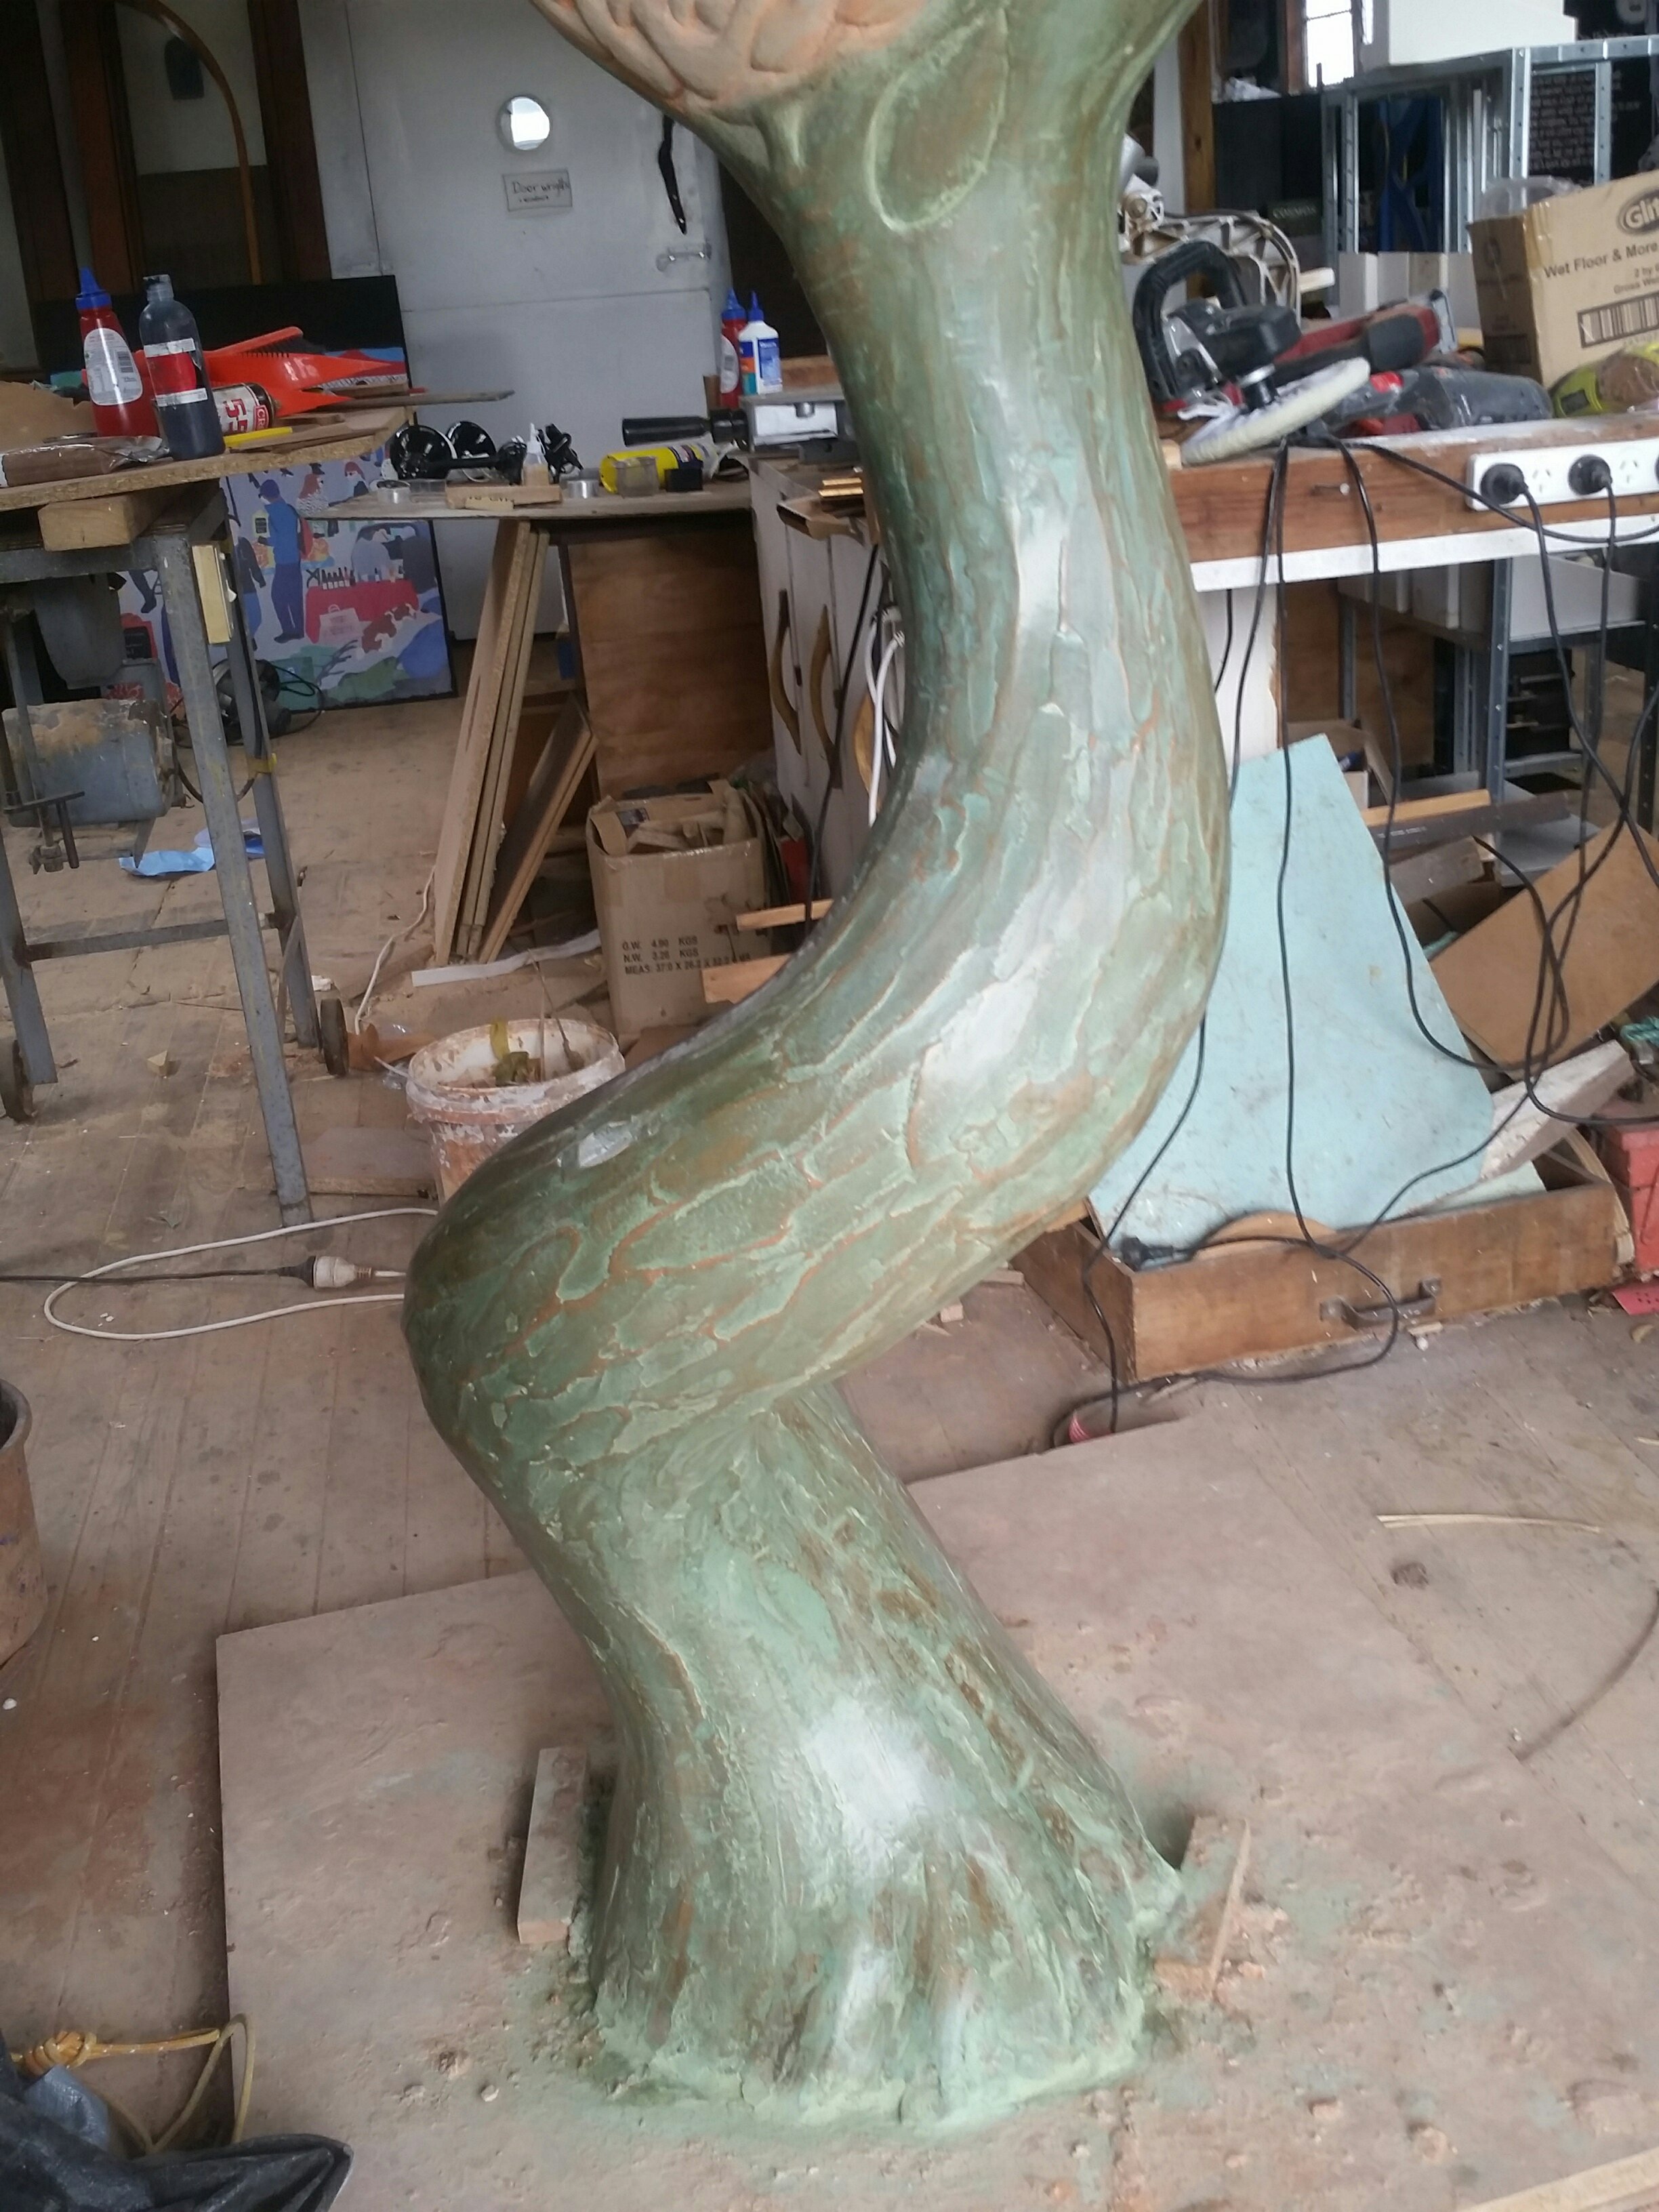
C2 and the Spiral

20180521_092321.jpg

T

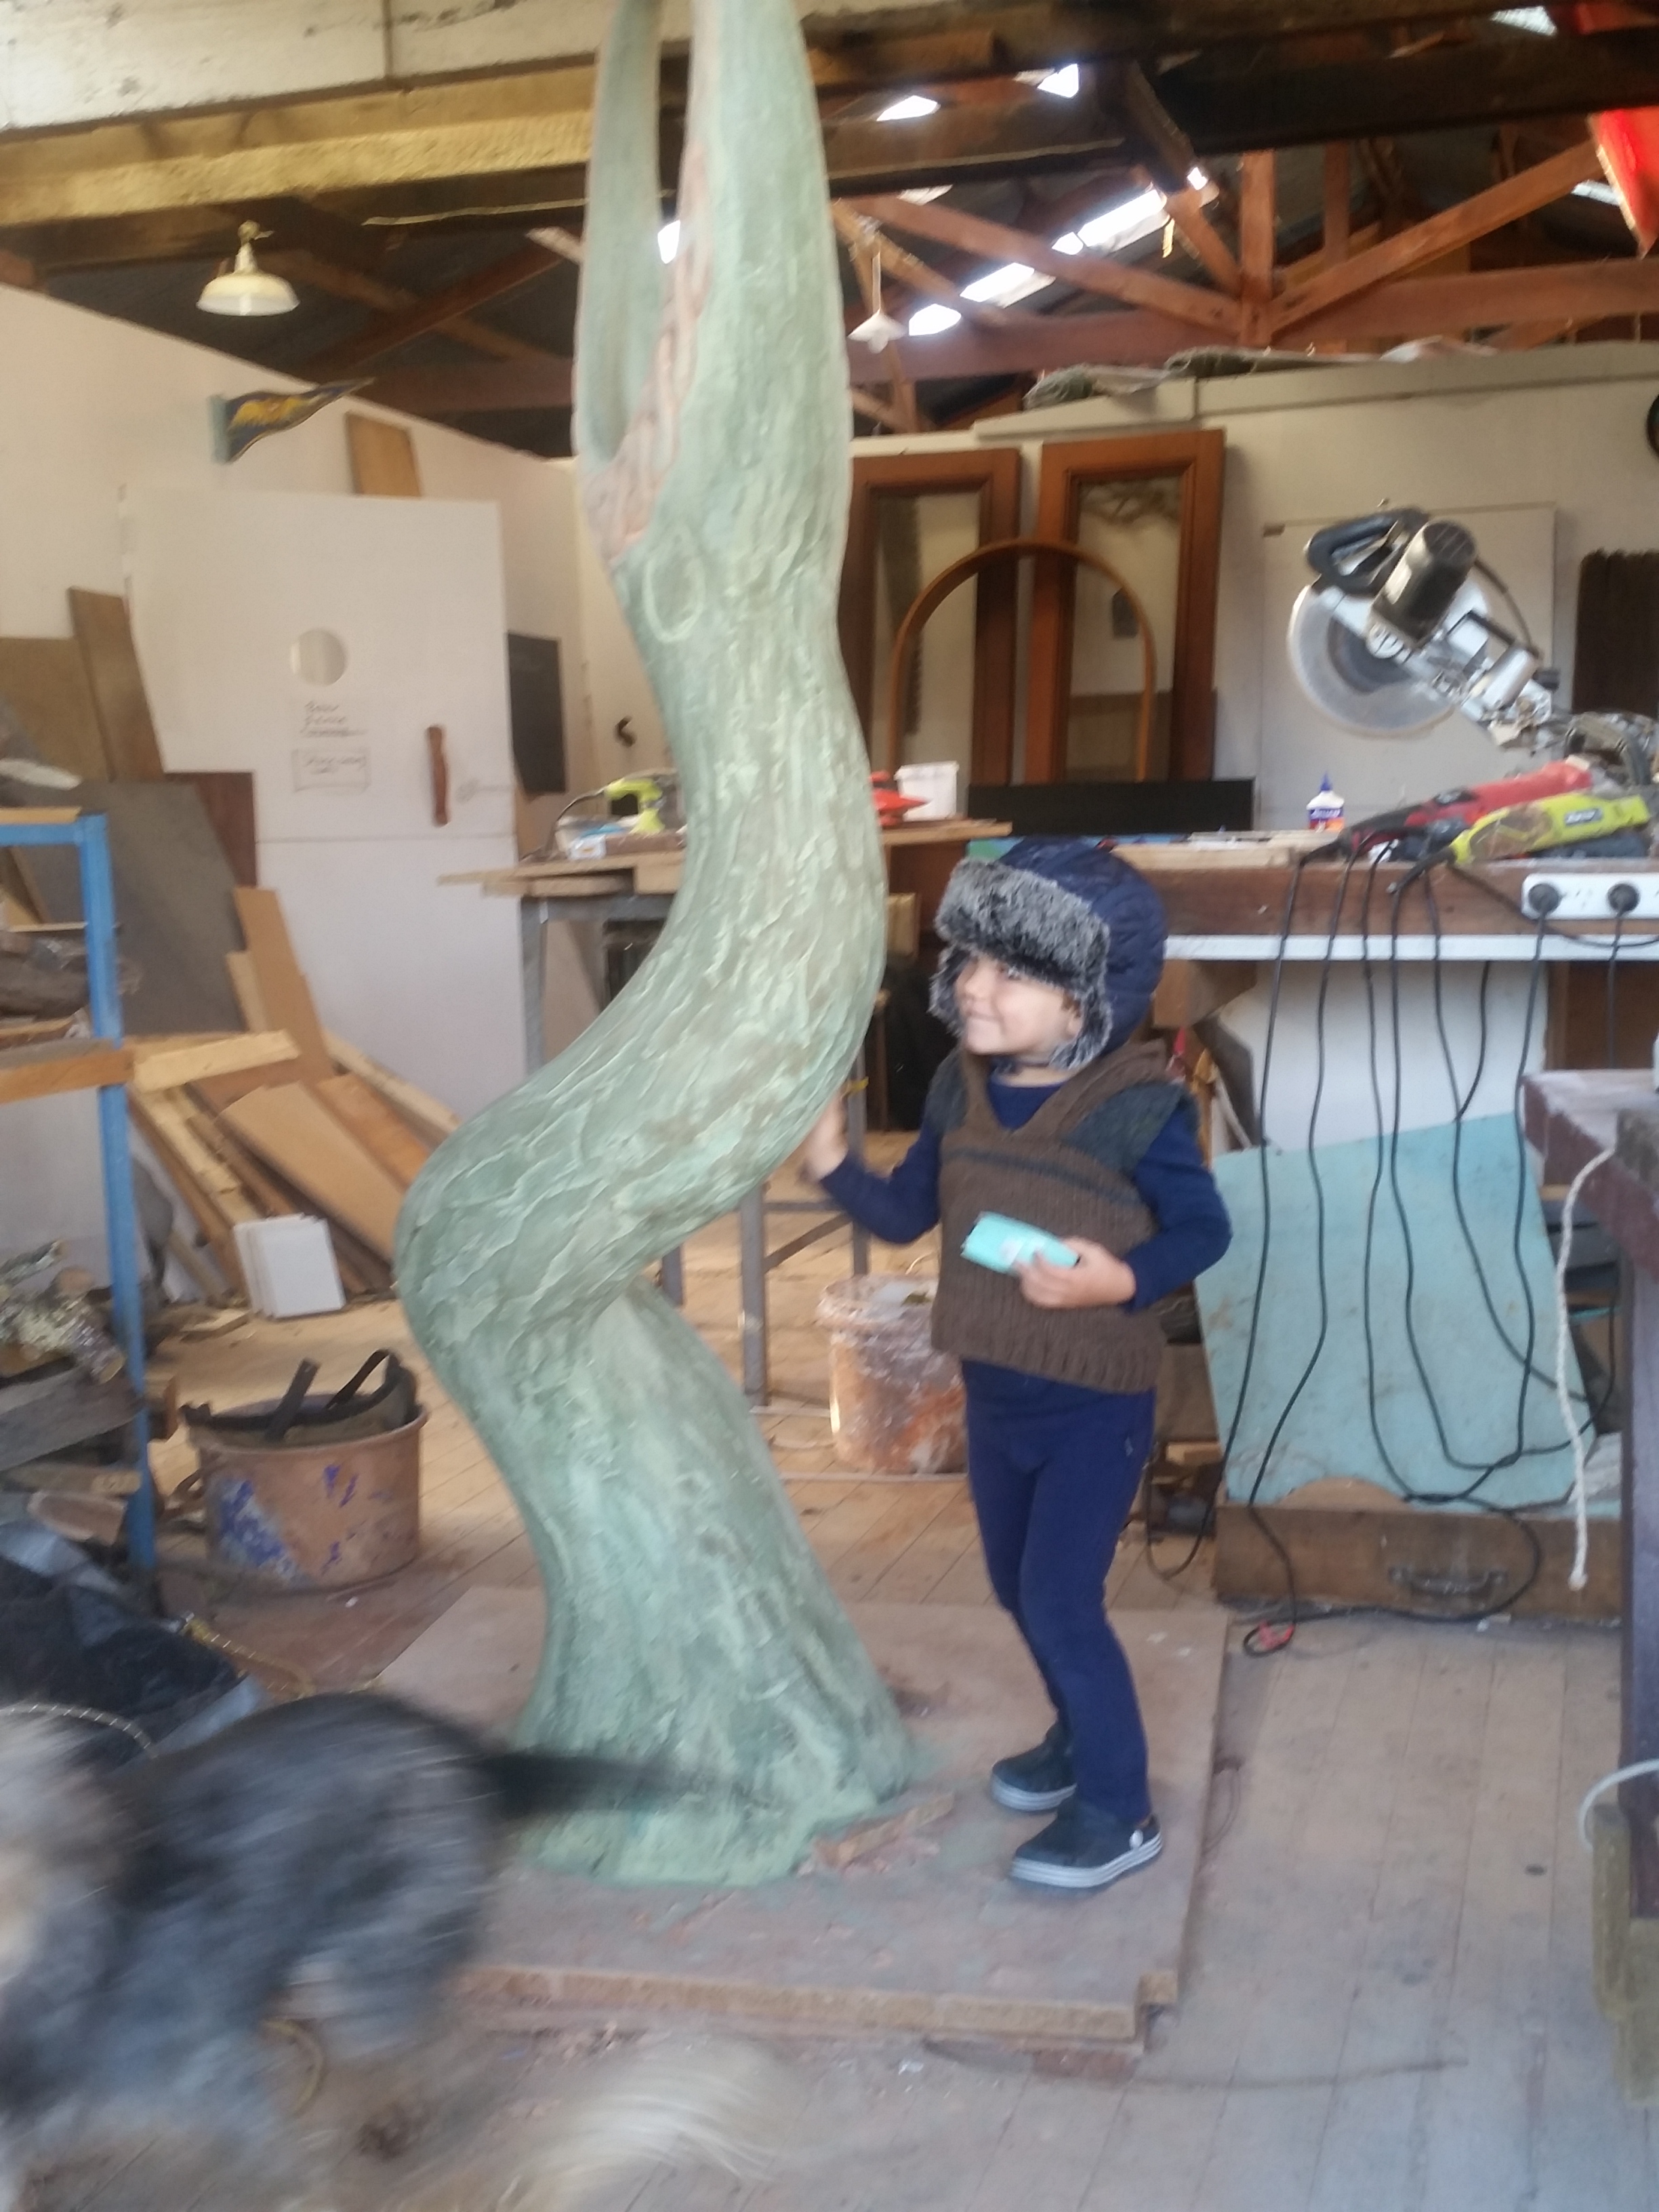
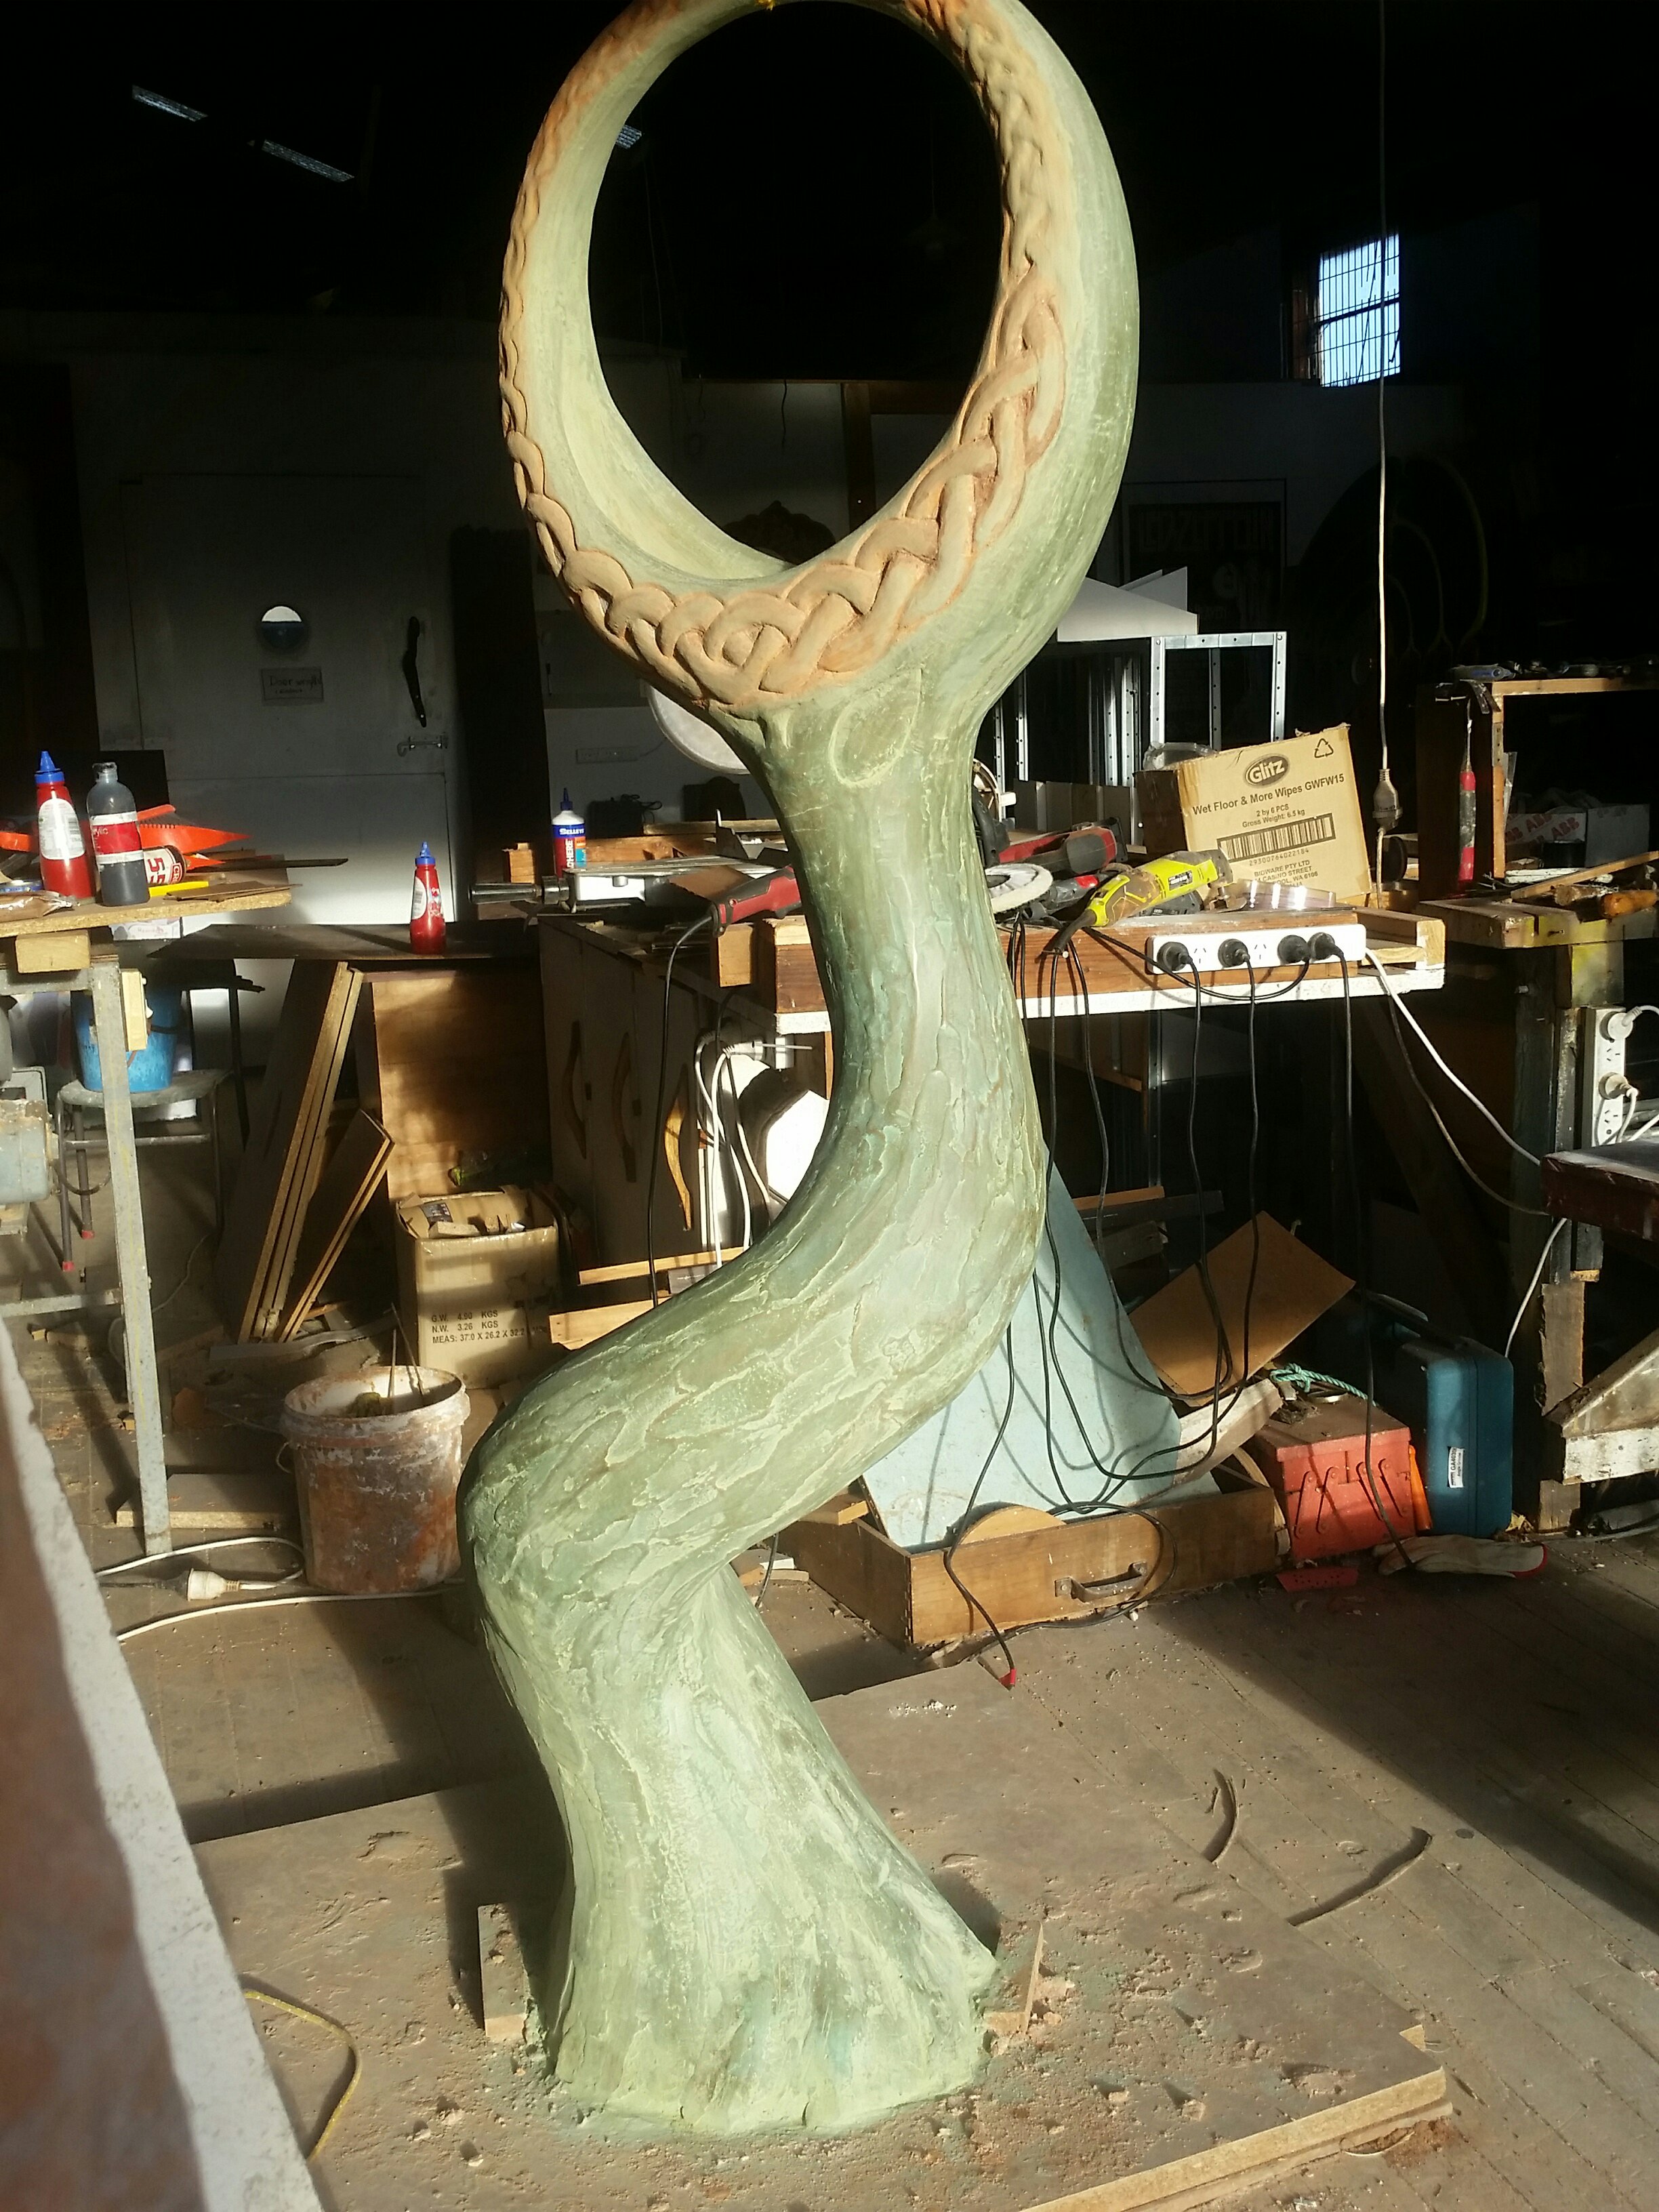
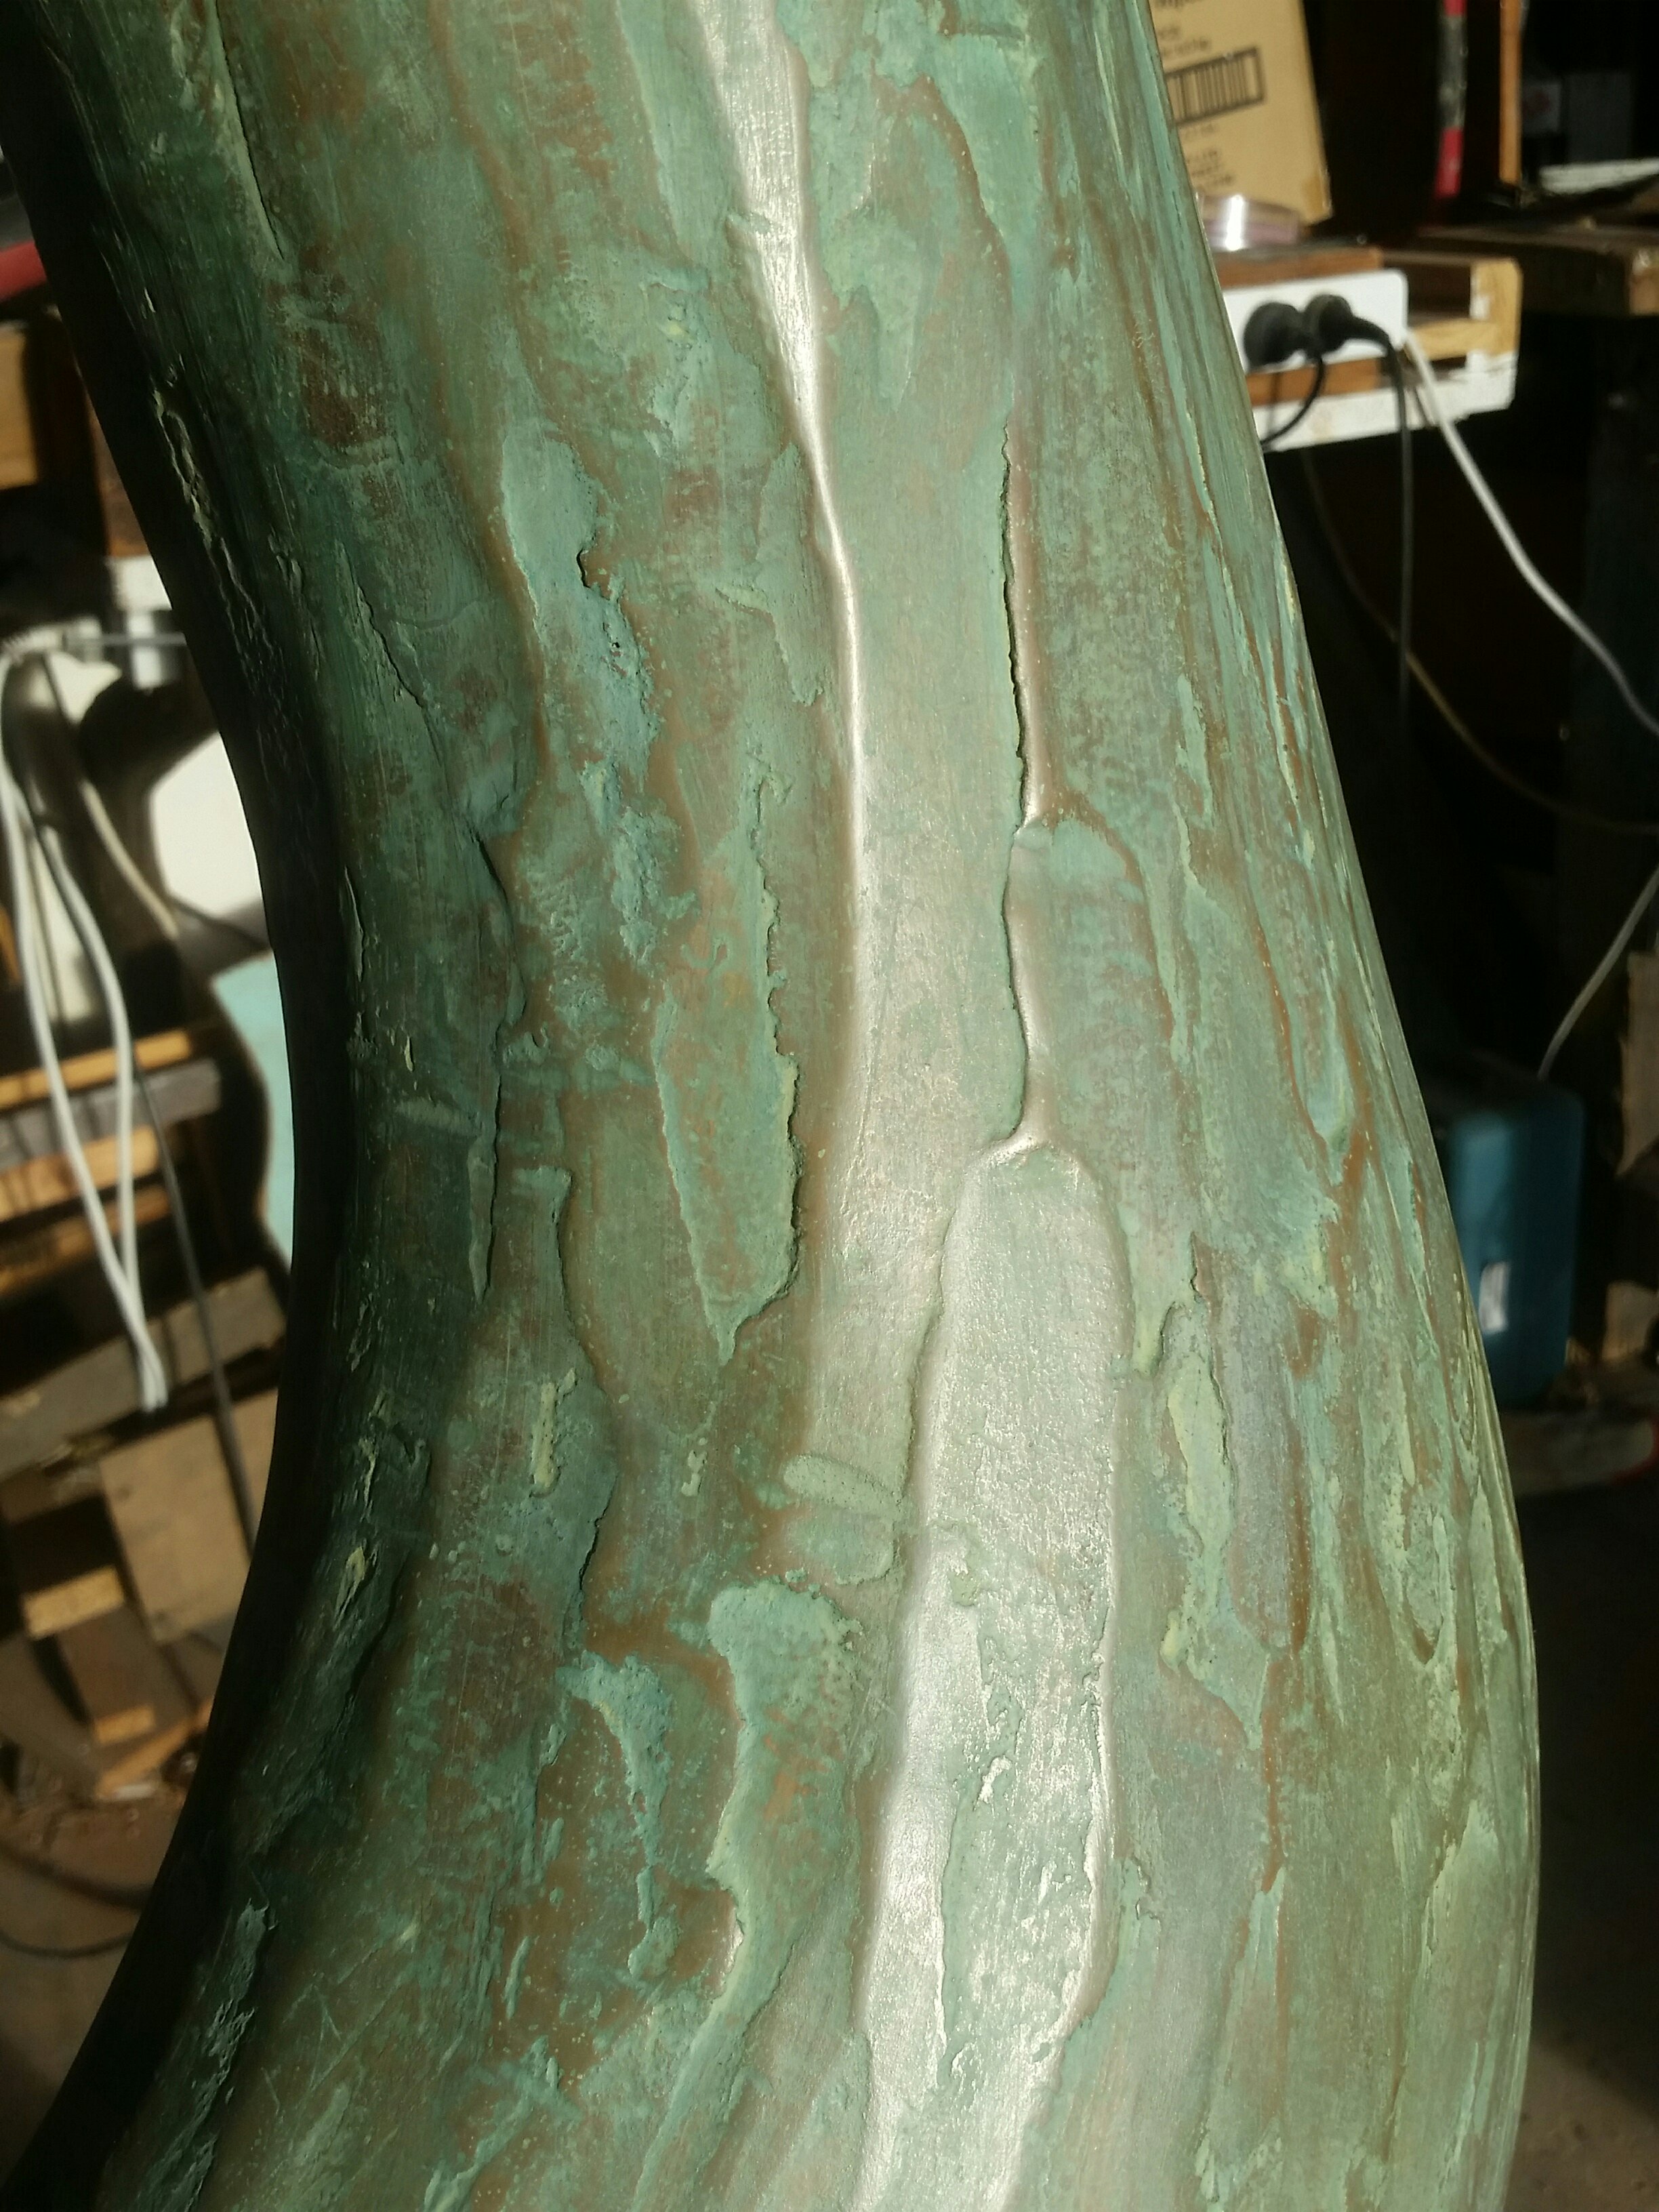
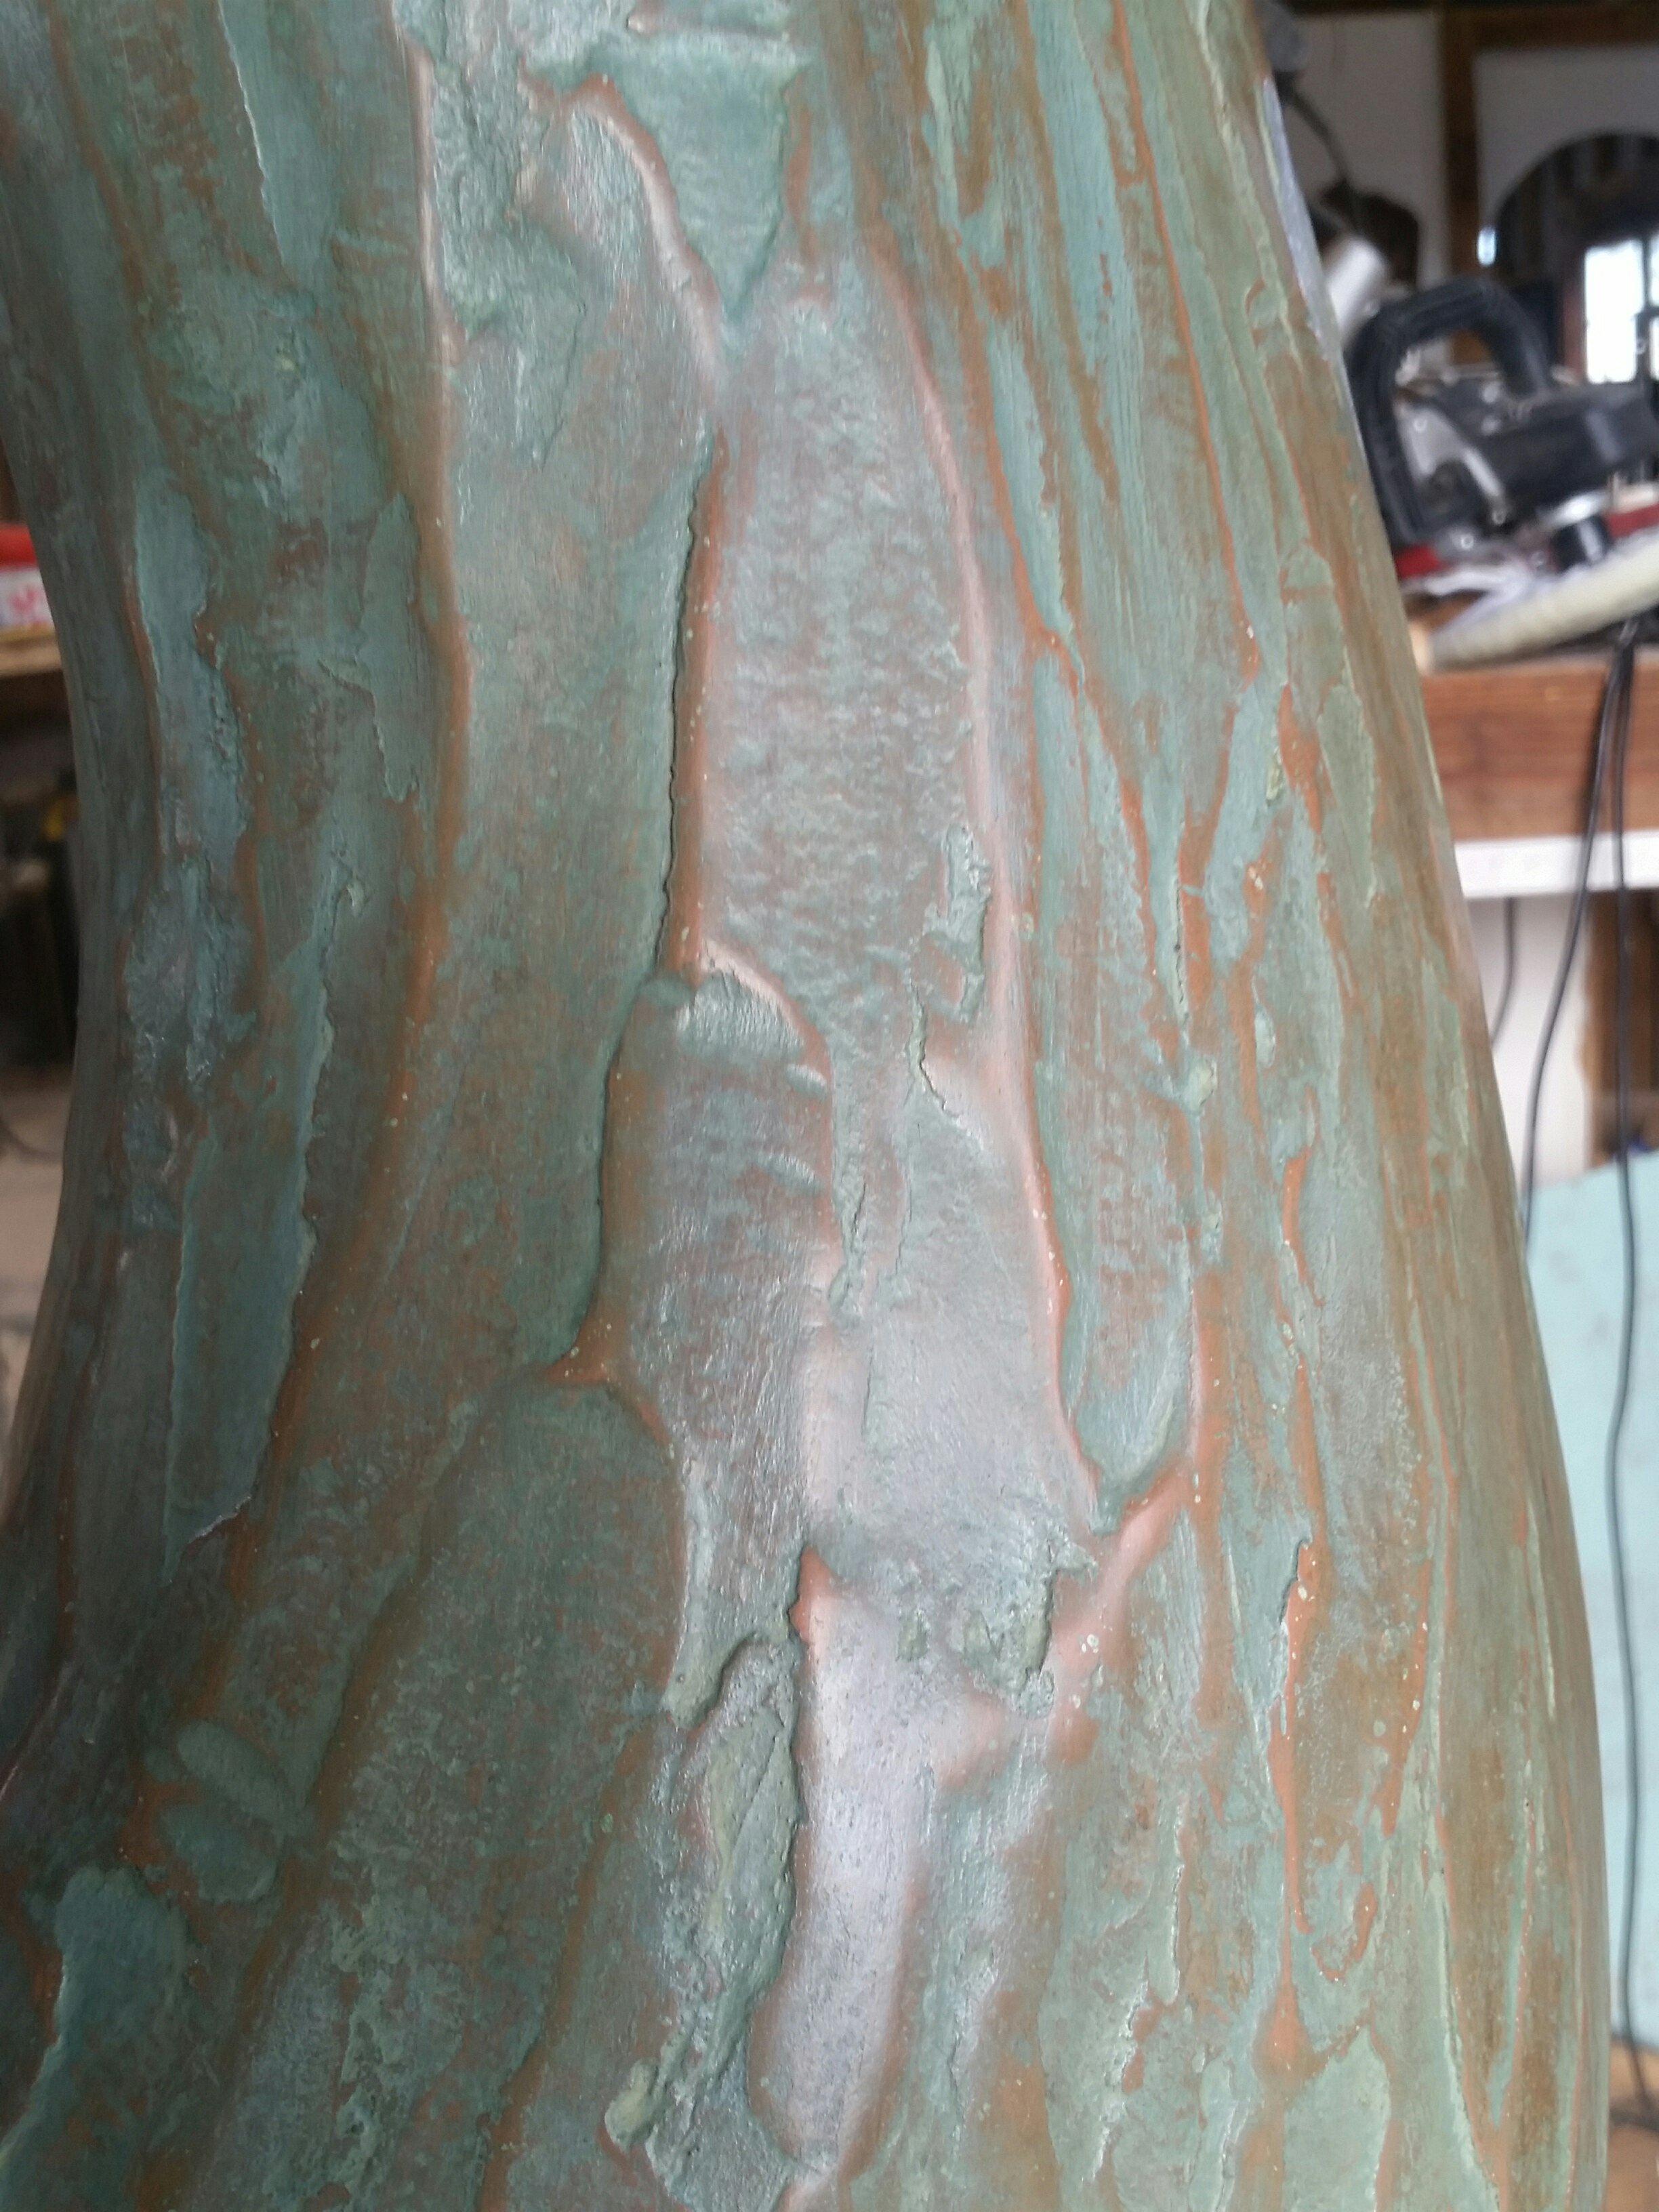
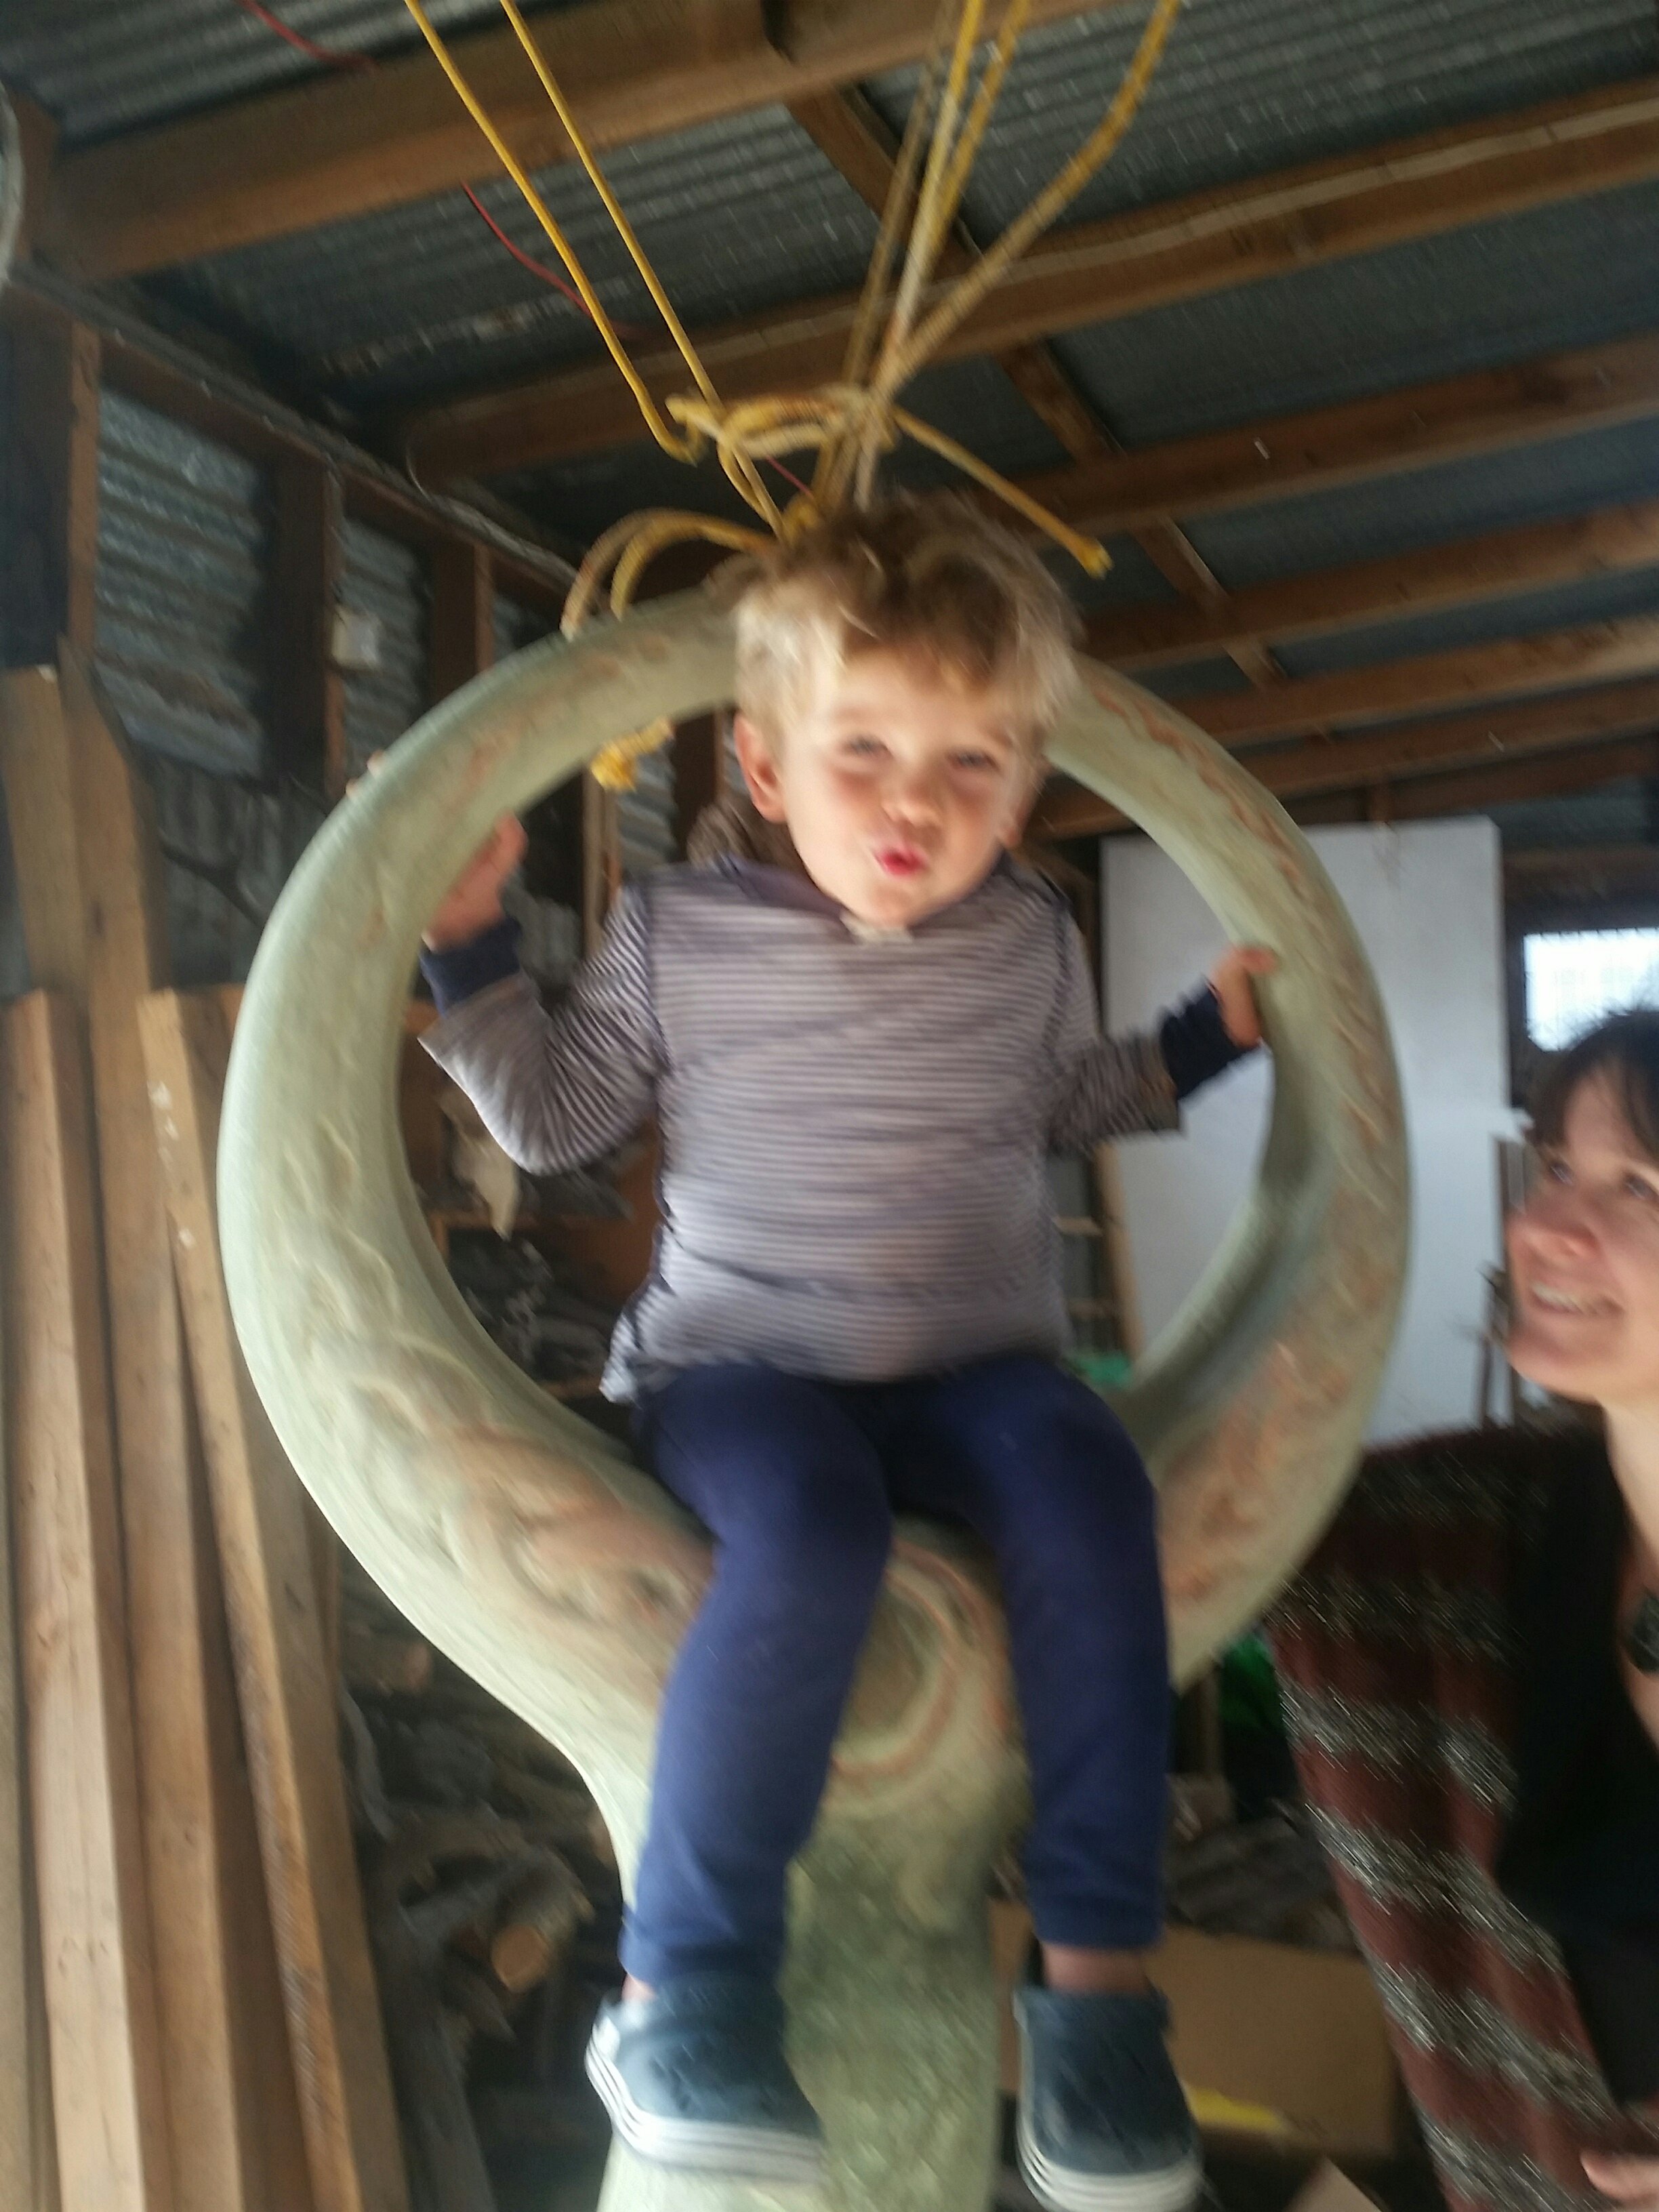
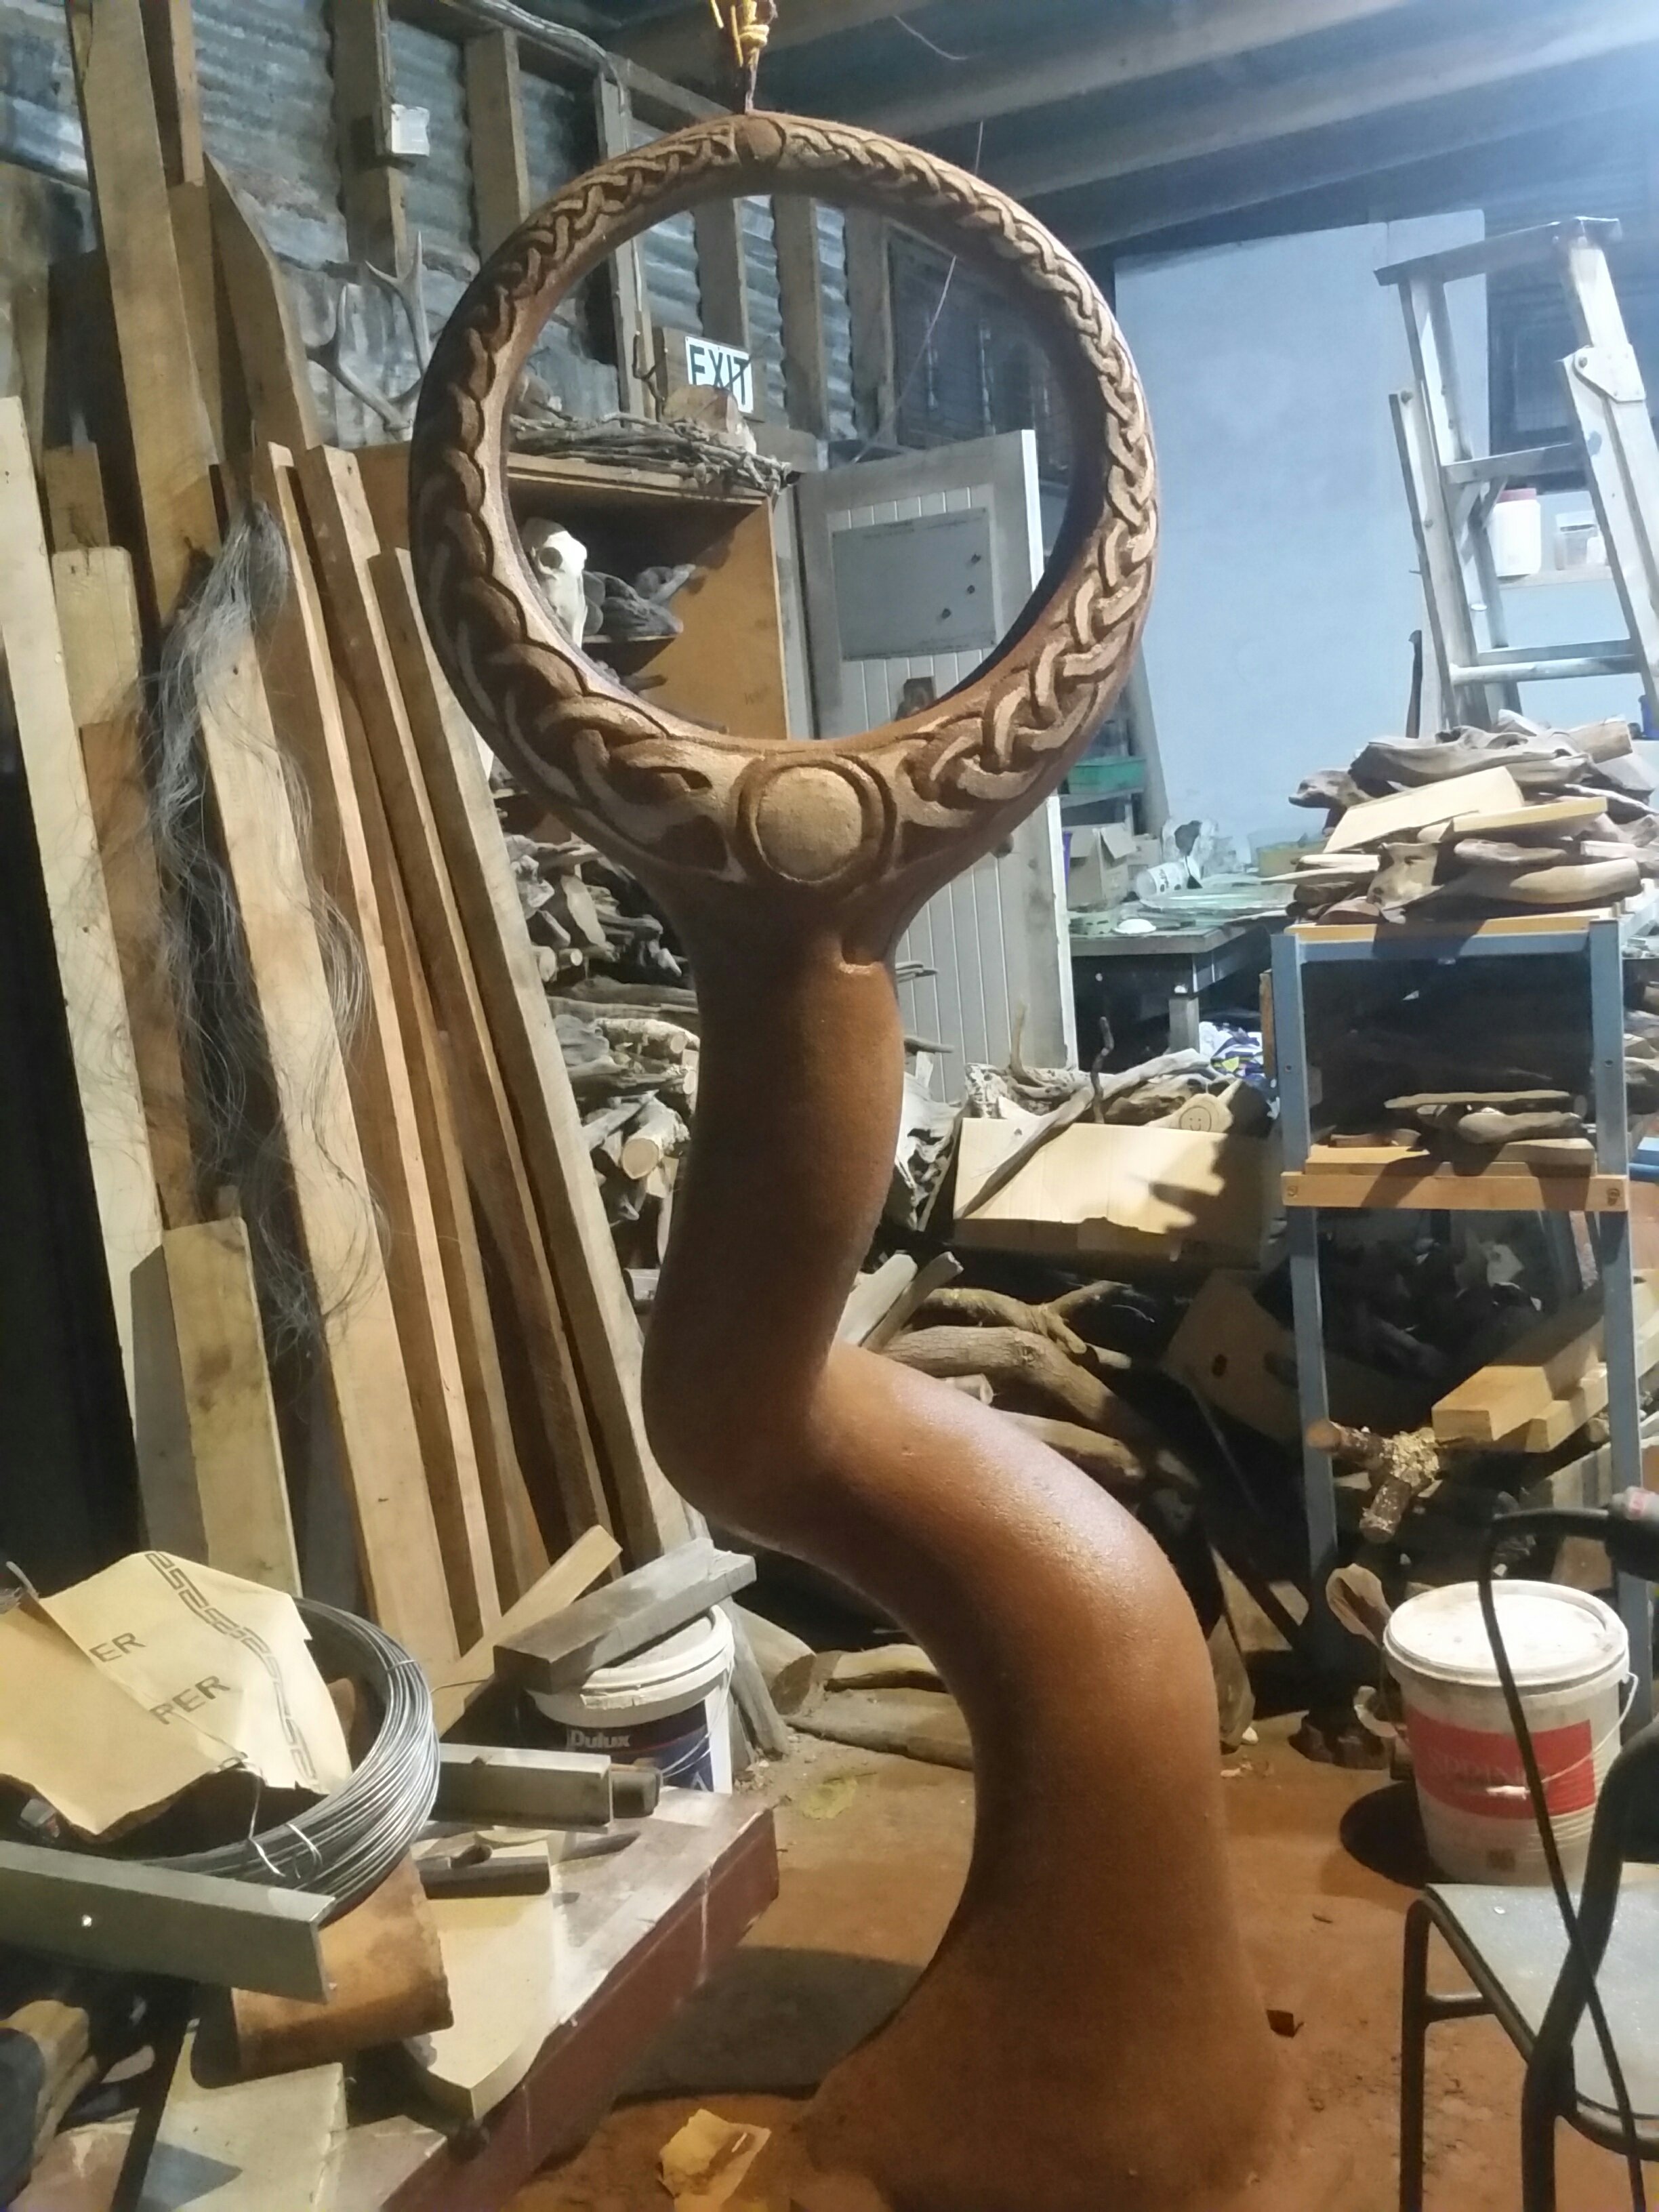
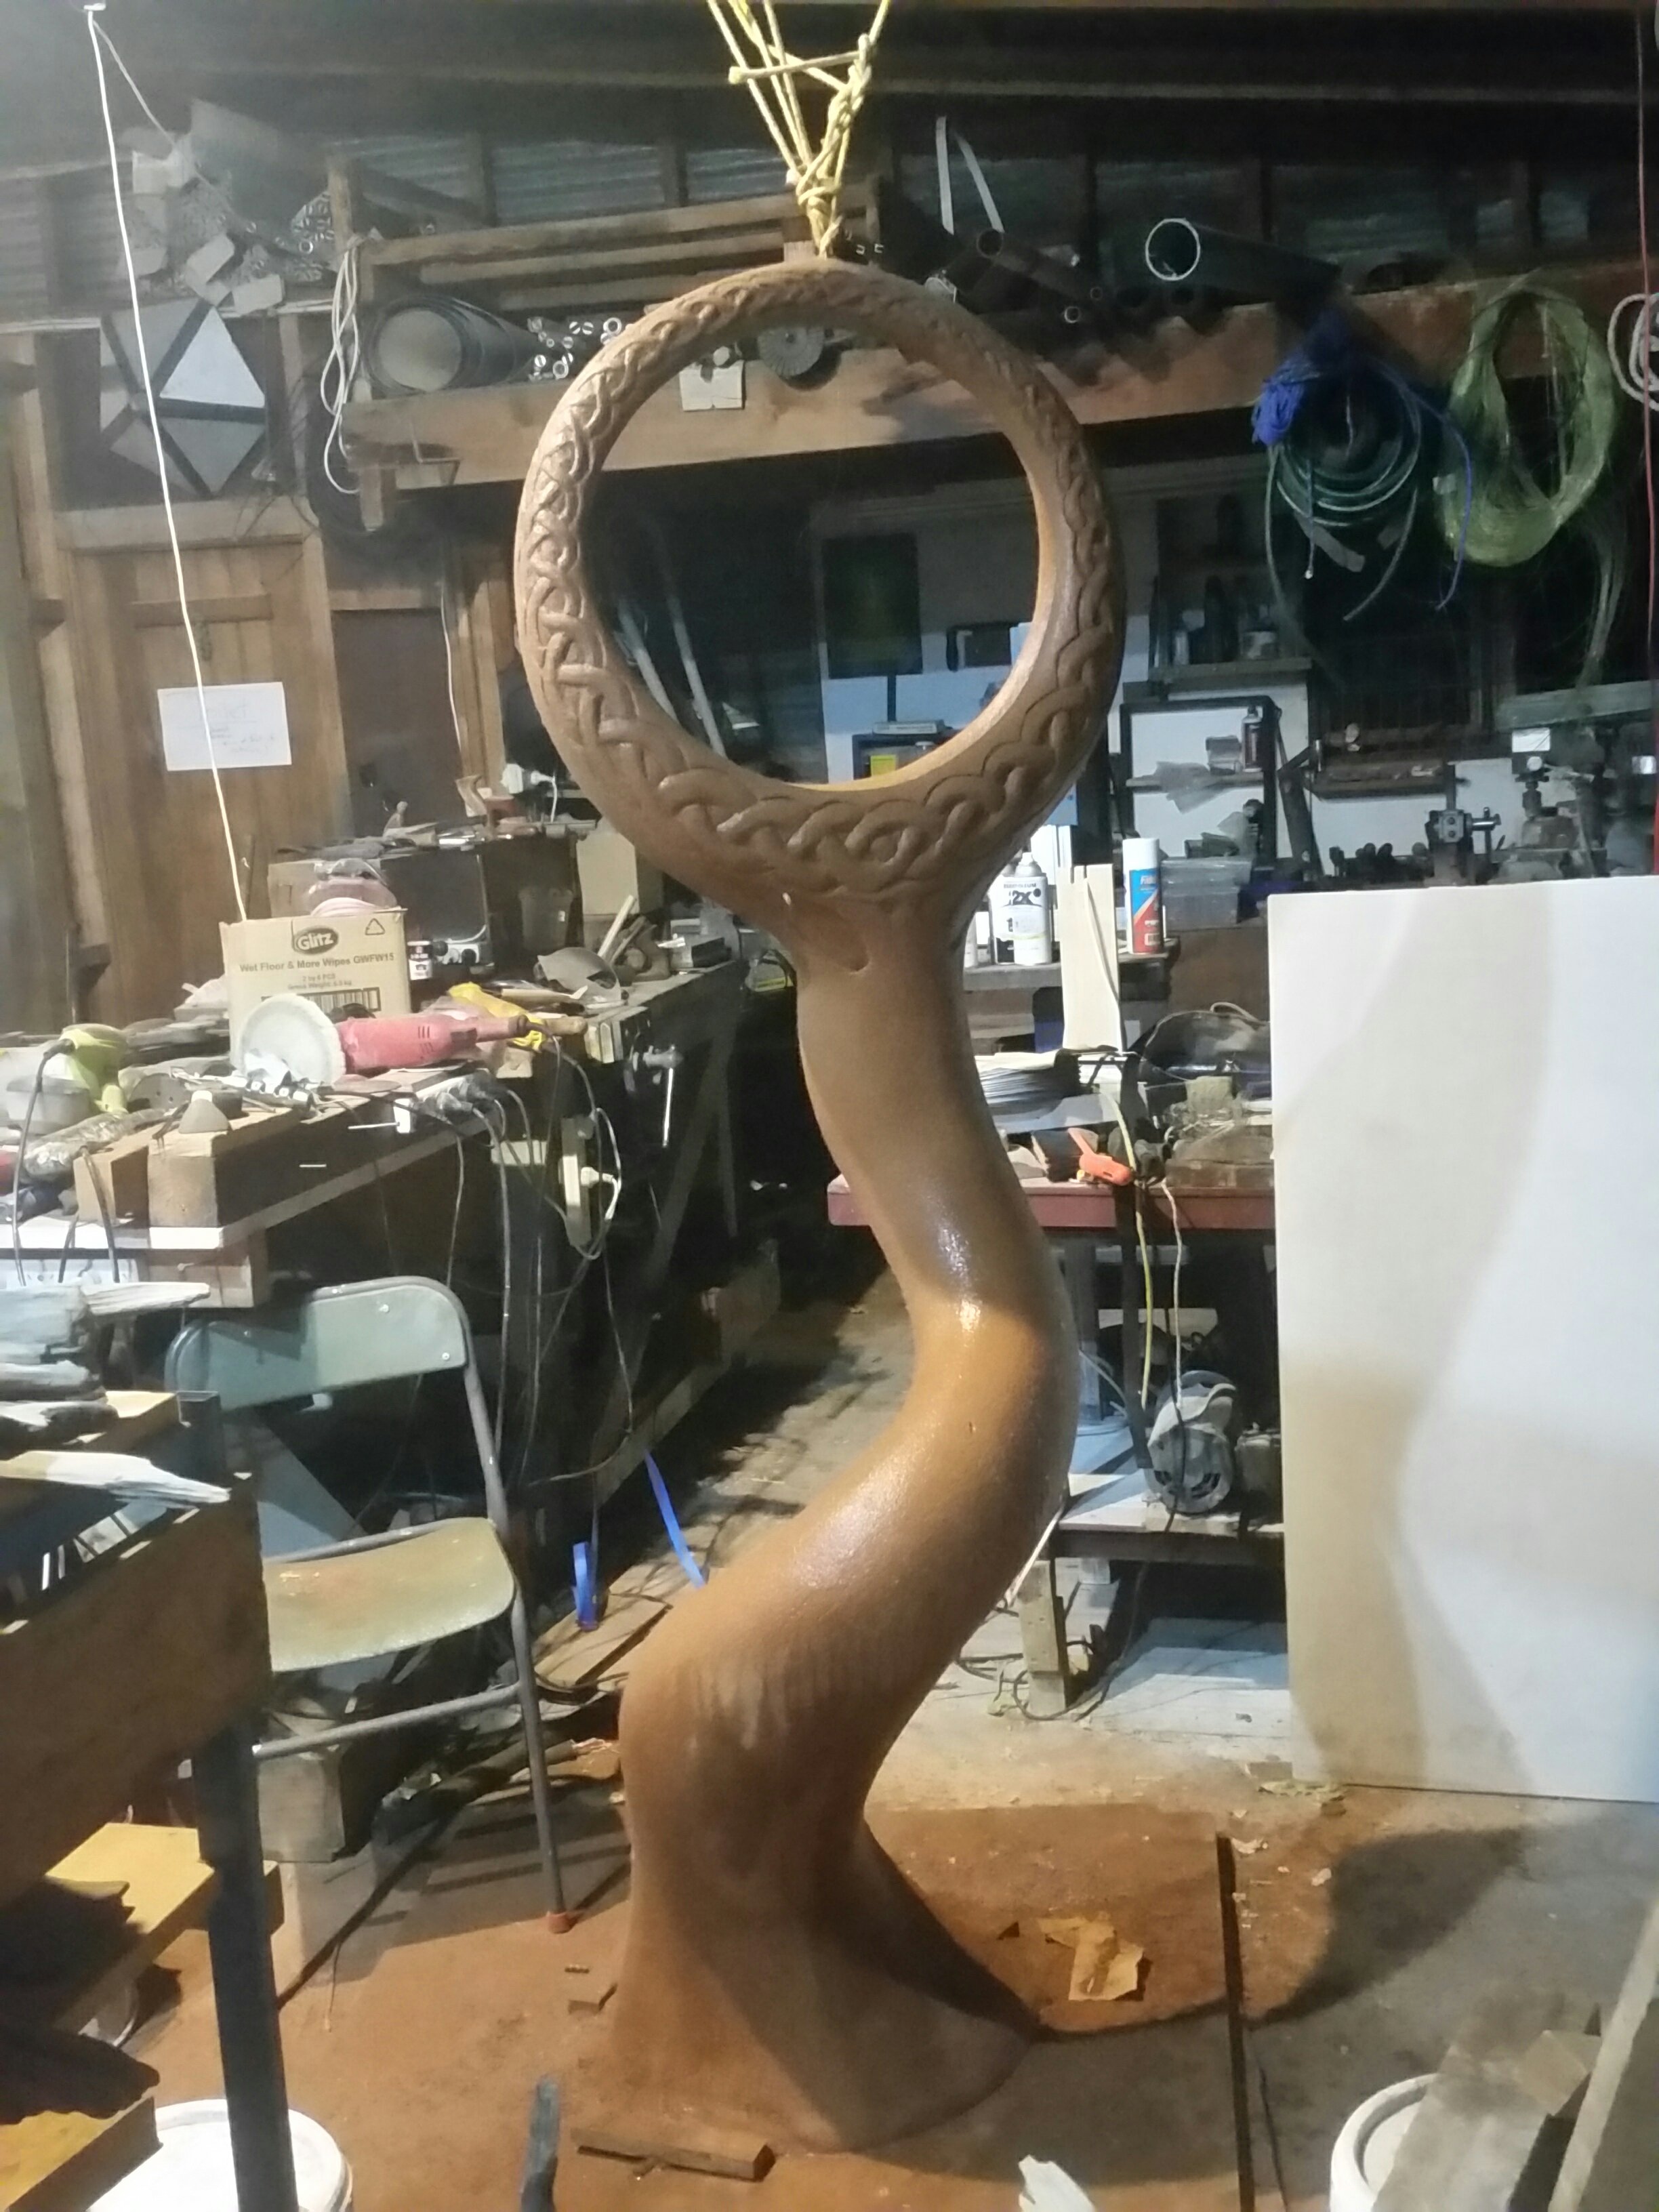
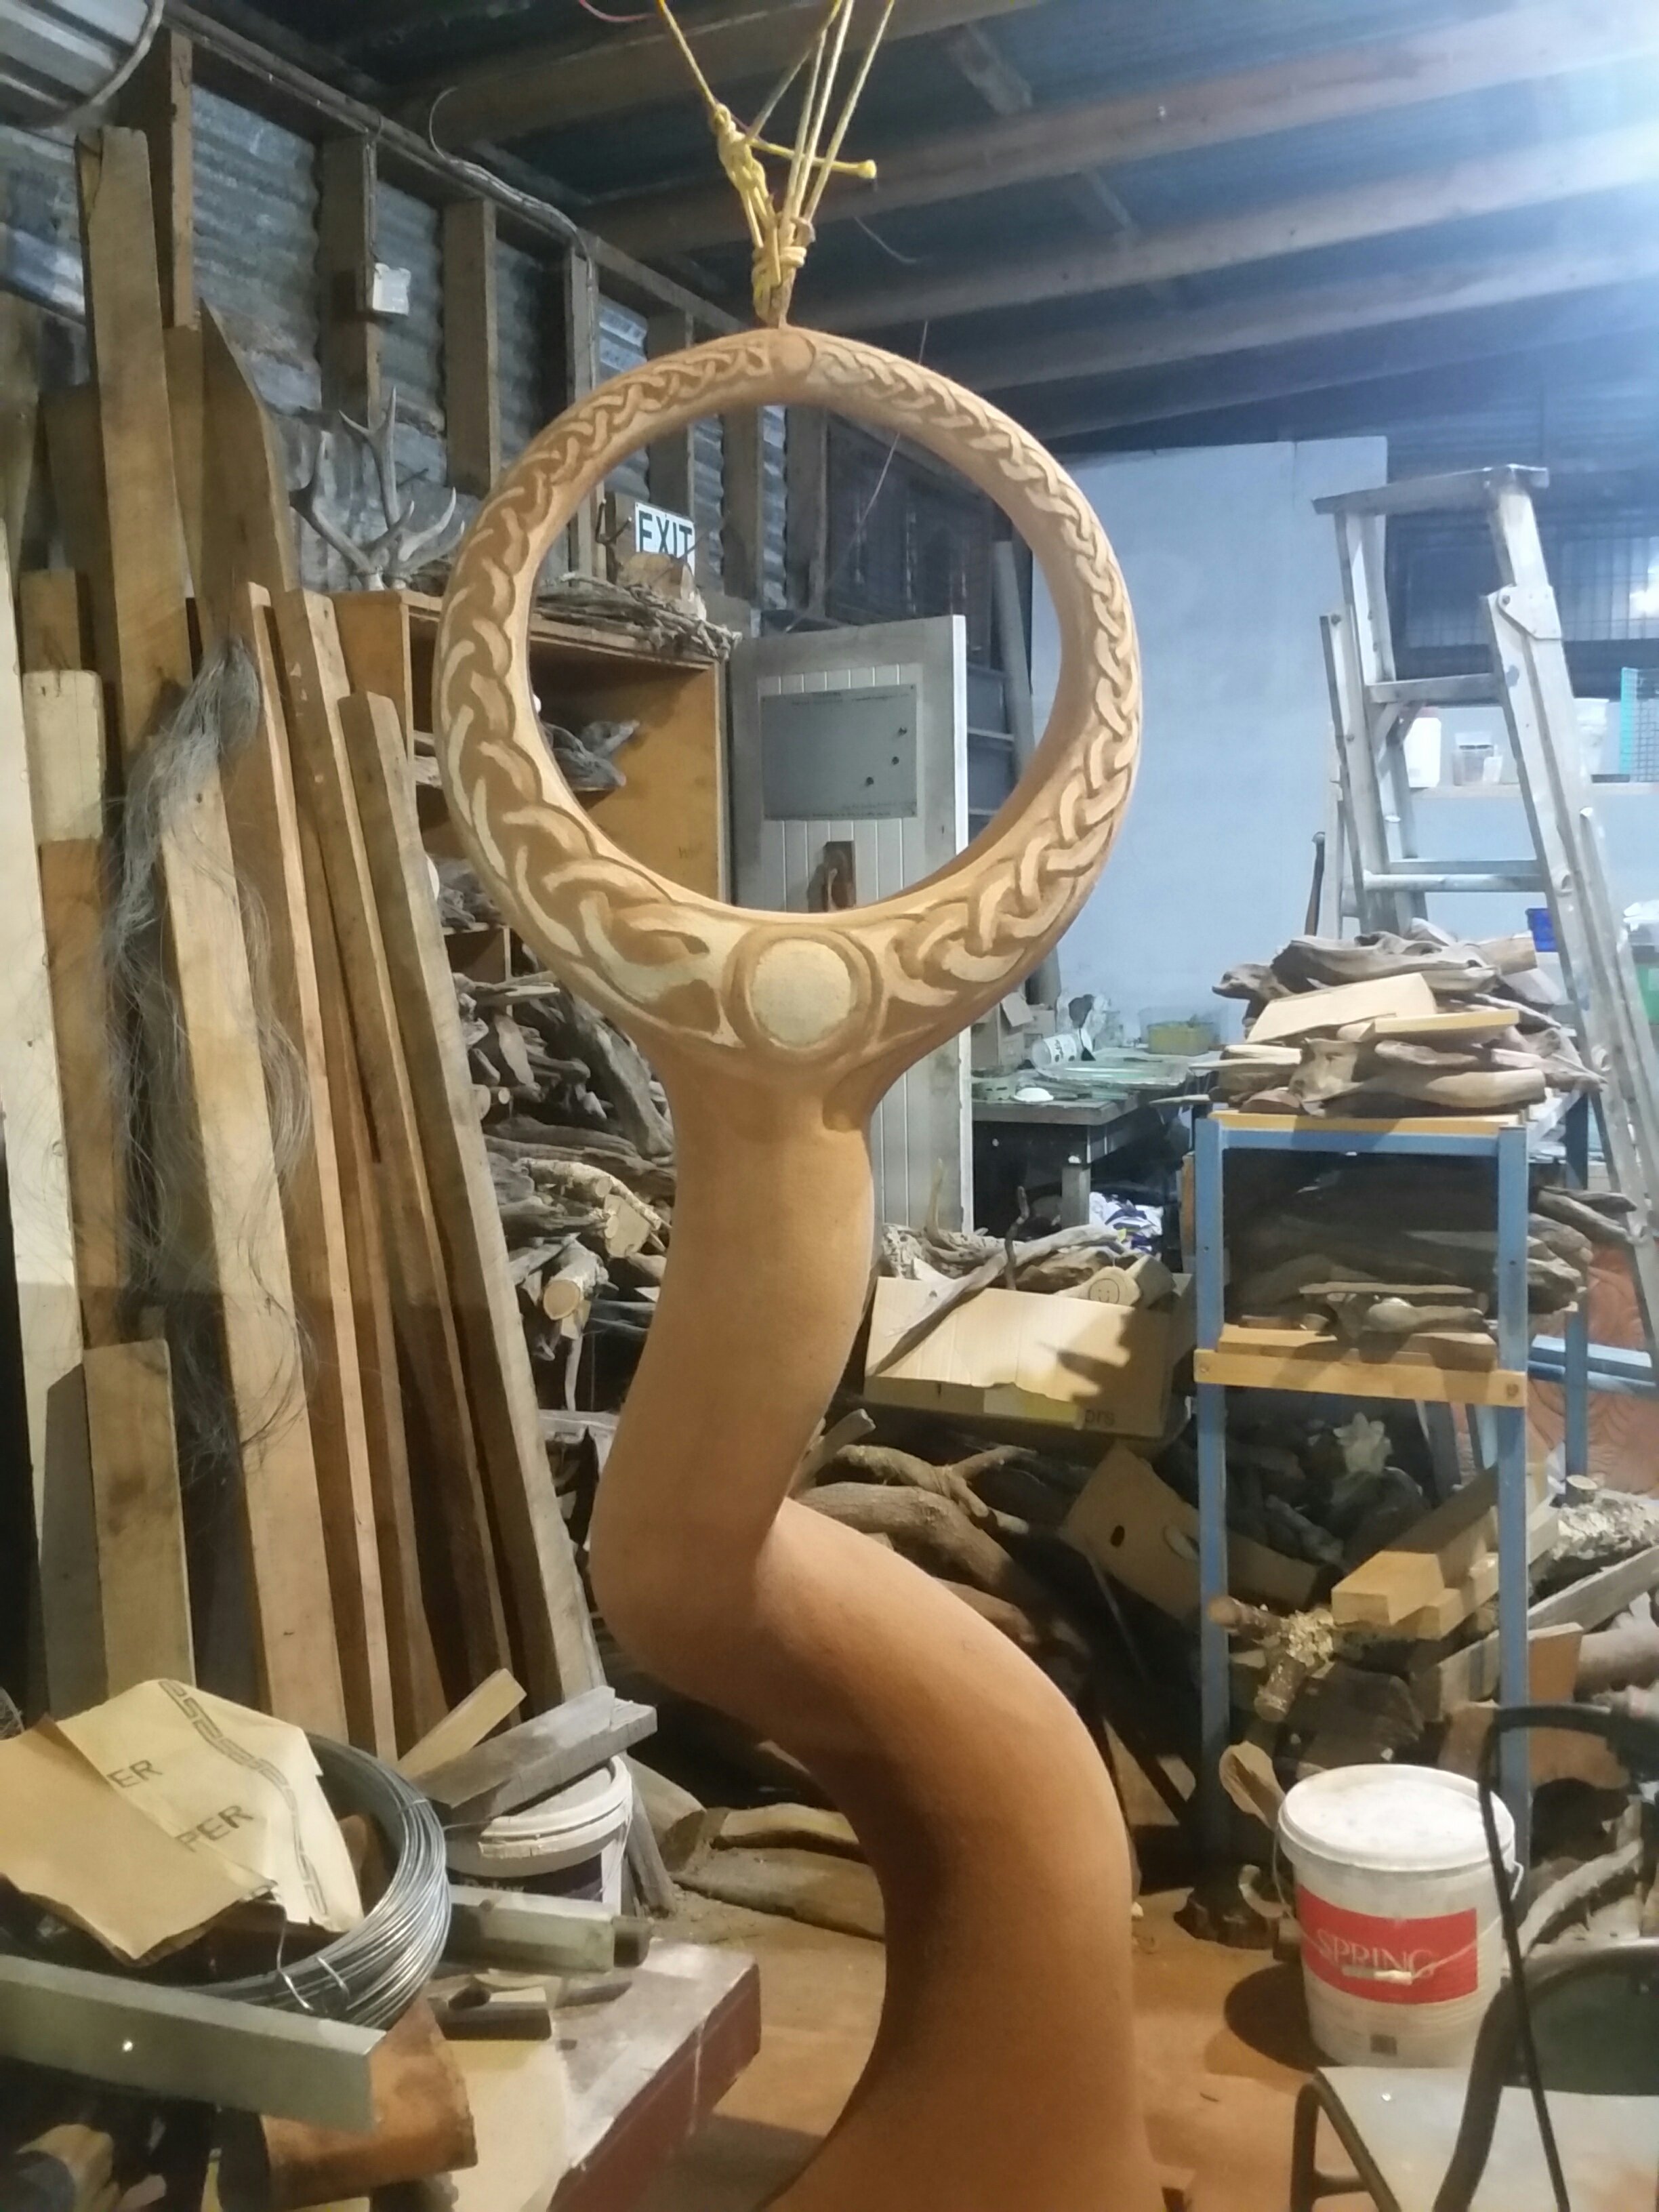
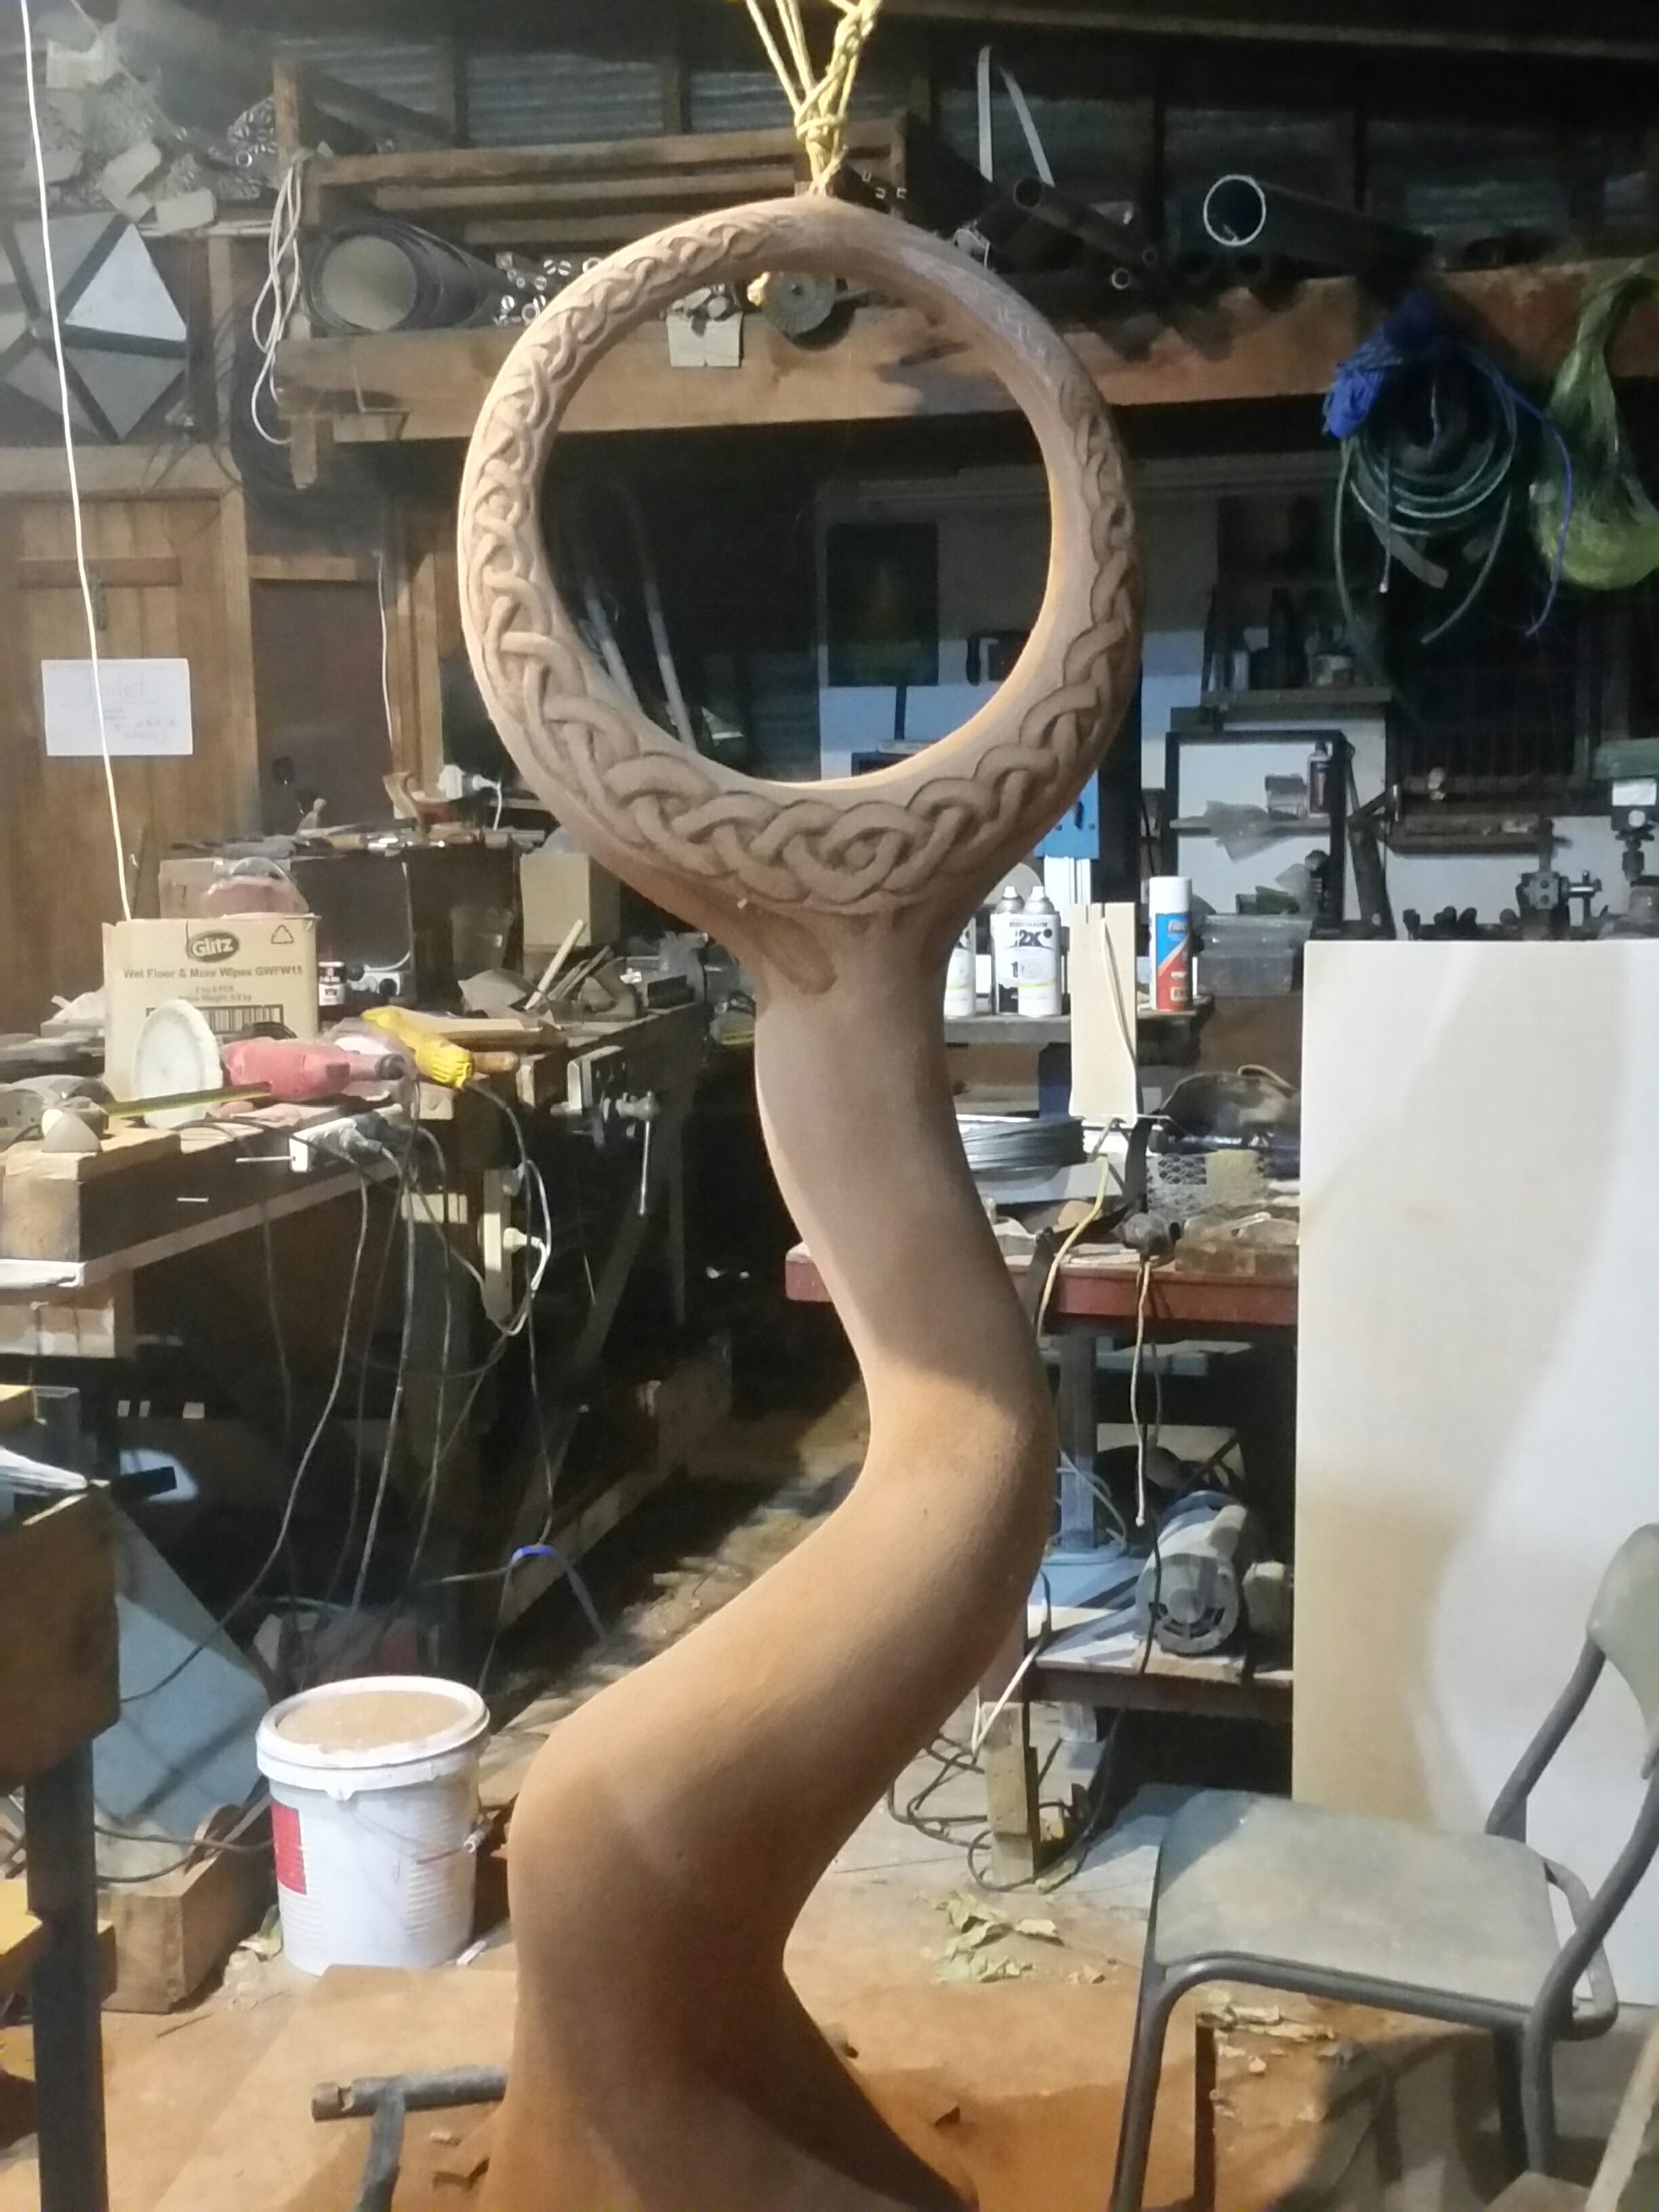
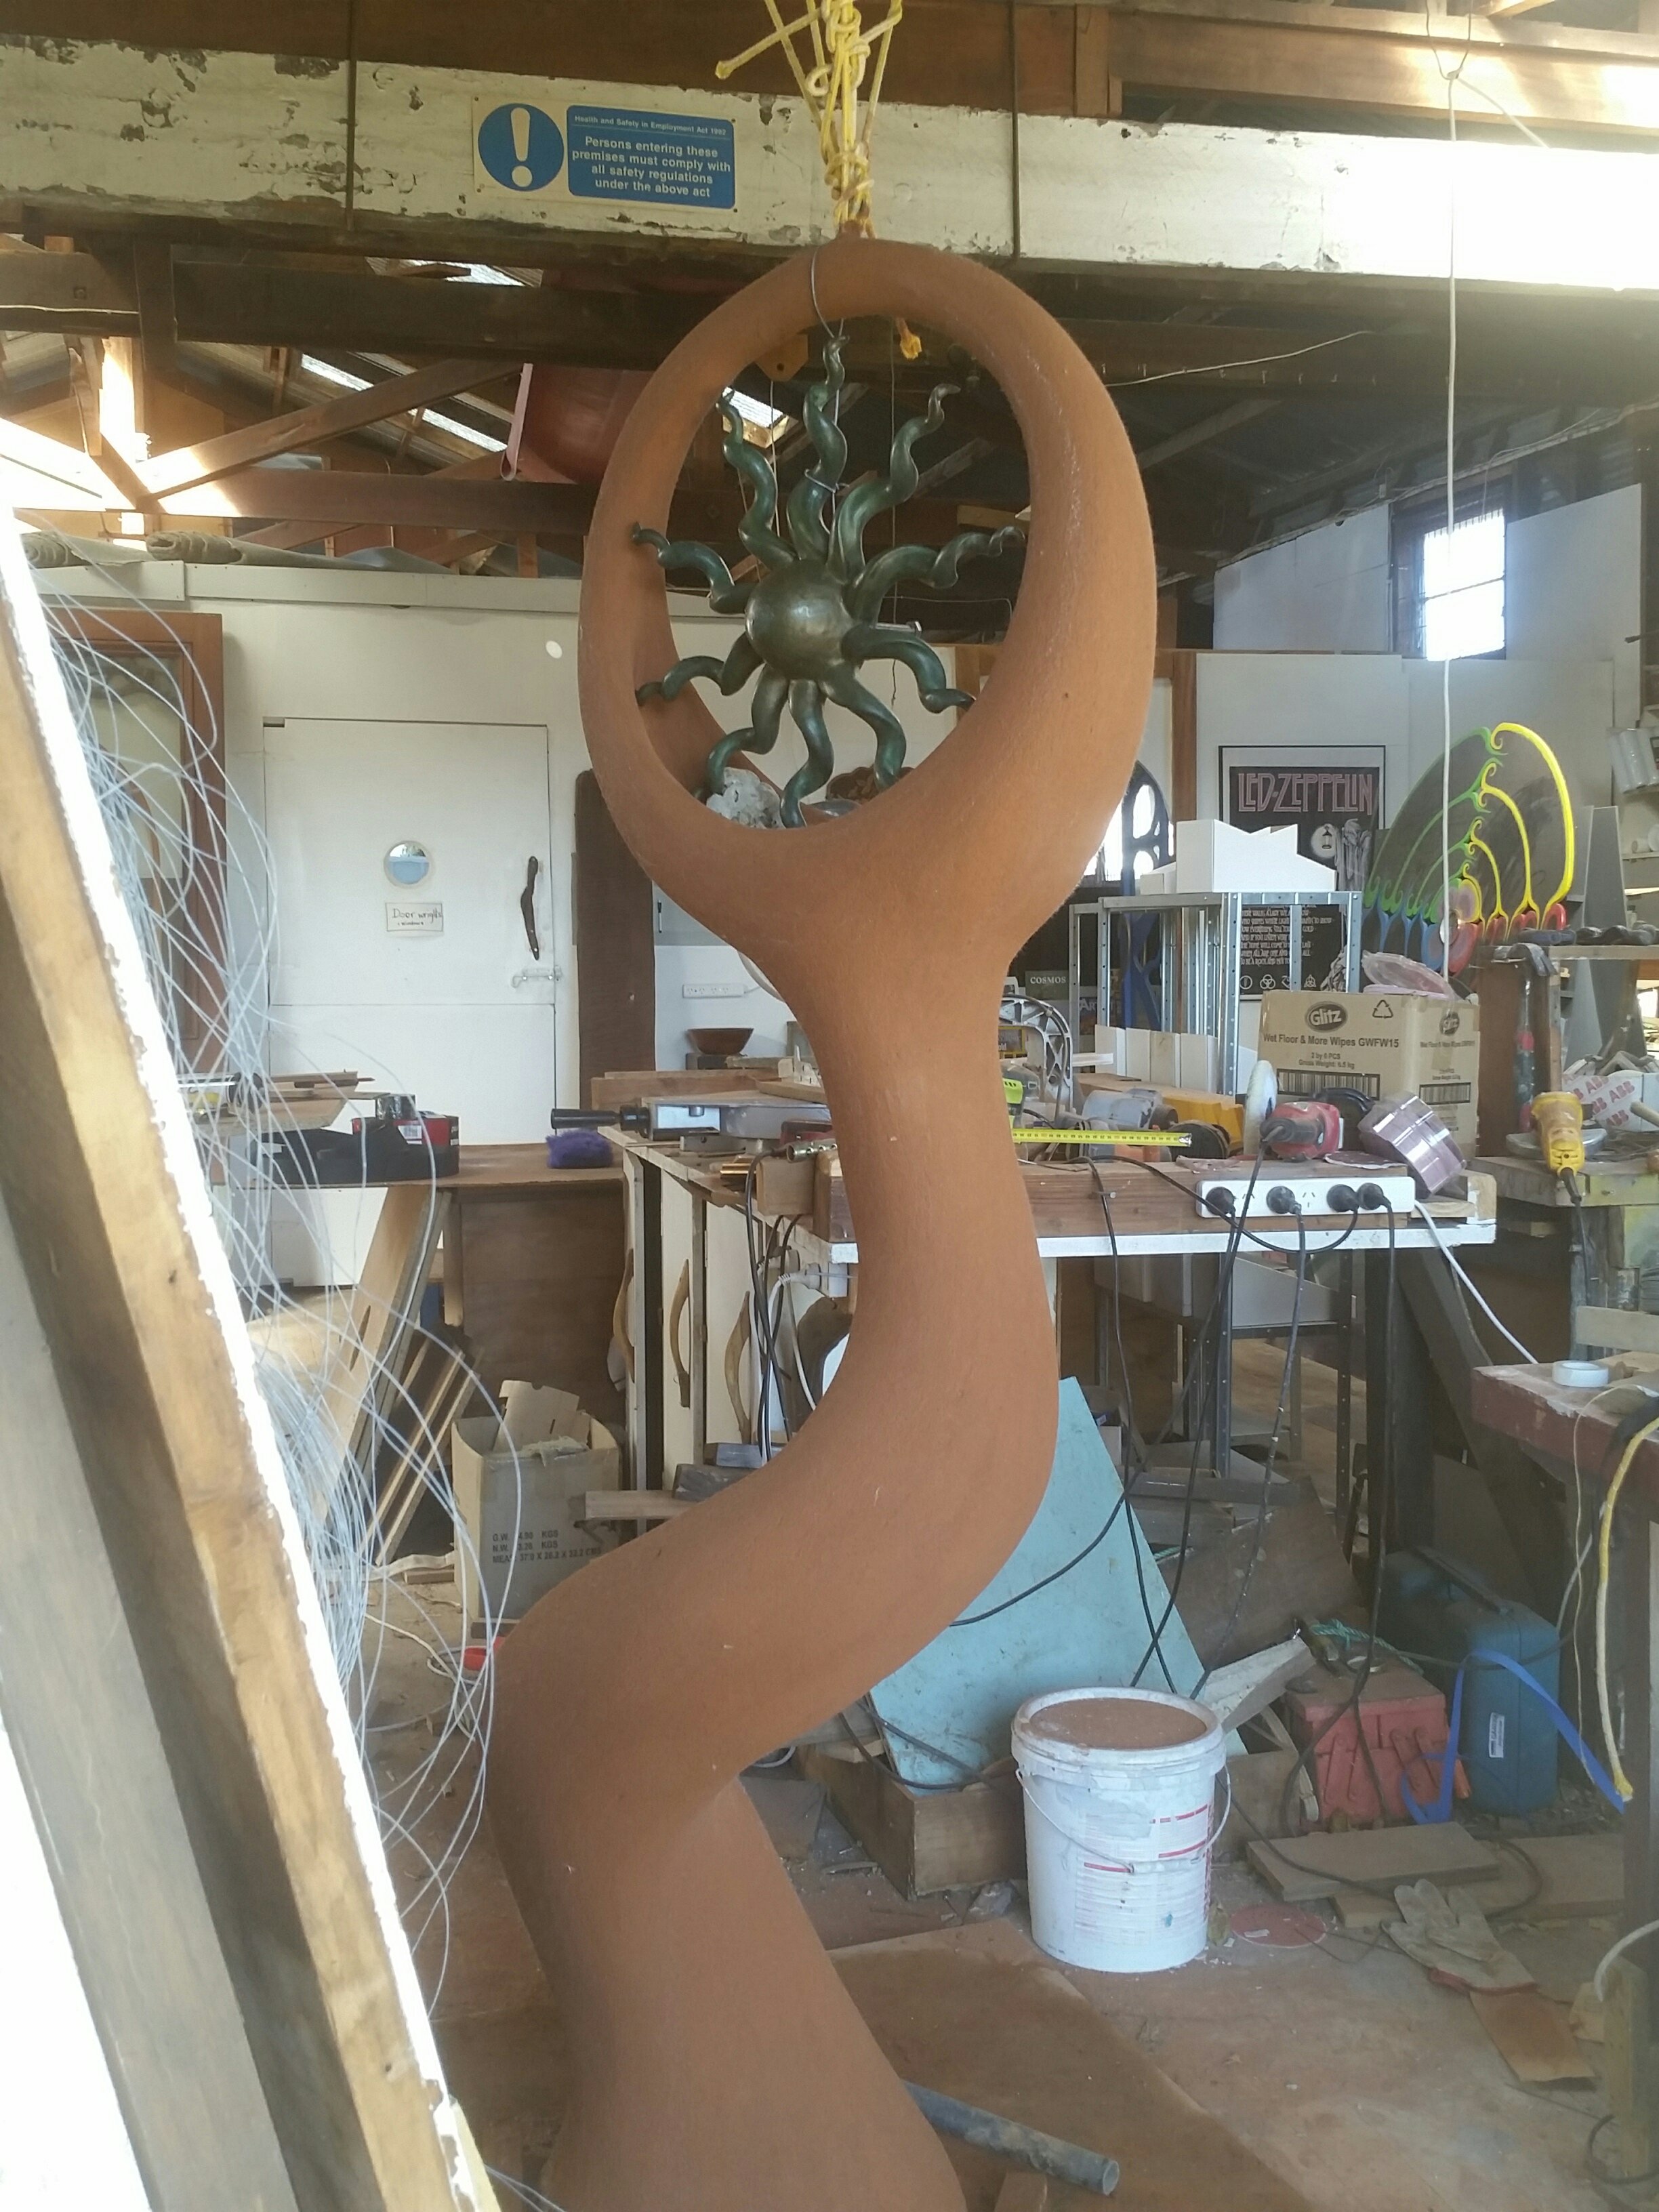
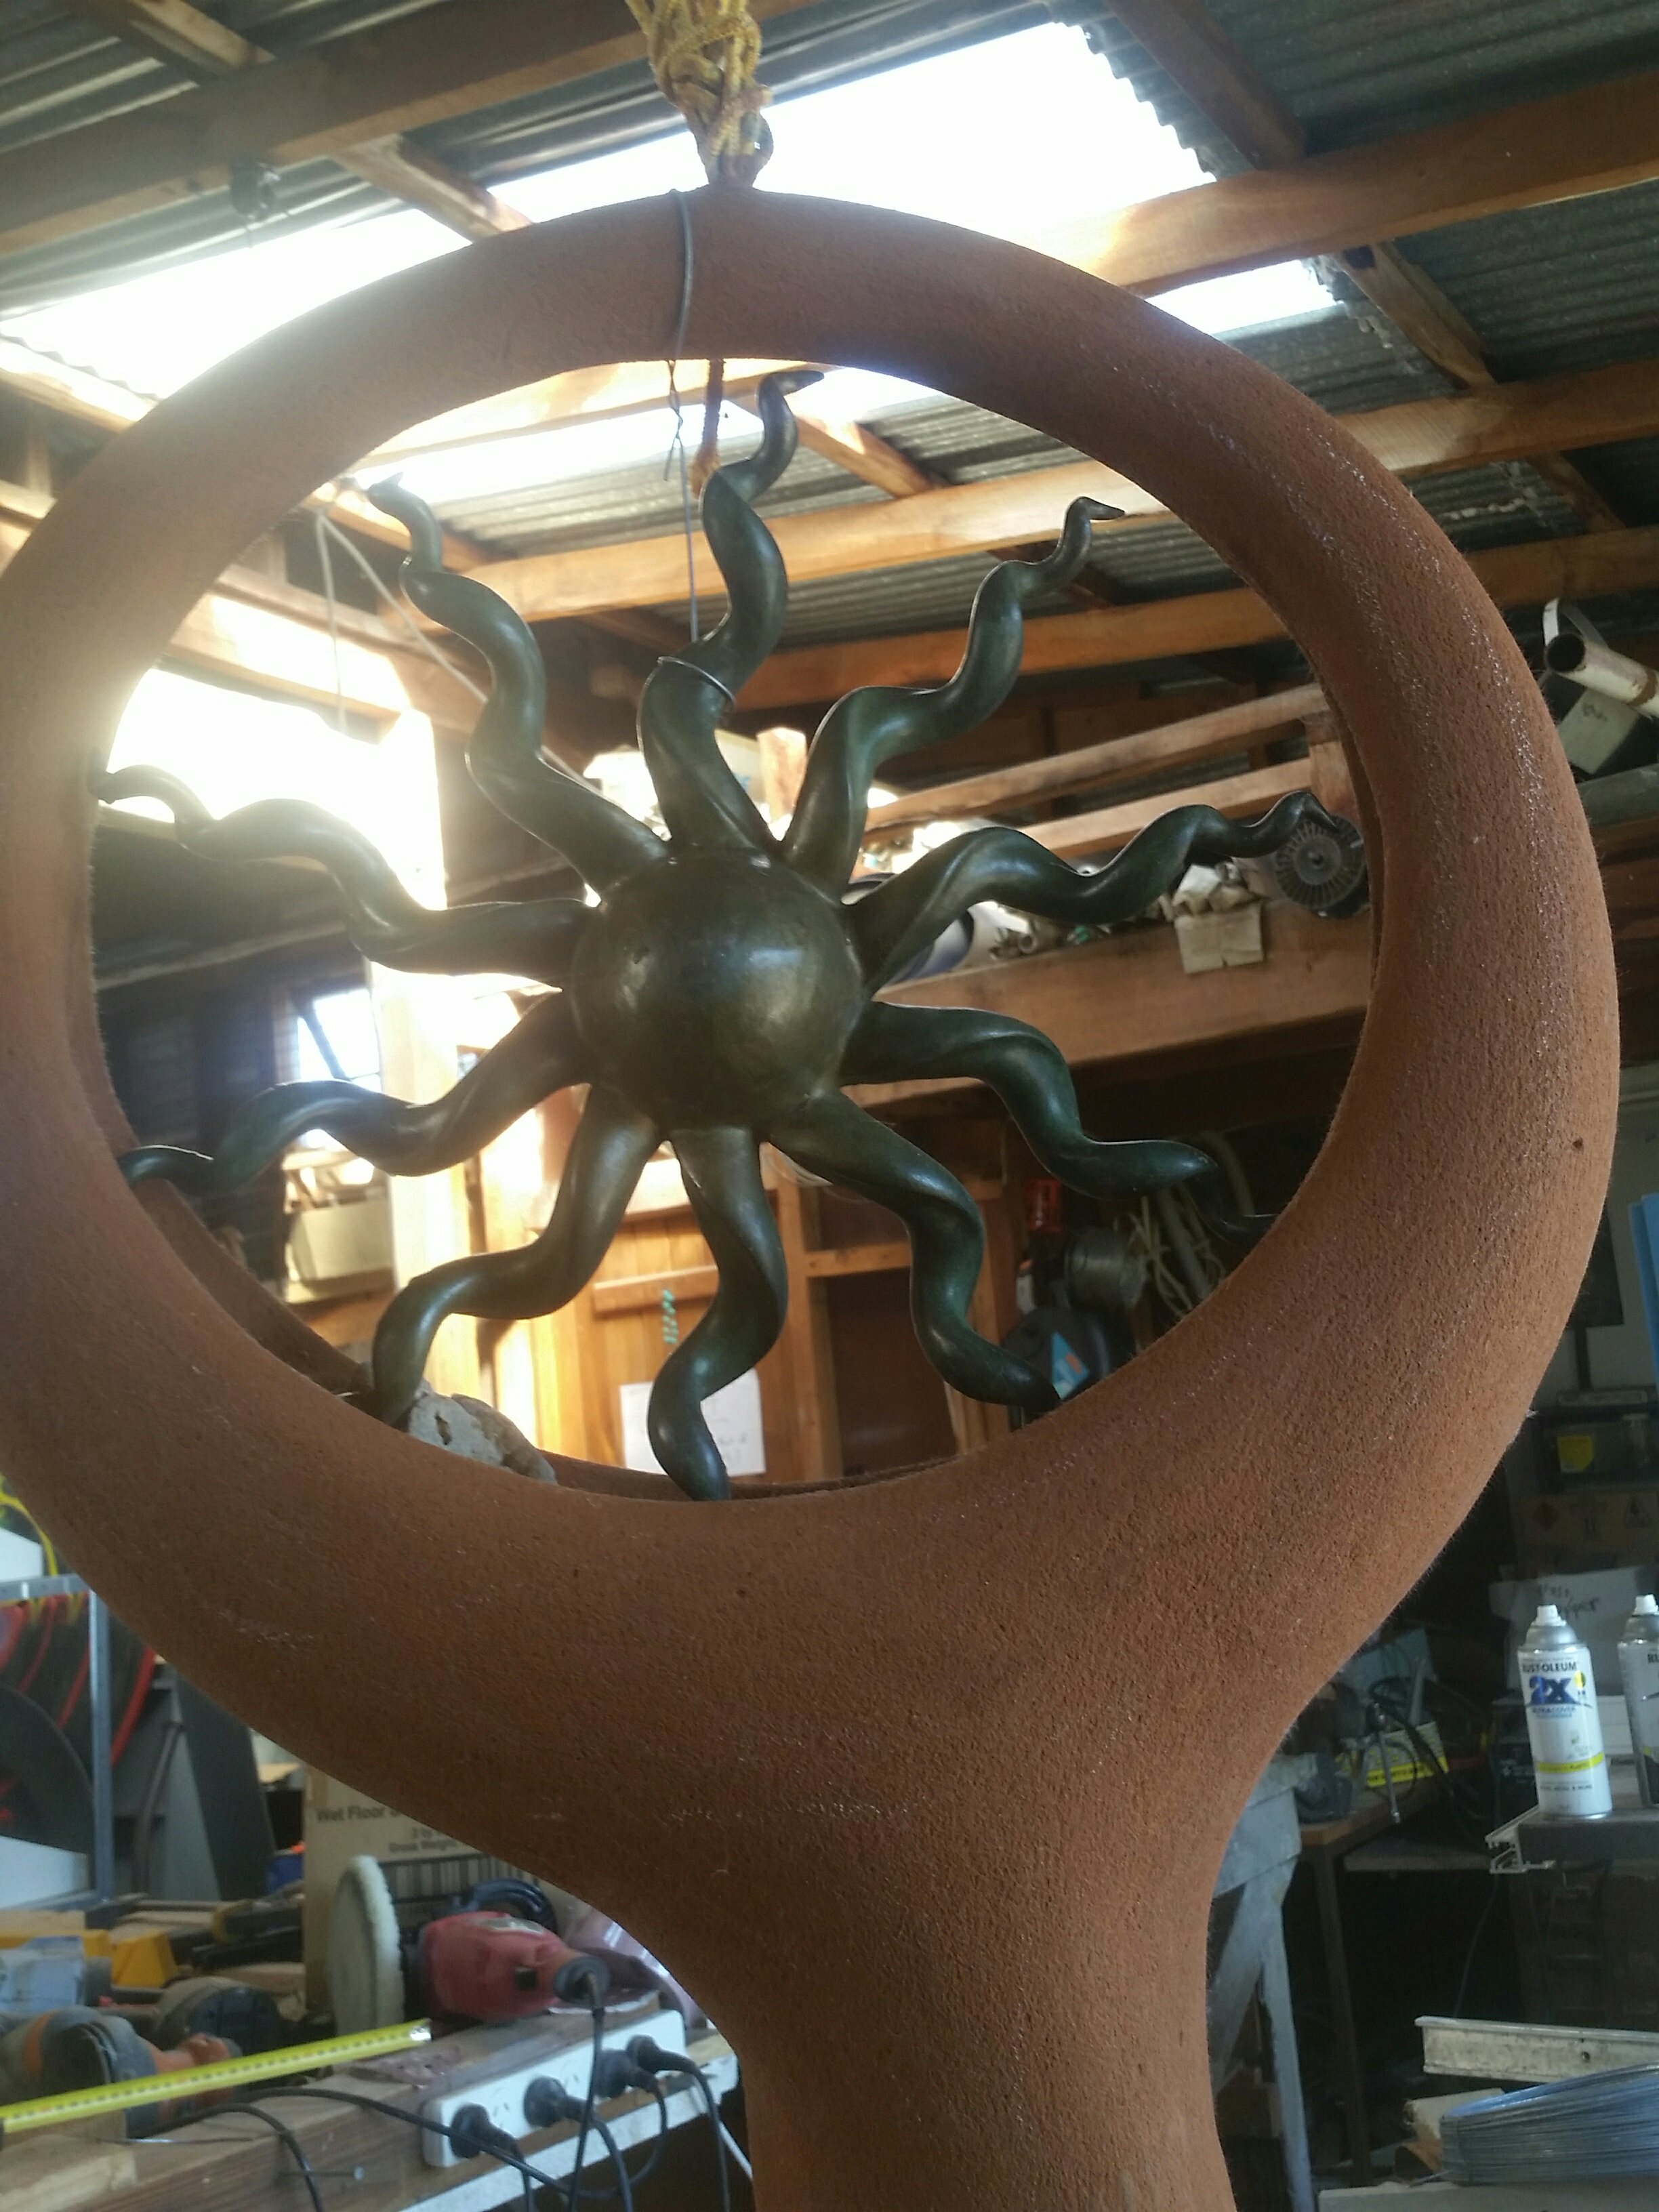
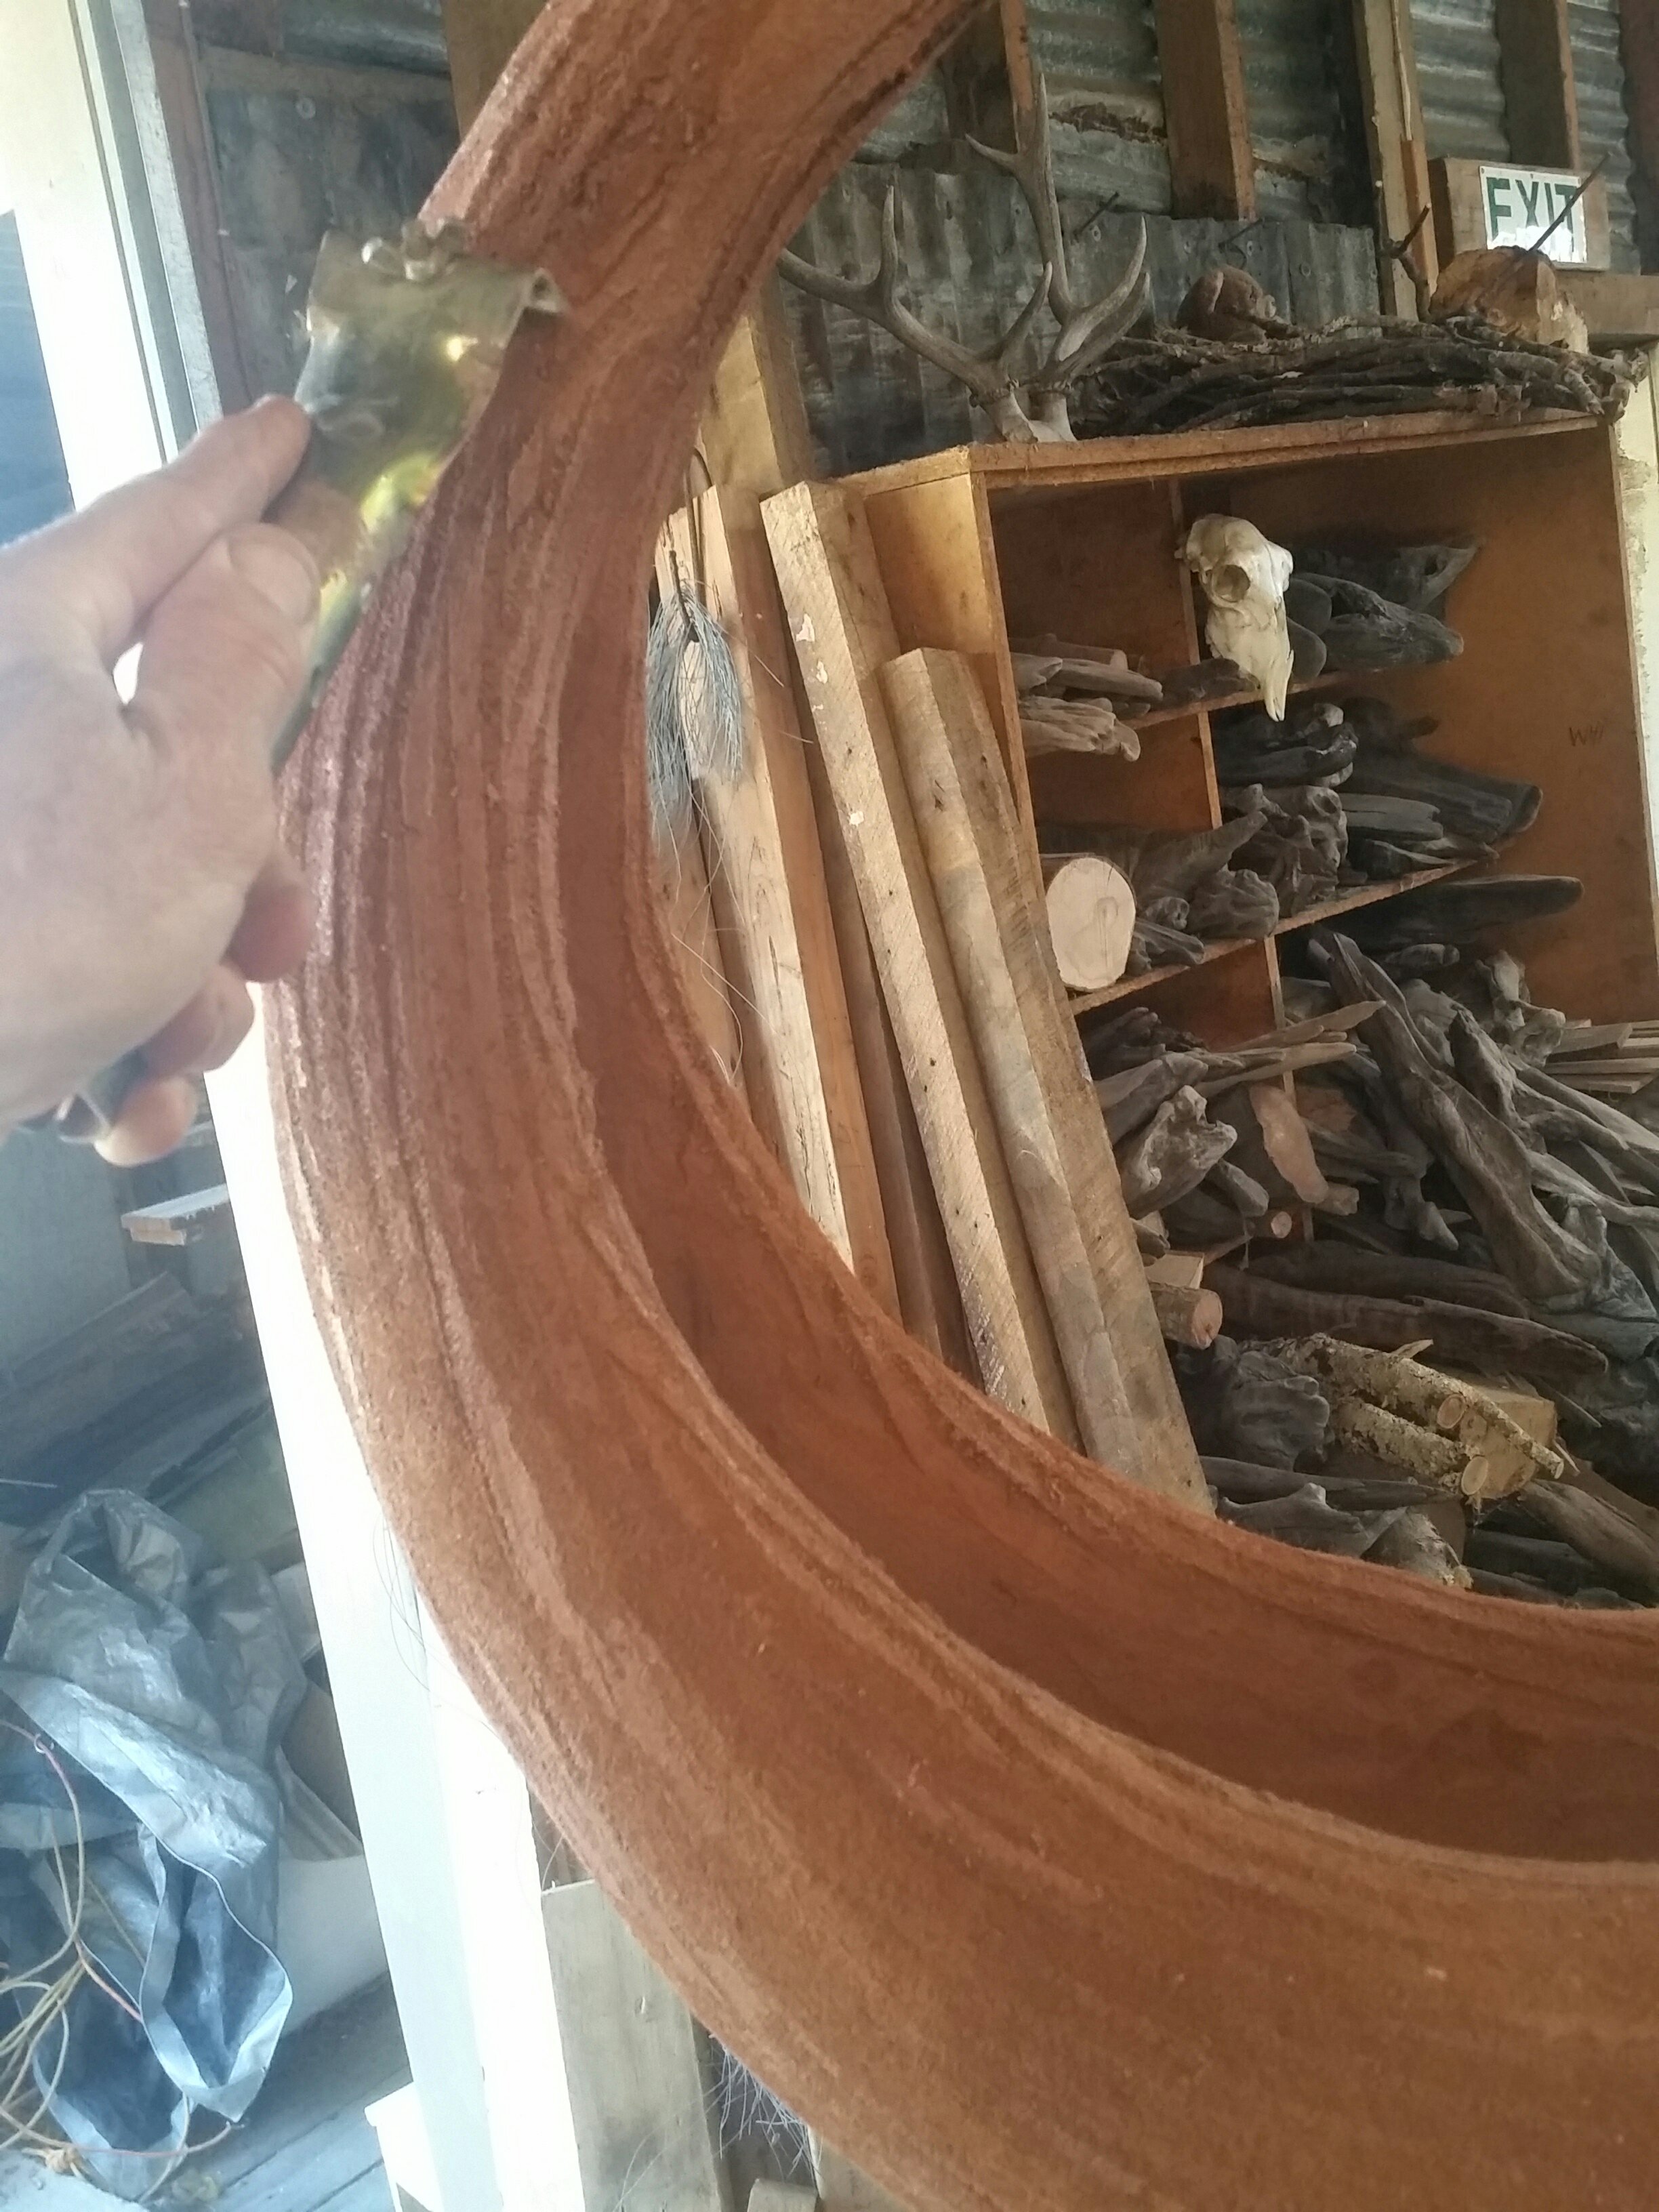
he spiral I’ve been chipping away at between other exciting works here at Dreamspace gallery and workshops www.dreamspace.nz is now pretty much like shiny aged bronze…a product I’ve tested from Peter Fell Ltd in Auckland, called C2 hardener and sealer for concrete, seems great…not a paint but a penetrating lithium silicate product which apparently replaces the calcium silicate in the concrete or plaster, making it denser harder and more polishable. ..

Carving the spiral

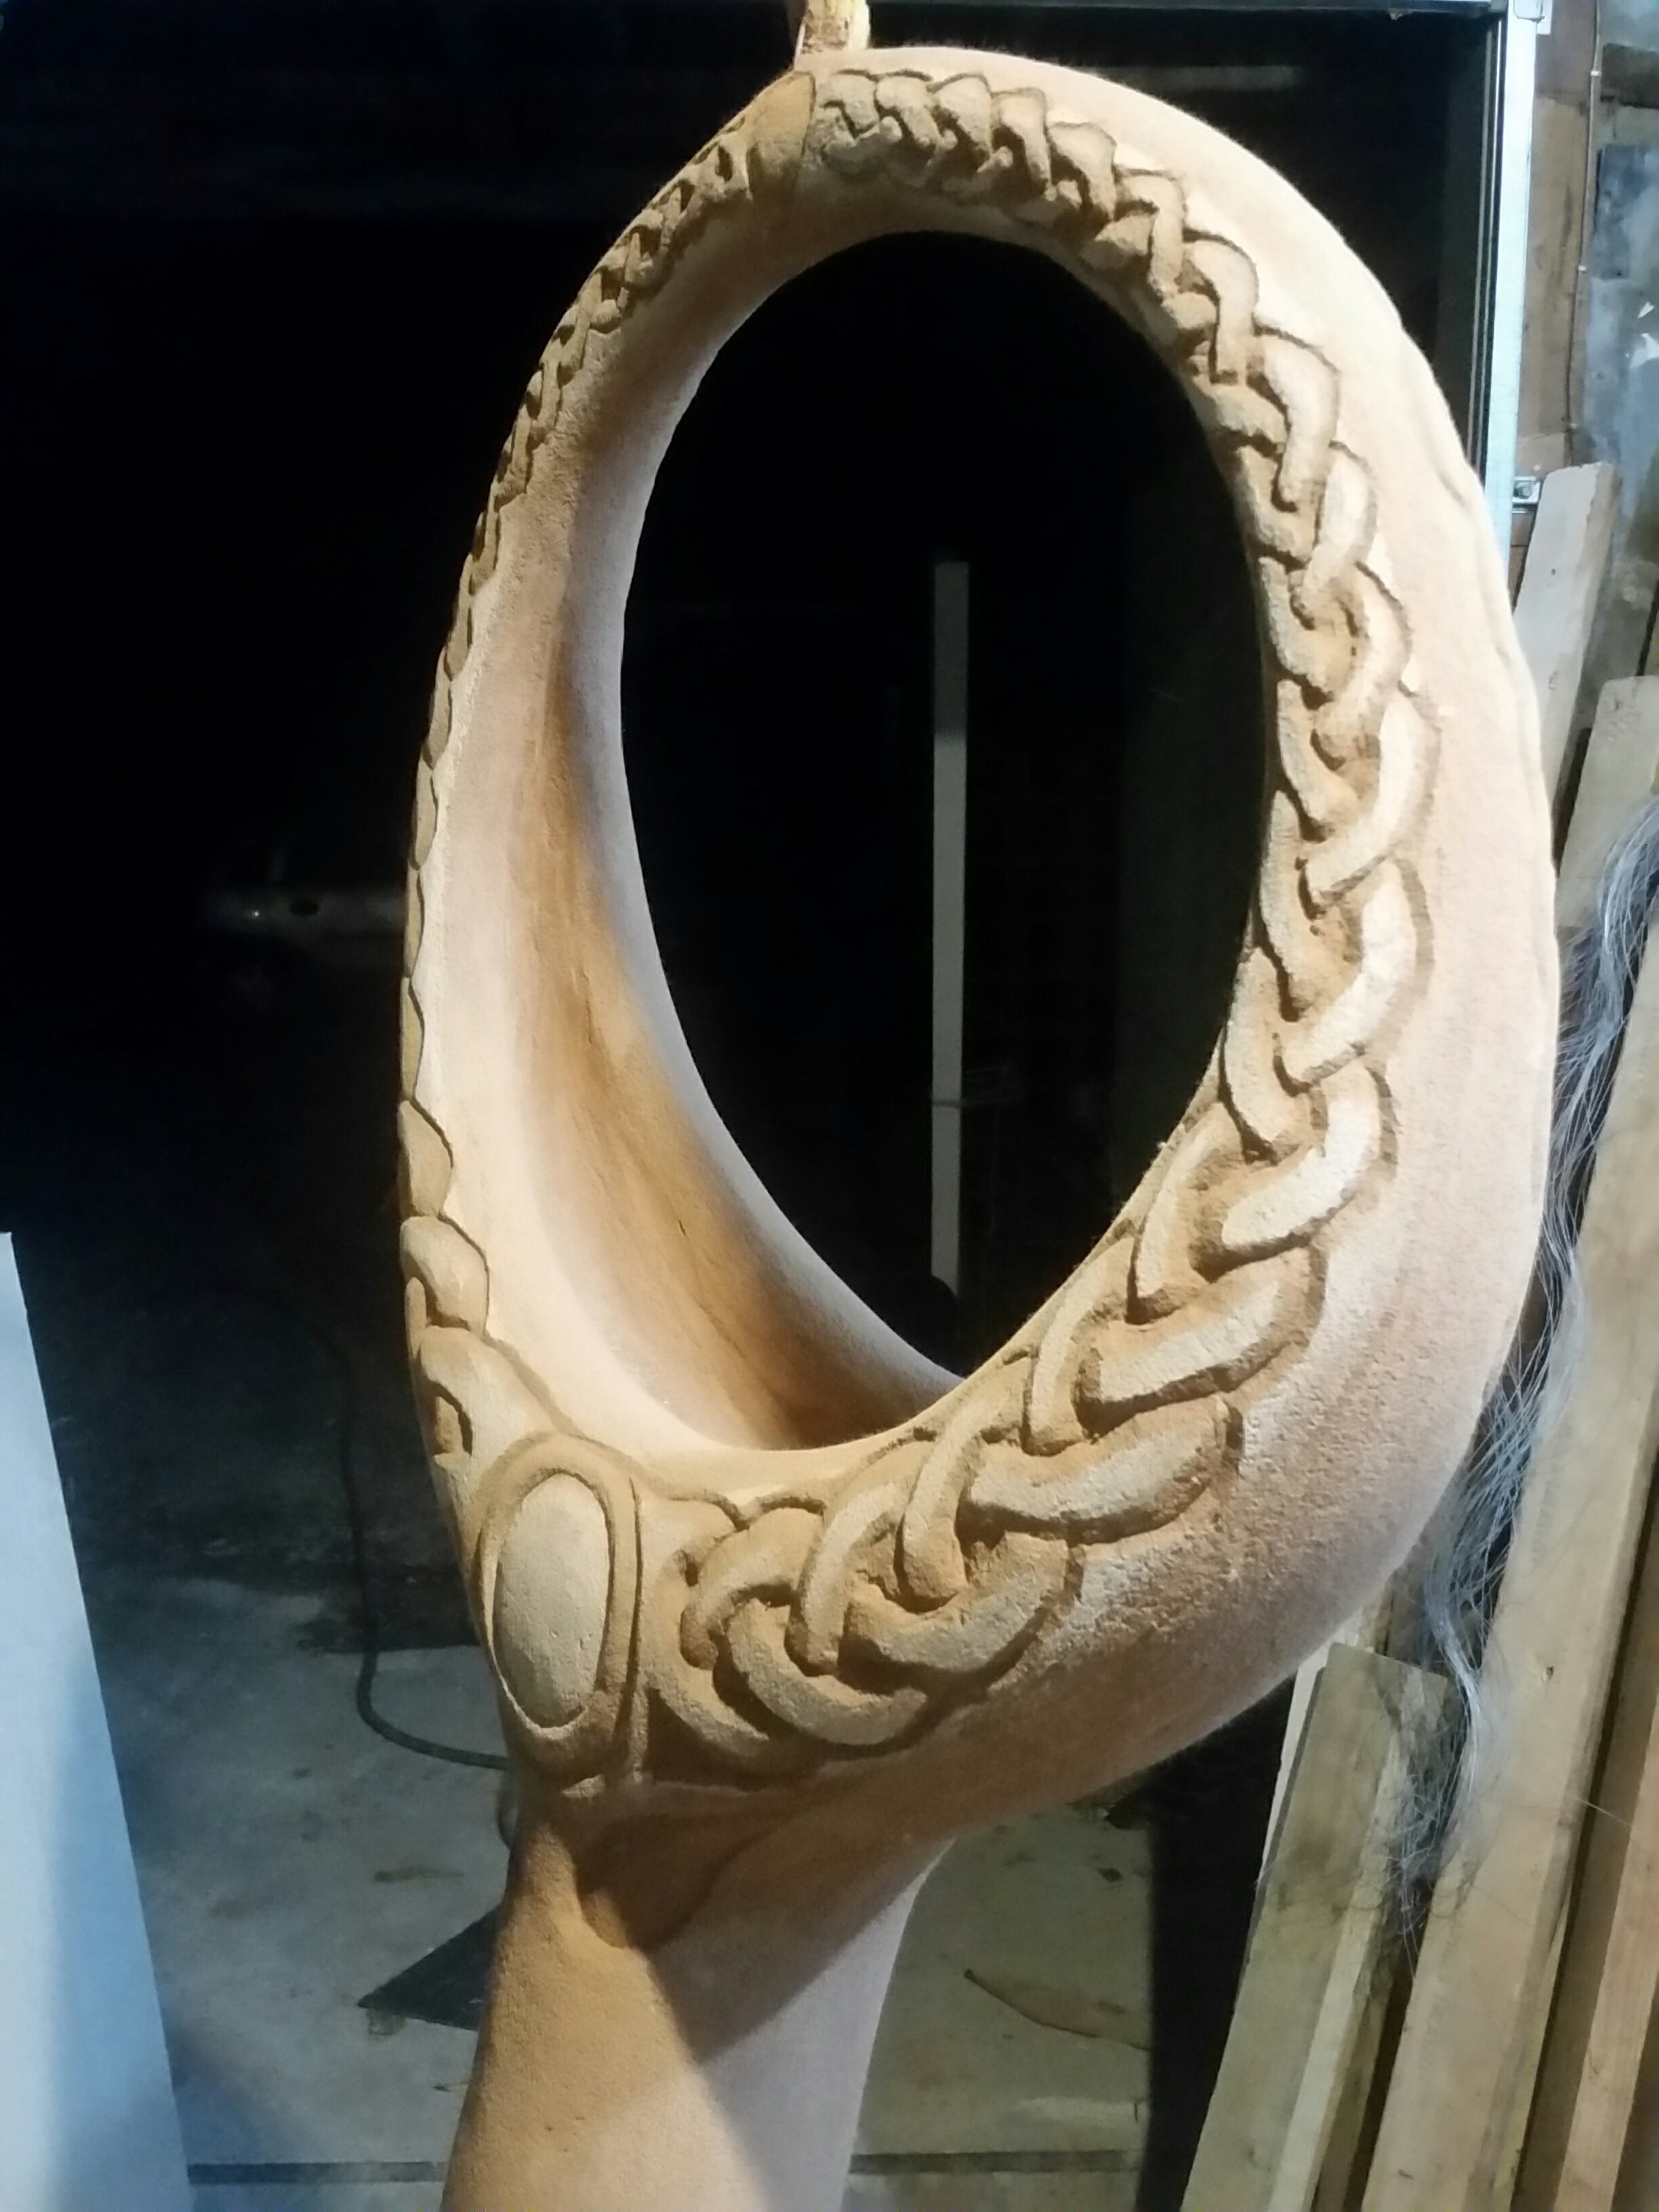
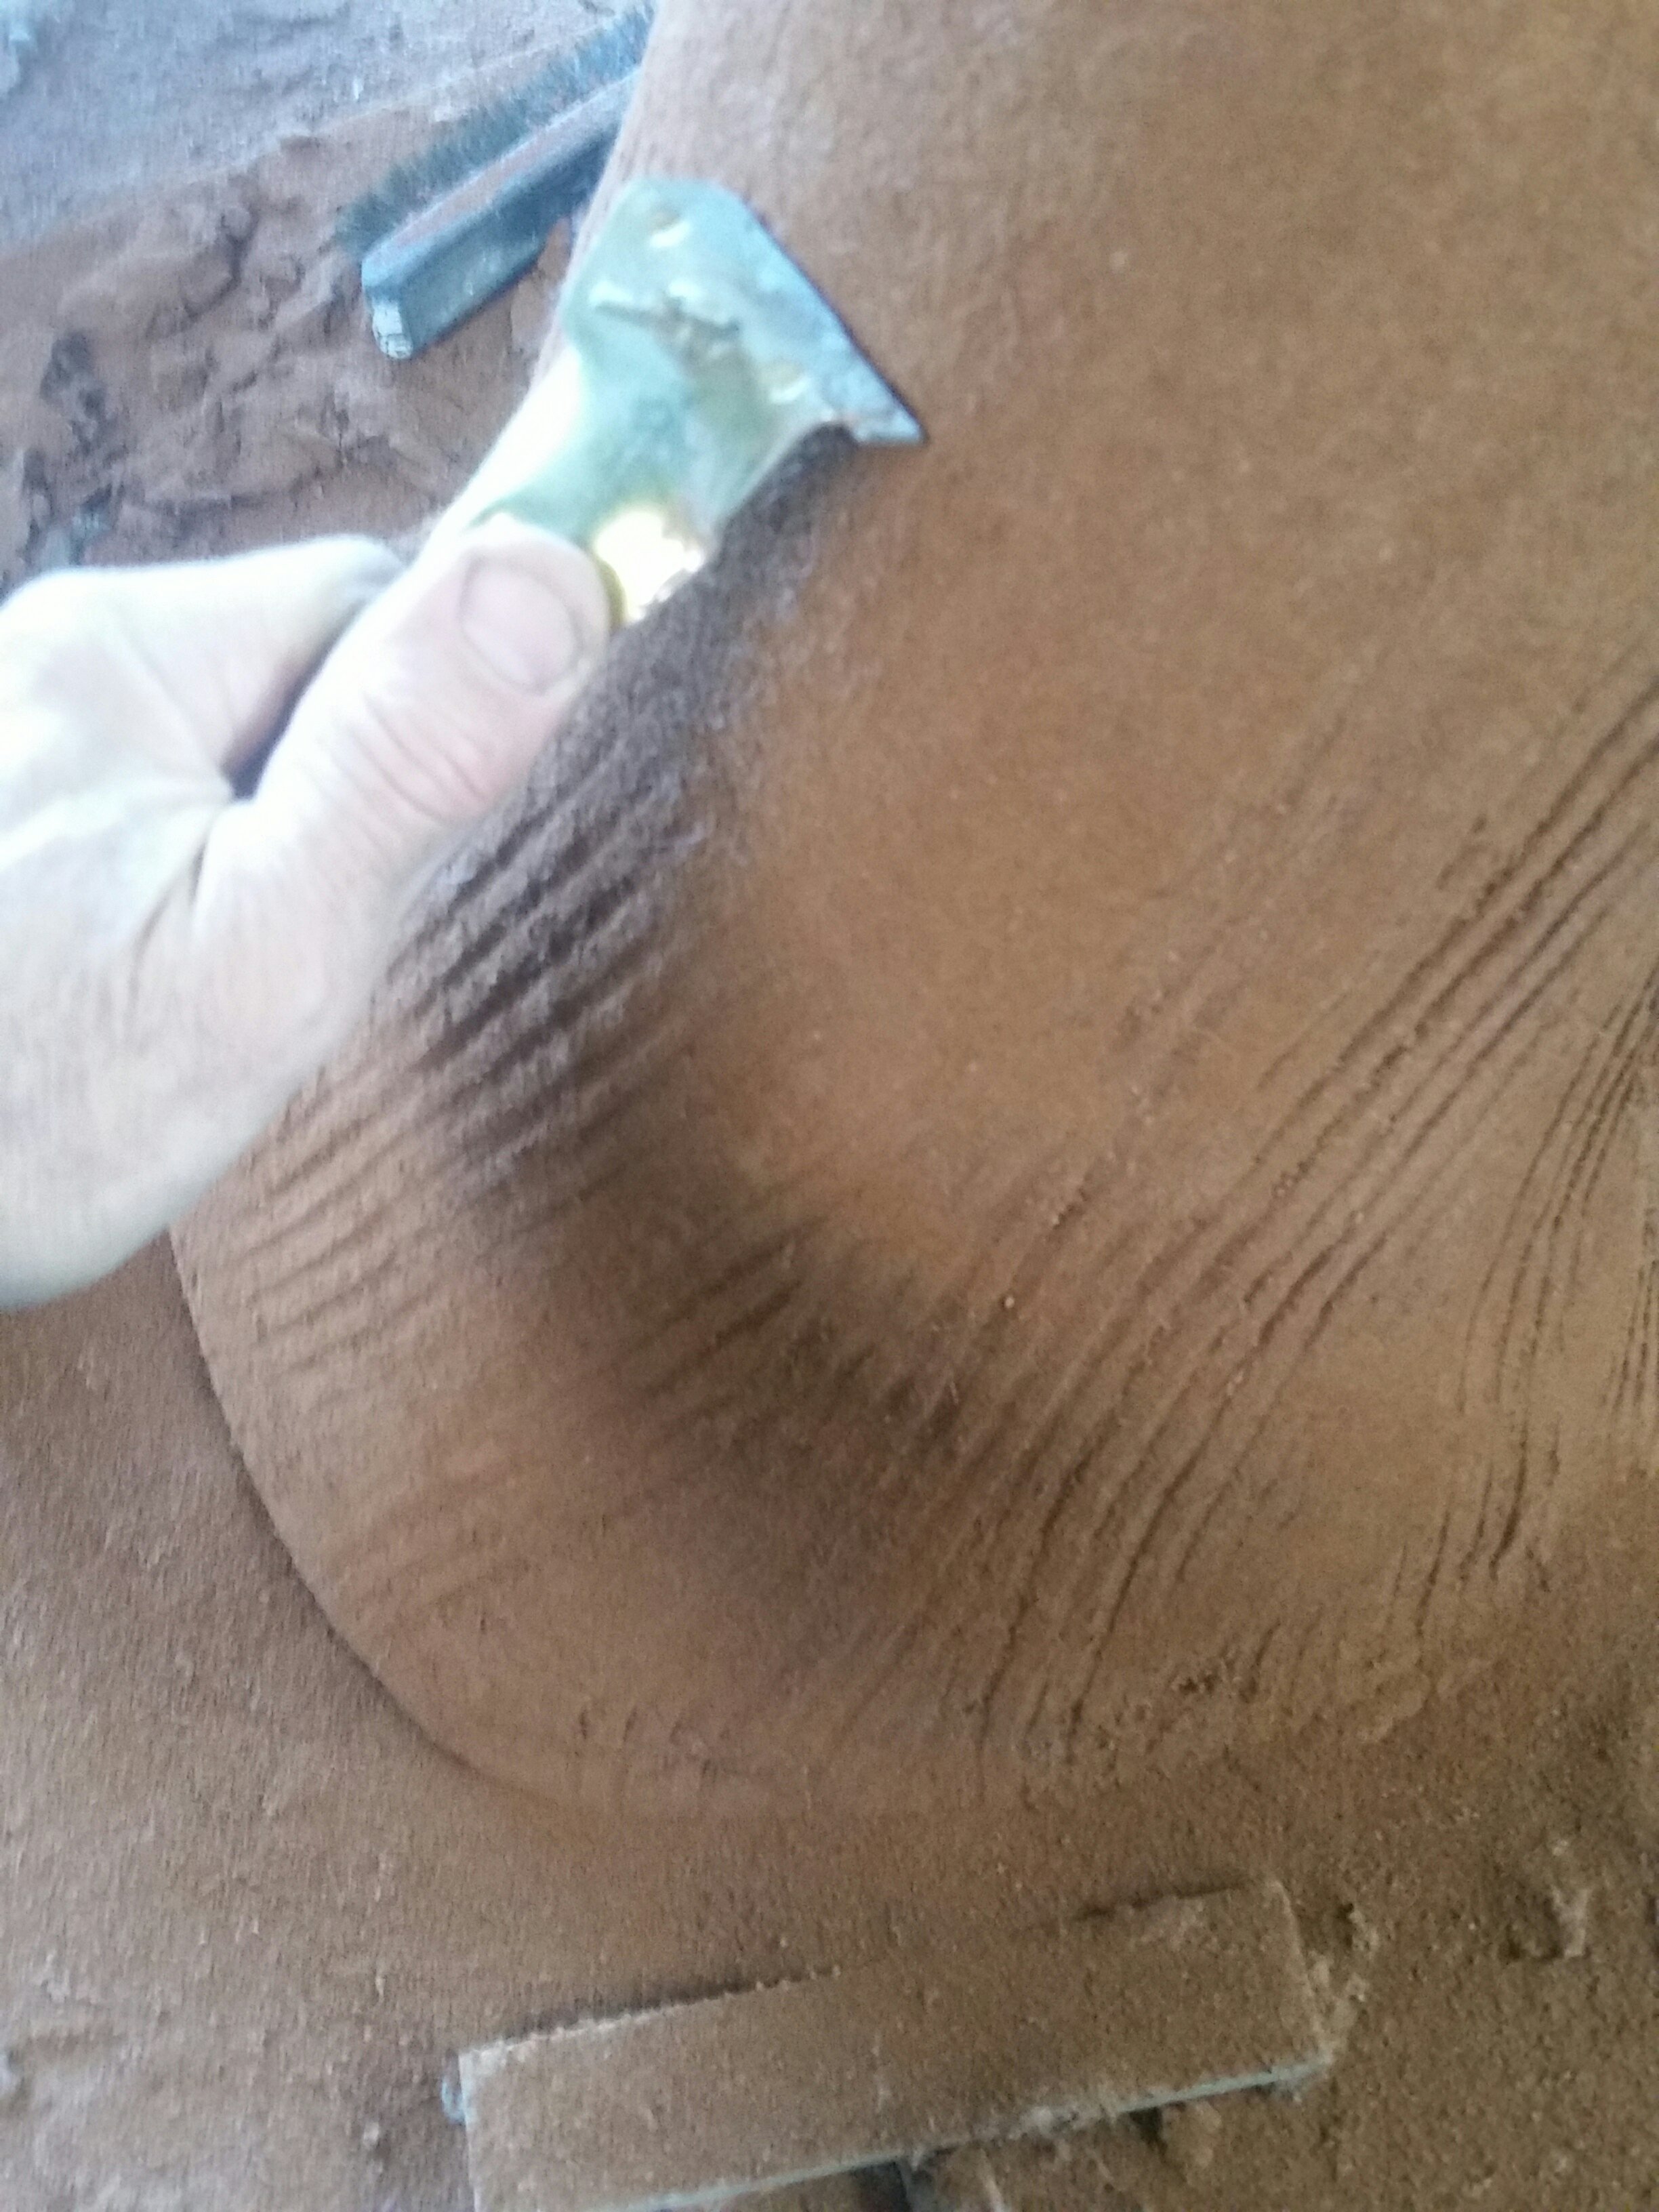
Just spent most of today doing this, in between visitors… overnight setting but still nice and soft to carve… in a twist of the unfolding it’s now not for the bronze ‘sunwheel’ – clients want a smaller one for that… will buy this one as well for a different site… with whatever feature I come up with… including carving…so I went for a celtic knot plus some branch hints and on one side a medallion probably to have a celtic knot in it too…

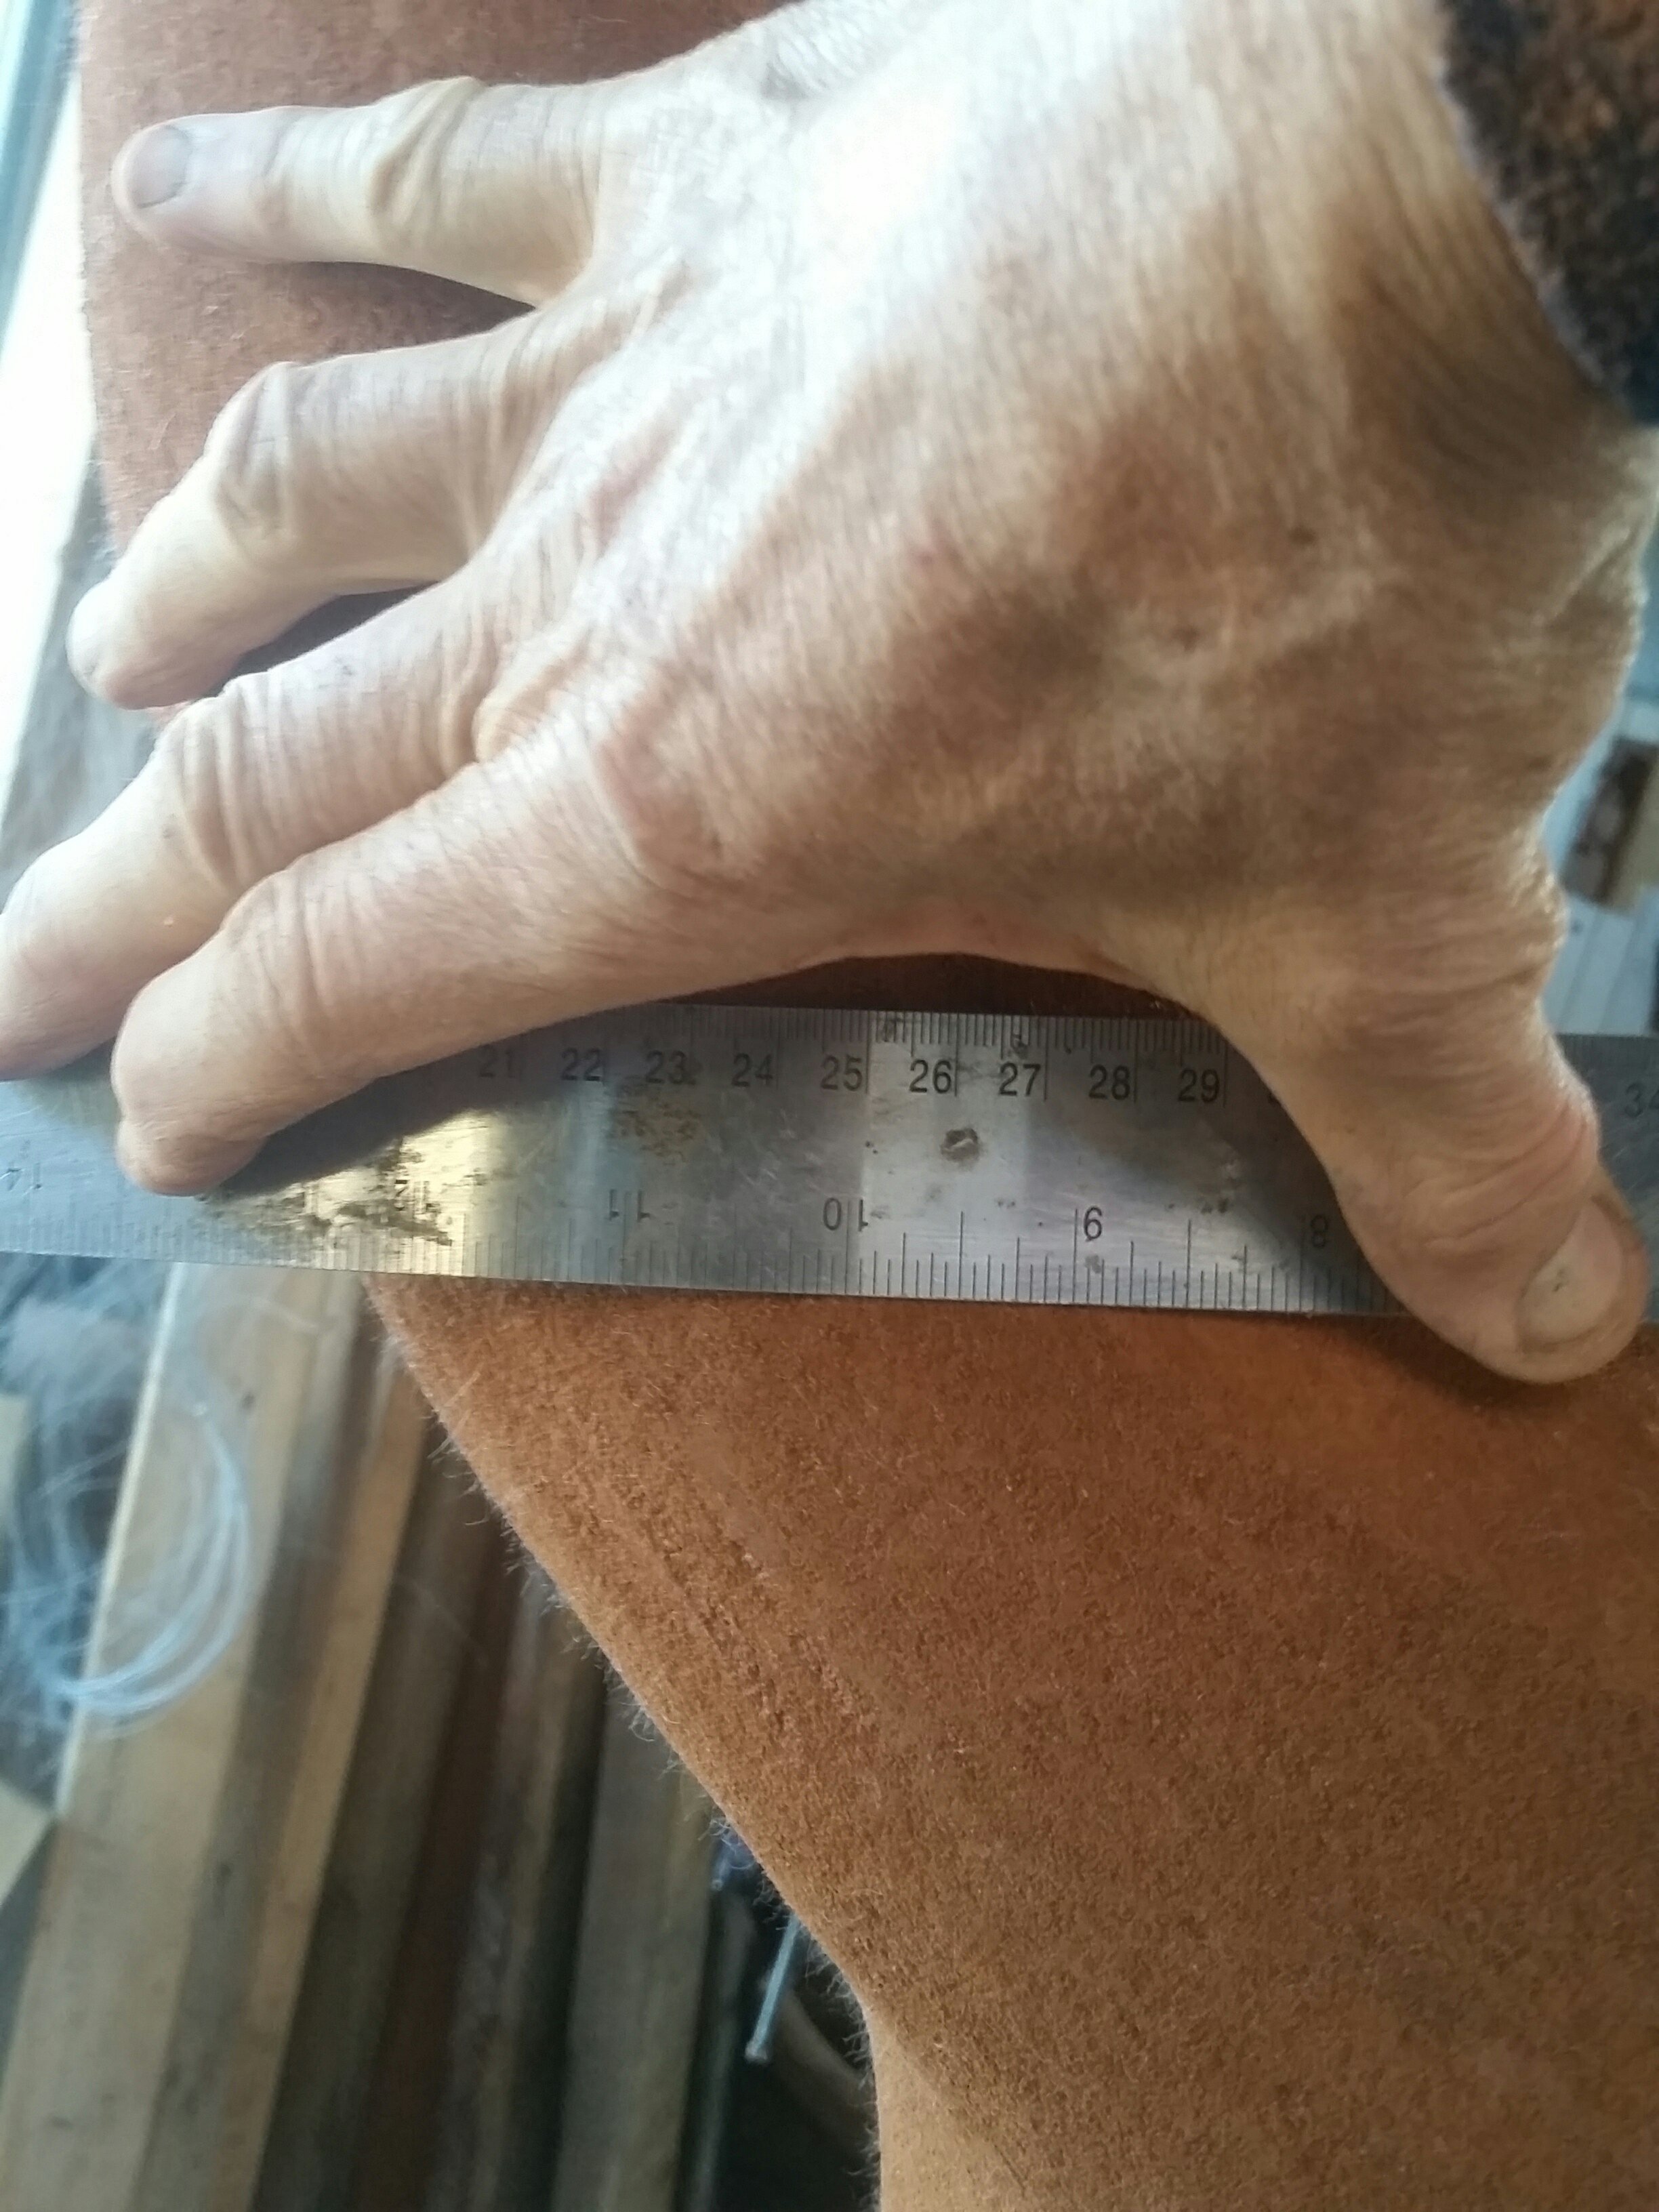
Note the tungsten scraper and also the steel ruler which scraped at an angle around the spiral helped true up the curve.. on a boat hull this is I believe called ‘fairing’ the lines. Also for carving the knotwork I found it helpful to paint primer on first so it is easier to draw and see to cut to the lines… More work needed but at least main carving done while plaster is softer. Tomorrow it will be harder. ..but still ok to scrape with tungsten blades.

New tools and techniques

I’ve been working on a new ideal rebar bender for the 6mm rebar…will work for the 10 mm or 12mm too I’m sure. Requires welding but worth it I think. The bending grooves I cut using standard angle grinder. One model I made by welding a square of hard steel onto the flattened end of a piece of old electrical conduit pipe, the other is the cut off end of an old wrench. Handles formed by winding soft polypropylene cord around the pipe with plenty of pva glue. Frayed ends soaked in glue can be tucked under the windings.

Also see this cool way to crosscut chicken mesh to make nice stretchy strips for winding around curved railings or spirals such as this sculpture I’m building to house a spinning bronze ‘sun-wheel’ for a customer. I use strips a lot now. It’s quick to cut them if you just fold a length of chicken mesh lengthwise twice so it’s a quarter as wide, then tinsnip this long strip crosswise…strips about 150mm to 25mm wide. They stack well until use when you just grab the ends and pull. Strips cut like this are very stretchable. There are cut ends of mesh of course, but I’ve found if I wear leather rigger’s gloves (soft pigskin – quite cheap) they don’t hurt… also on the first plaster coat I now wear either rigger’s gloves or thick nitrile gloves safety equipment shops have these..or the local bigger hardware shop (Bunnings here in nz). The sharp ends of the mesh are buried in plaster at the first coat with a little care, or at least by the second coat. For longer rails or tubes of ferro – e.g. branches or garden arches – it is the only way to go I think. And being wound on in overlapping windings it doesn’t need much – or any – lacing wire to hold it in place, just at the final end of the winding. See one of the folded cut strips in the first picture. Note the tins nips screwed down for quick snipping.

Raised beds at the barn

We’ve been gradually building these two beds, about 5 metres long by 1.3, by 300mm high. I invented a good way to install hoops removably – pillars made from a rolled up section of chicken wire, wrapped around a plastic disposable drink cup filled with a weak mix of plaster of paris and sand just to give the cup rigidity. The cup is dug out later when the ferro plaster has hardened. Then 32mm black polythene (‘Alkathene’) pipe is cut and placed in the holes. I have set some hoops in plaster of paris to try – but could just sit them in i guess… tests will go on. Plastic covers in winter will make beds into large cloches.

Puppies loved playing in in the bare soil as it gets wheelbarrowed in…

433

raised beds at barn

From the mezzanine  window… Some soil up to final level, already planted out by Raewyn! Note how the far bed isn’t as darkly stained – the first was brushed over a bit more and maybe the solution of iron sulphate was a bit stronger?We were rushing away and i may have been inconsistent… Haste makes waste. However my sister prefers to paint the beds red to match her barn, so I’ve left it until a month or so when it will take acrylic paint. We painted some of our raised beds in Kaiwaka years ago and the paint is as good as new still…

Overall, the work of making these permanent beds was not too much at all. Only one coat on these beds, and one strip of chicken wire, folded once lengthwise and rolled over at the top by about 120 mm.

You just have to plod and do it… Then it’s there for good, as a garden bed should be – long after we are gone!

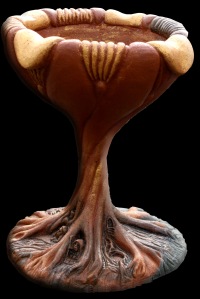
ferrocement birdbath fountain, carved

I did this (based on the cafe eutopia fountain we did 12 or so years ago now, still the centrpiece of the courtyard) the week we returned to Gisborne for the birth of our first grandchild (Bruno – he’s doing well, looking forward to seeing him play around the carved raised beds we made… As you can see, a few more sleeps before that can happen!).

Anna and marco  baby IMG_8835

Anna wasn’t sure about doing water in it so I just made it as a birdbath for now. The ‘finished’ photo isn’t quite – it rained overnight and the paint wasn’t quite dry enough to do the ‘shadowing’ effect by painting on black acrylic paint then wiping it off – you can see the parts where I did manage to do it before I had to catch the plane back home!

the whole thing took about 2-3 full days I guess. Carved mainly with the tungsten paint scraper I recommend in the book Fantastic Ferrocement. http://www.smashwords.com/books/view/152684

I did make a smaller tungsten chisel for the fine details that were in deep inside the ‘tree roots’ where the scaper couldnt reach. I will post on that later – when I’ve perfected it!

Five 6mm rods were the upright reinforcing, with roughly 2mm soft wire wrapped around it to make a finer armature for the two layers of chickenwire (more than two counting inevitable overlap on the curves). Instructions in Fantastic Ferrocement stand – some minor developments, such as using straight rebar tie wires instead of bag ties for tying the rebars together.

peter in fountain Gisborne IMG_8857 copy annas birdbath 05 05 13 reduced

Note the whitish first coat – Resene Limelock to seal in the lime for painting before the plaster is cured. The twist going up the ‘trunk’ is all added – carved into the second thick coat of plaster. Also the ‘roots’ all carved from the extra thick plaster around the base.

I noticed again doing this how good it is to use plenty of plasticiser and mix in the concrete mixer longer than usual for the second coat, until the mix is aerated and wonderfully light and creamy to spread on. Also of course used plenty of fibre. These two things made it possible to get around a one inch  to two or three inch (25-75mm) layer near the base – in one coat.

A deep birdbath/fountain like this can be made safe/shallow for little children by putting gravel in it, I think.

It went so well, while my other stuff (more conceptual things like the Qor game, and my philosophical writing) has been falling on indifferent ears, that I’ve decided to take several people’s advice and do art for a change, sculpt and perhaps paint again, etc. And maybe make enough to keep bank, wife and kids happier…:) I did a little oak carving recently, in that spirit:

moonwit dreams moonwit dreams REAR

Moonwit Dreams, from my fantasy epic the Apples of Aeden. I made a silicone mould for it too, and have tried some casting in plaster of Paris, oil-finishing the casts by dipping in hot linseed oil, then finishing by ‘shadowing’ as in the original above with dark acrylic.

For any ferro or carved work you want to commission, email me peter@eutopia.co.nz.